第一章:手动搭建 YUM 私有仓库
1.1 概述
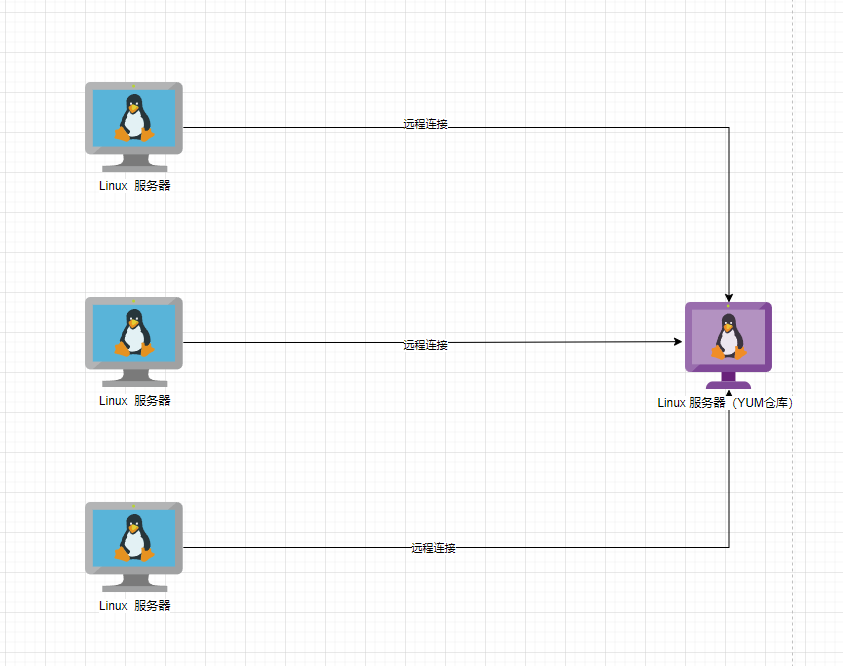
- 我们借助 httpd 服务器软件来搭建 YUM 仓库,并作为其它服务器的 YUM 源,即:
提醒
- ① Linux 服务器(YUM 仓库)的地址是
192.168.10.120,而 Linux 服务器(内网)的仓库是192.168.10.100。 - ② 实际工作中,推荐使用
nexus3来搭建 YUM 仓库。
- 所有的服务器(YUM 仓库和内网)均需关闭防火墙,以防止防火墙干扰实验:
shell
systemctl disable --now firewalld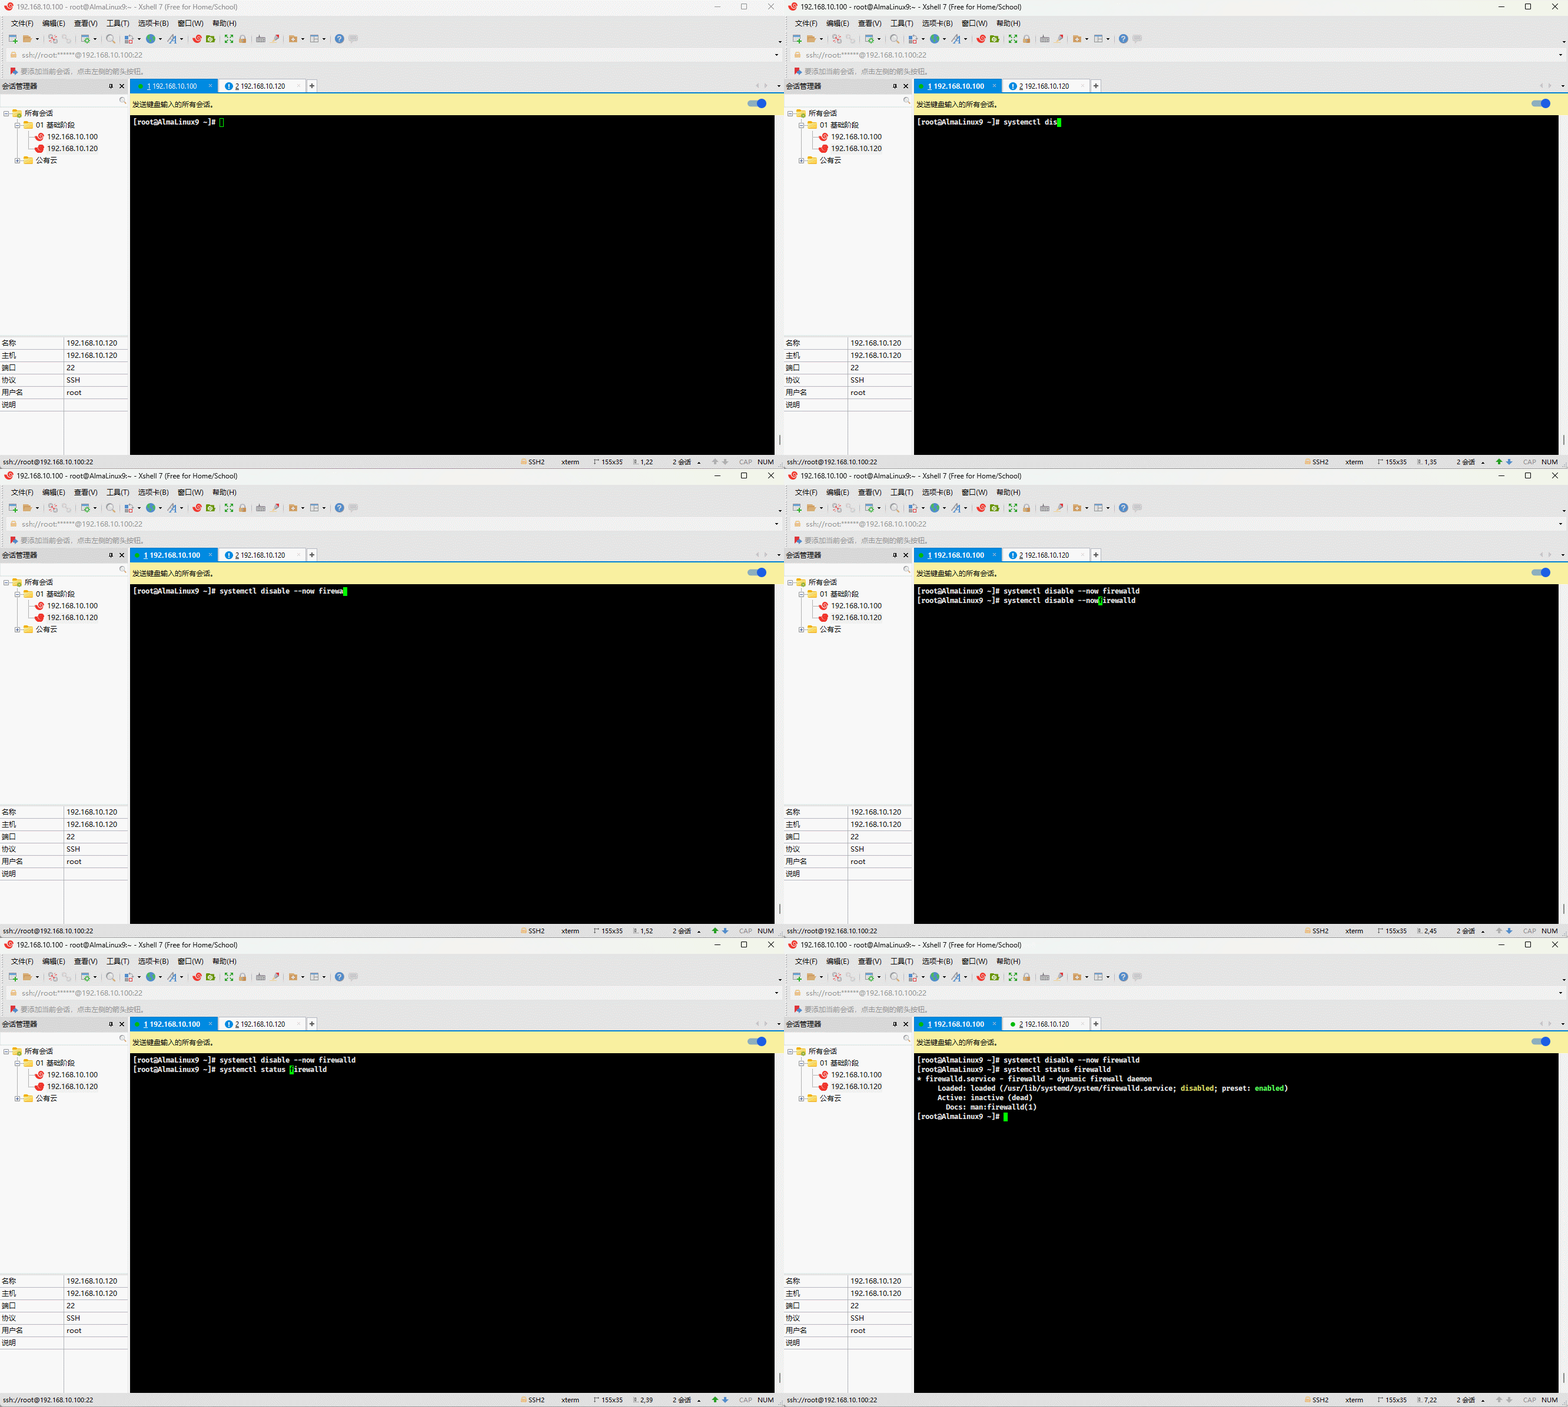
1.2 配置 Linux 服务器(YUM 仓库)
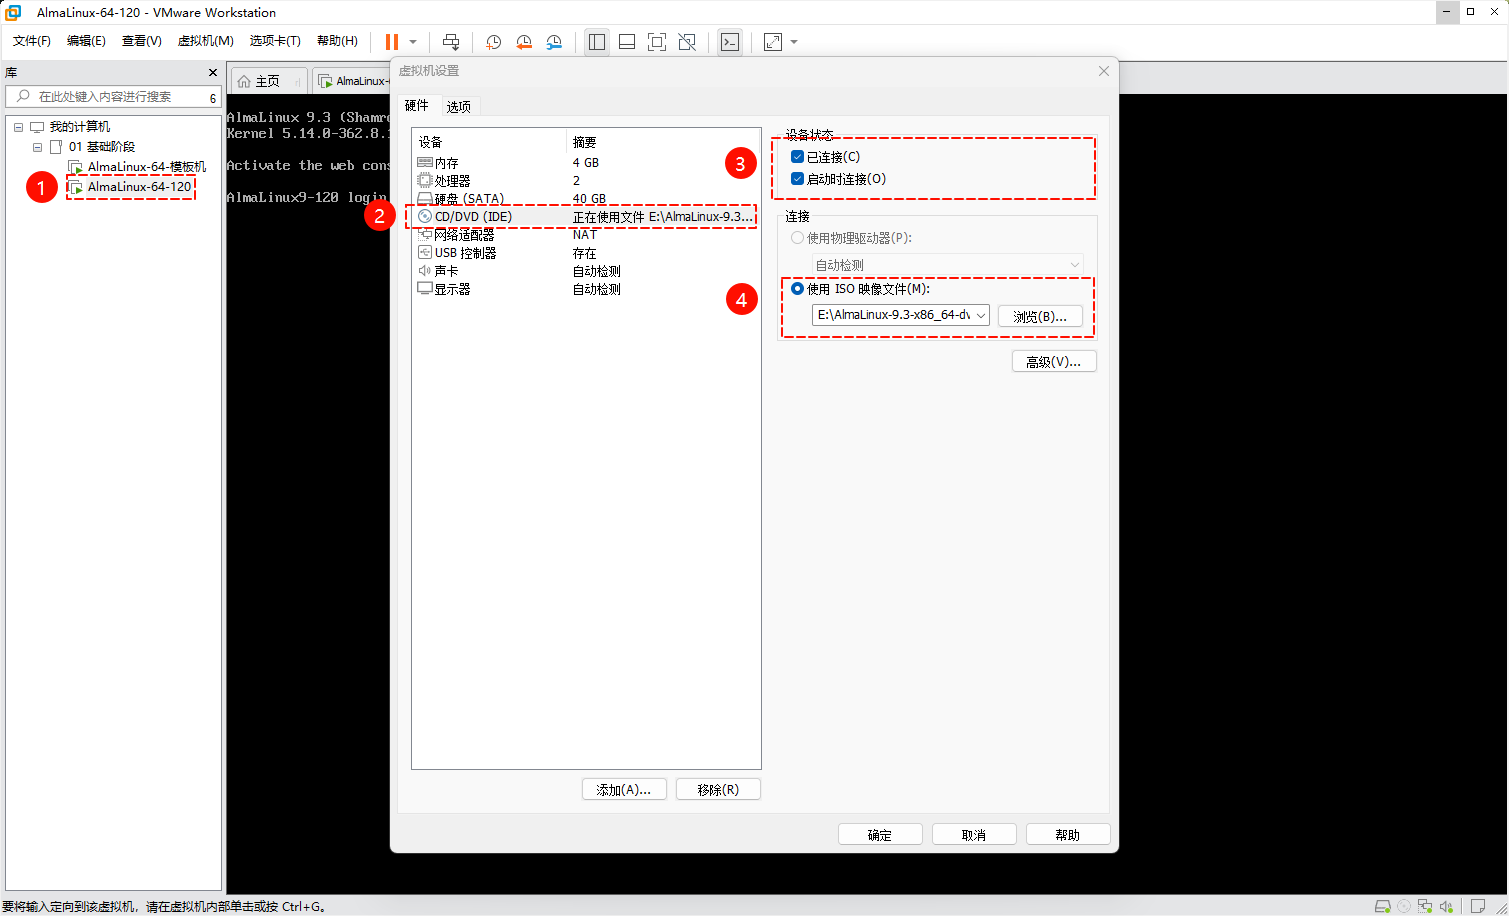
- 前提条件:Linux 服务器(YUM 仓库)需要挂载 CD-DVD (ISO 镜像文件),即:
提醒
在实际工作中,无需挂载 CD-DVD ,因为 CD-DVD 已经属于淘汰的技术了,可以将 CD-DVD 中的数据复制到指定的目录中。
- 安装 httpd 服务器:
shell
dnf -y install httpd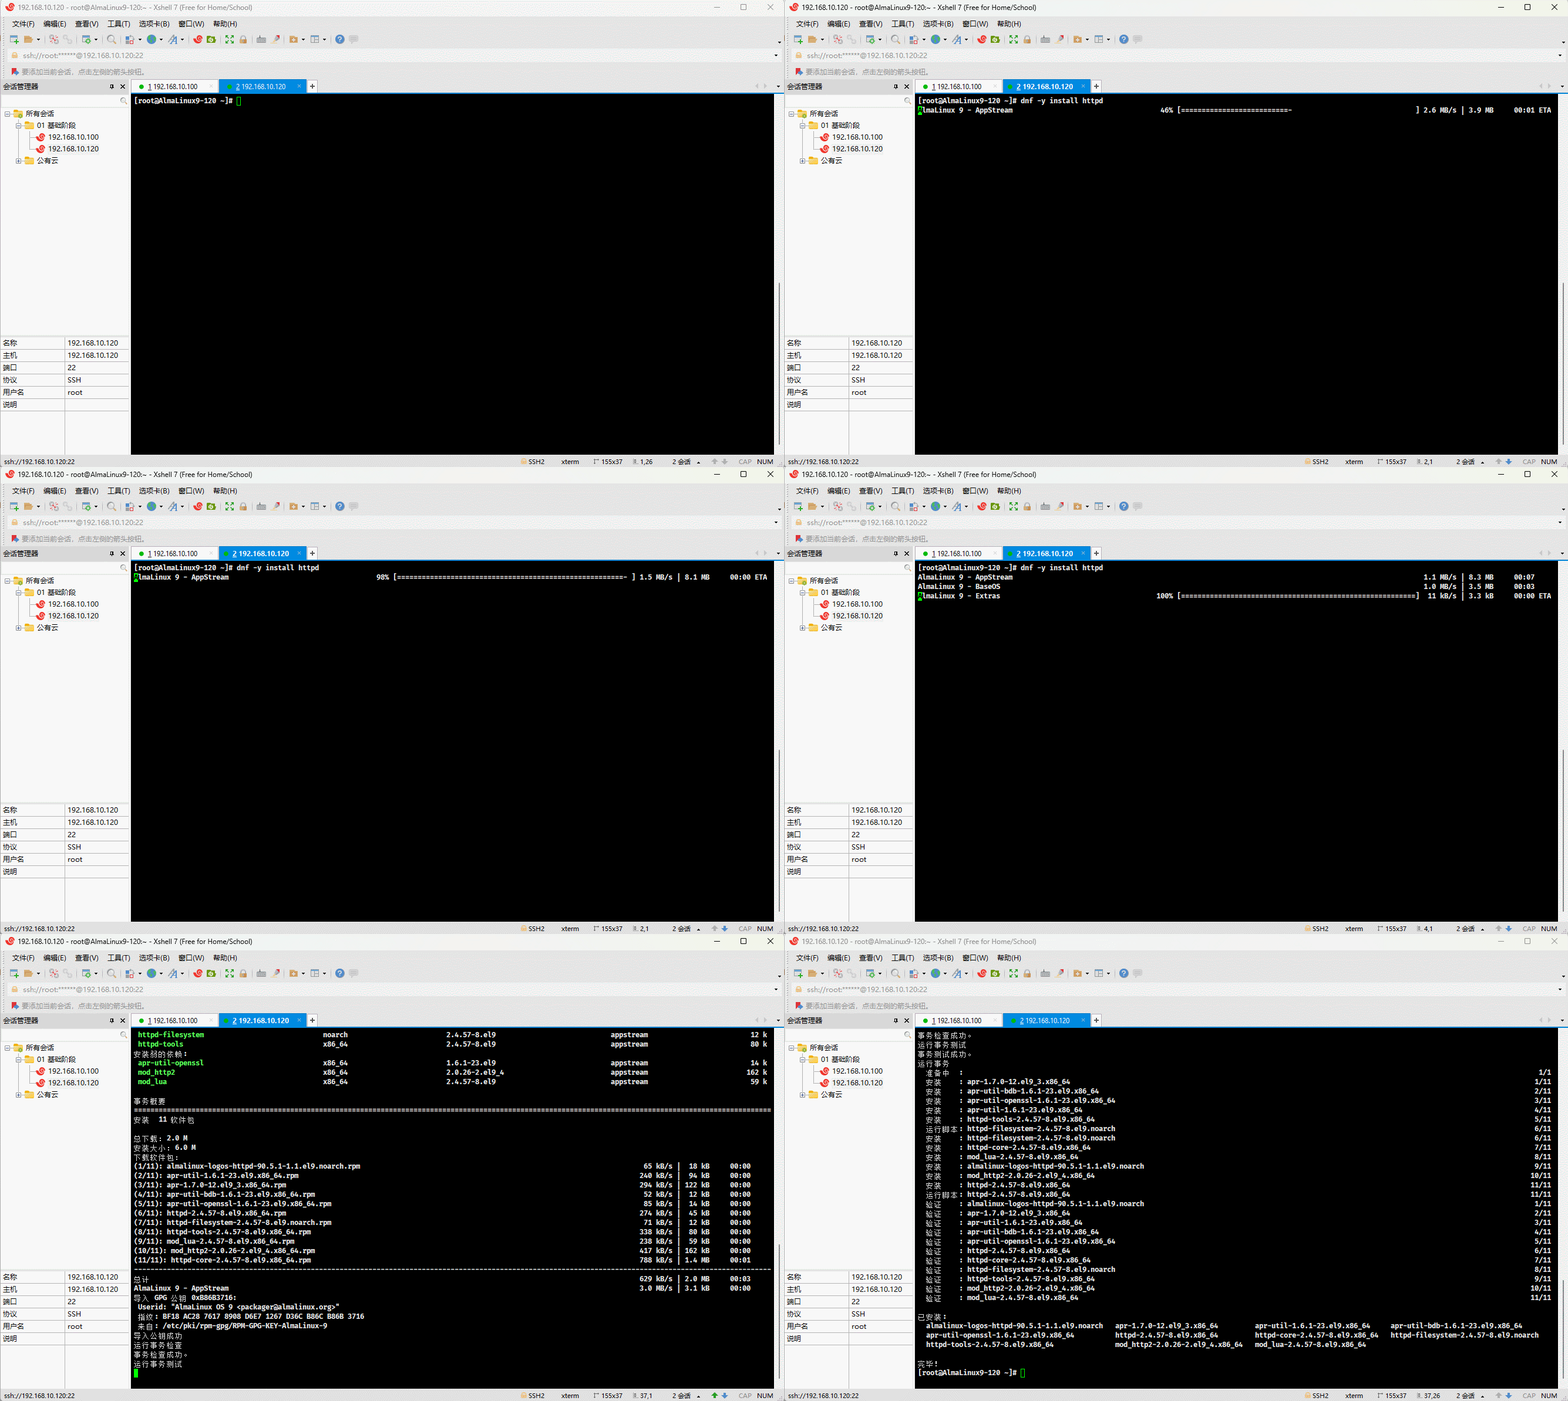
- 在
/var/www/html目录下创建almalinux/9目录:
shell
cd /var/www/htmlshell
mkdir -pv almalinux/9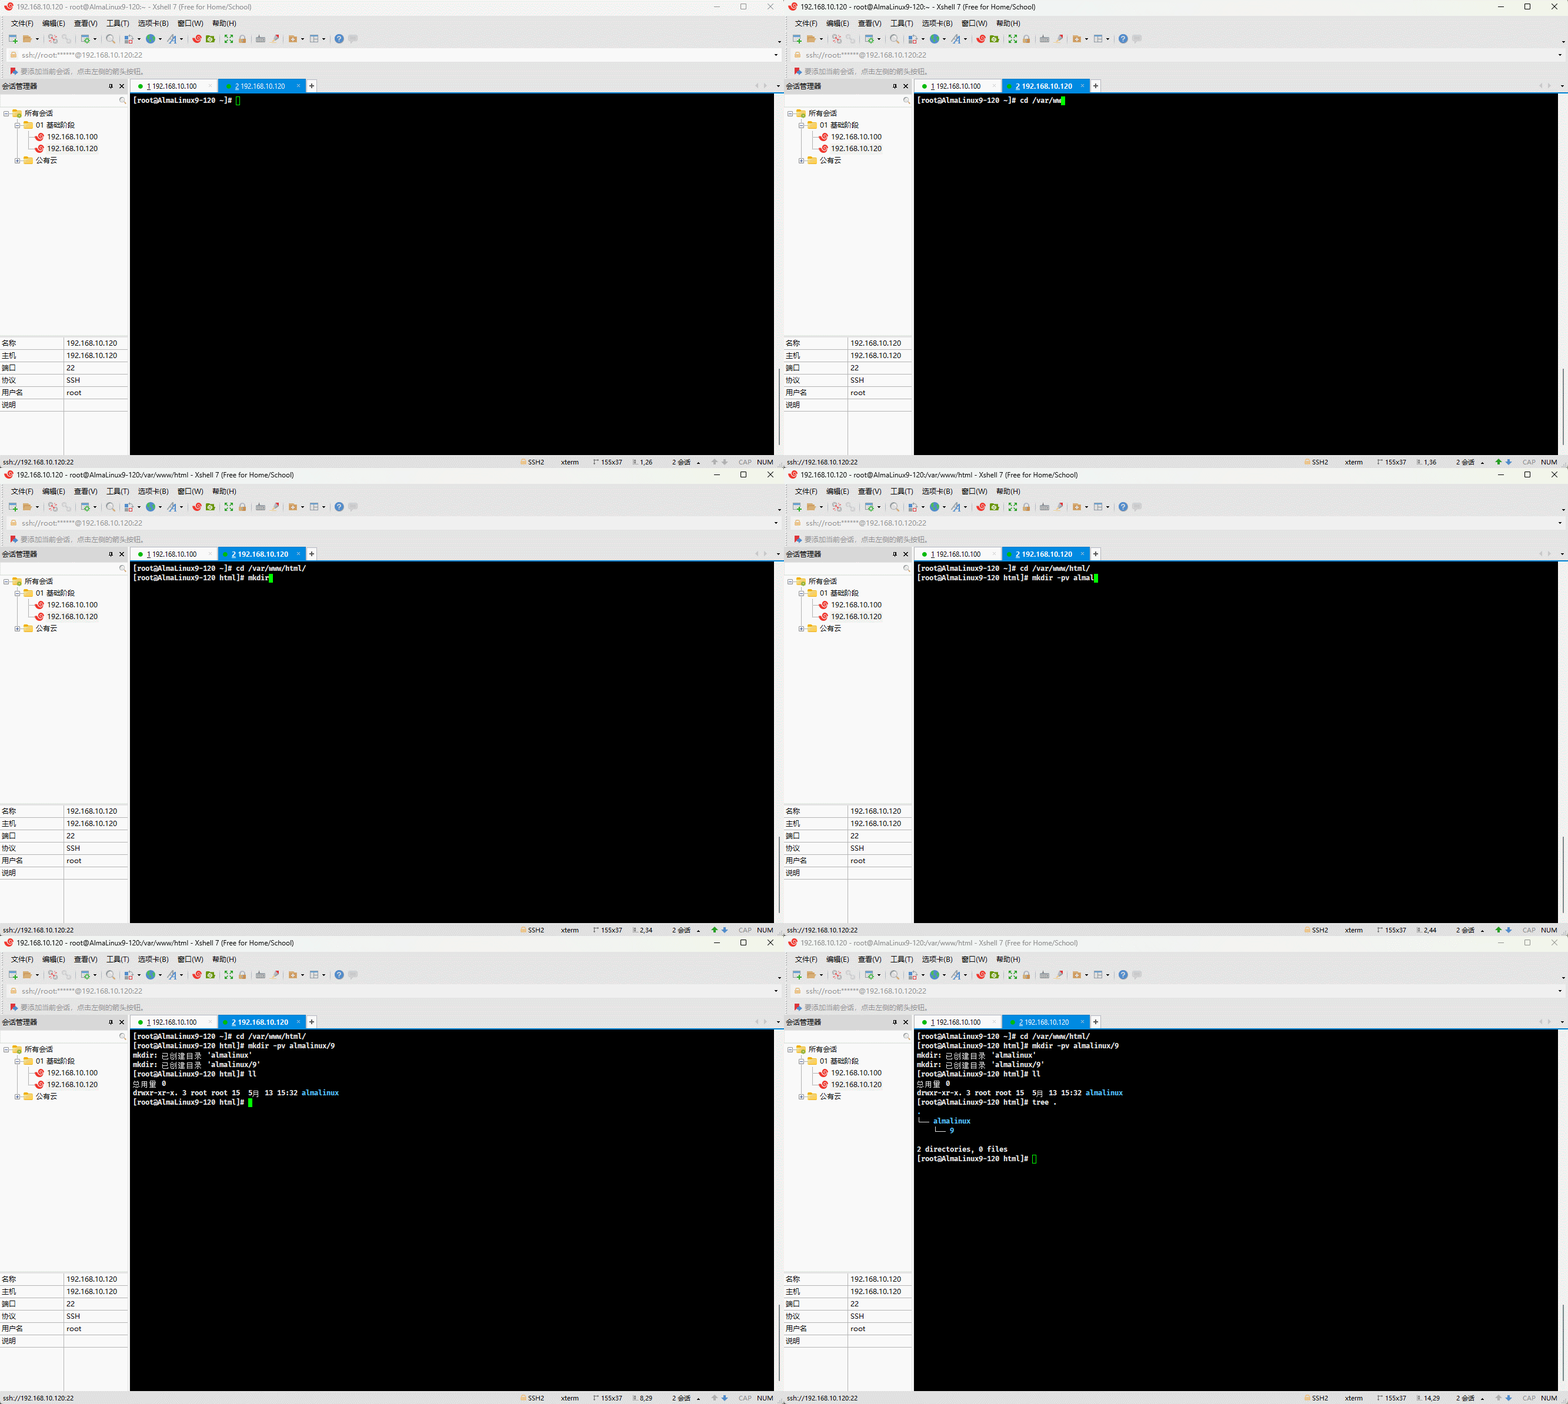
- 查看块设备情况:
shell
lsblk -f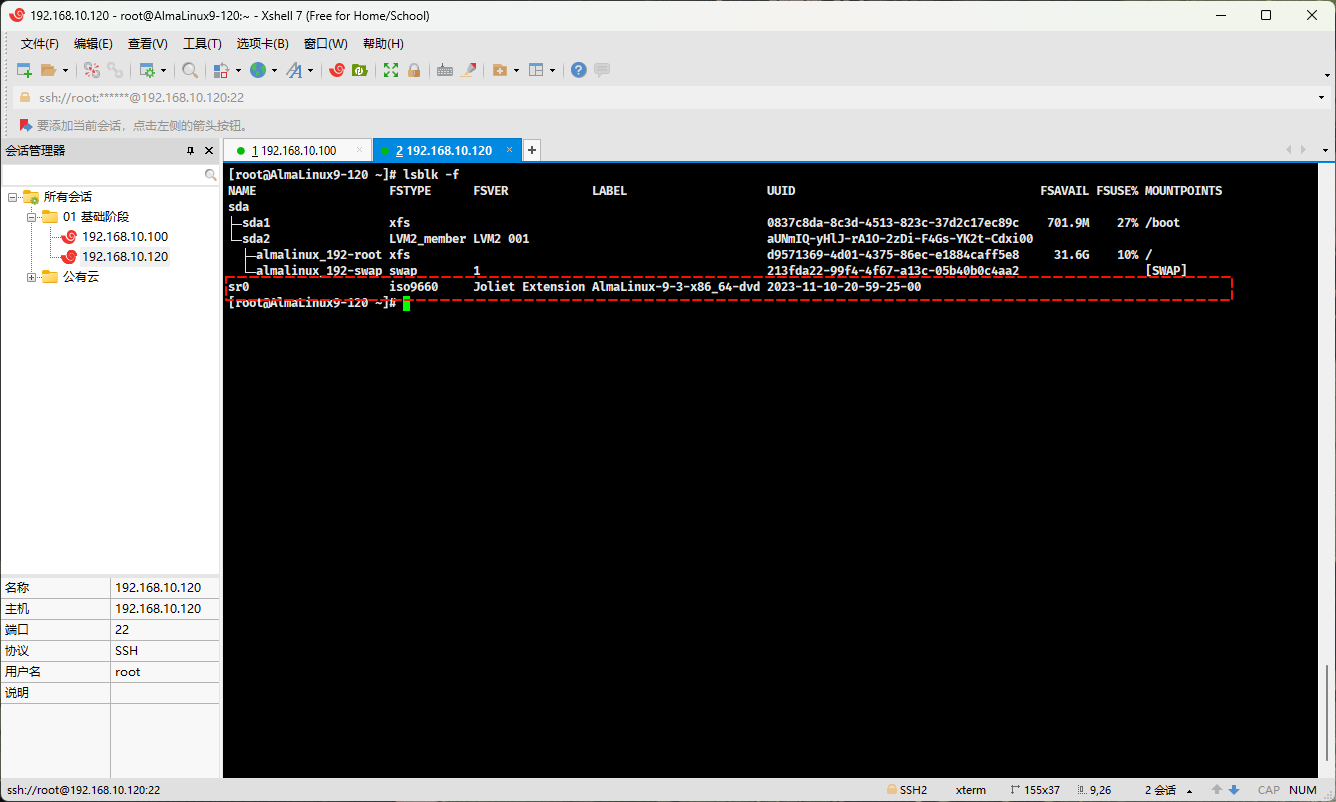
- 将 CD-ROM 挂载到
/var/www/html/almalinux/9中:
shell
mount /dev/sr0 /var/www/html/almalinux/9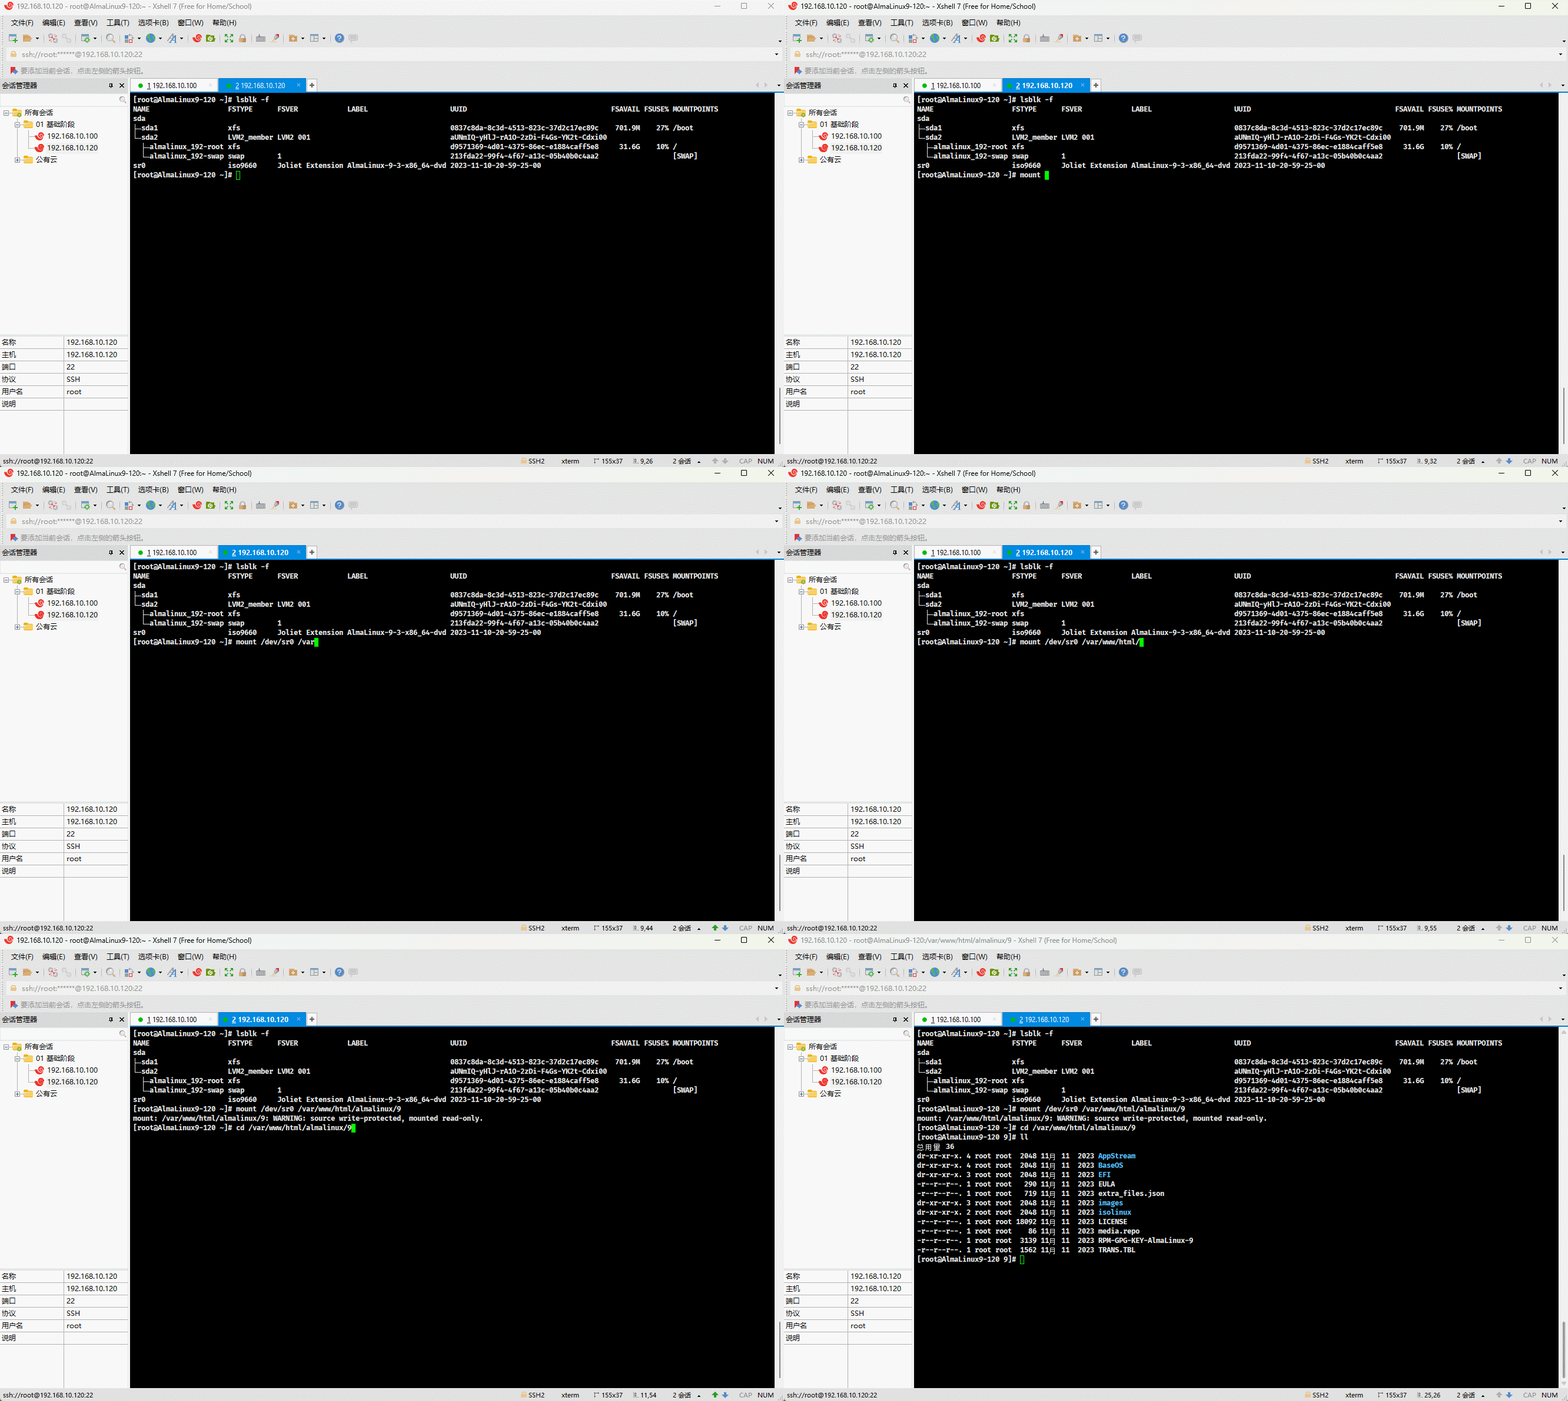
- 启动 httpd :
shell
systemctl enable --now httpd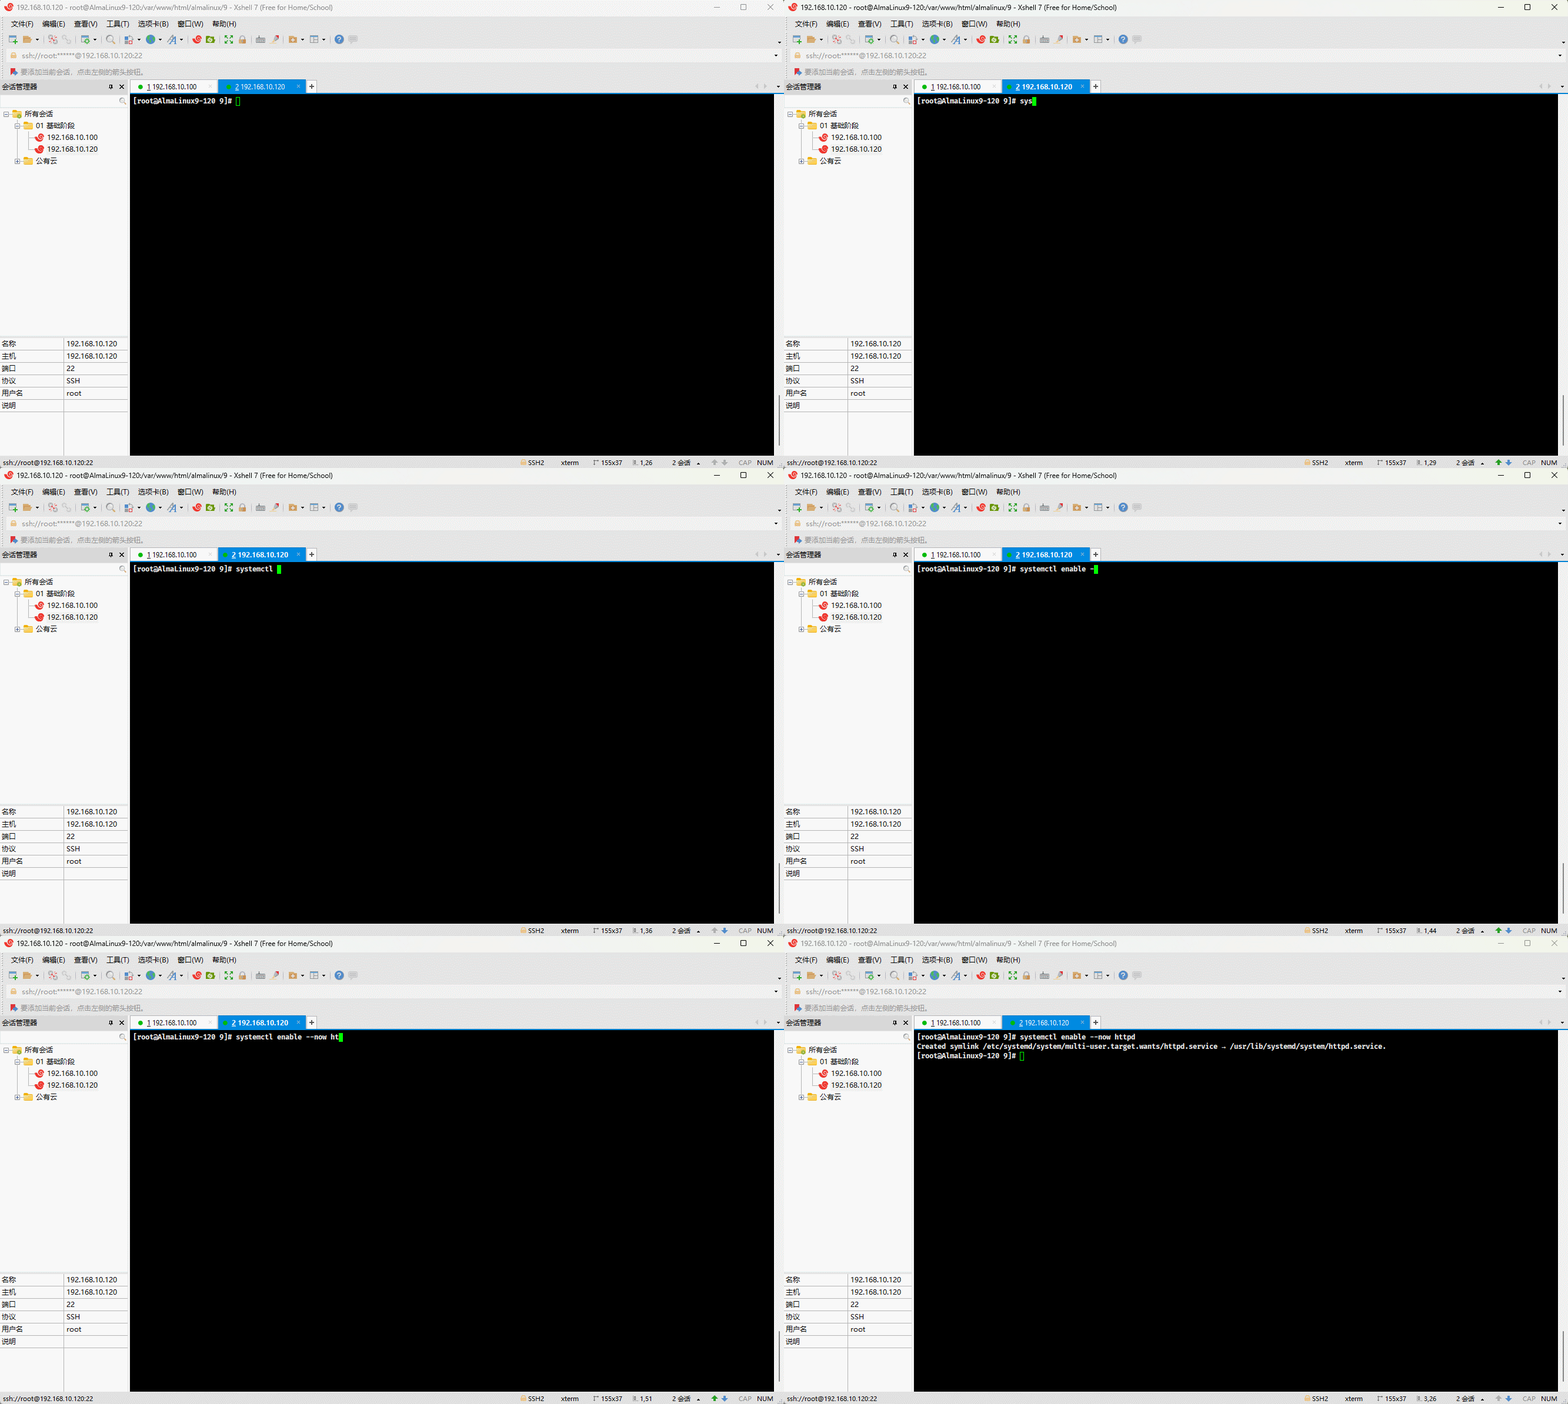
- 通过浏览器测试访问:
shell
http://192.168.10.120/almalinux/9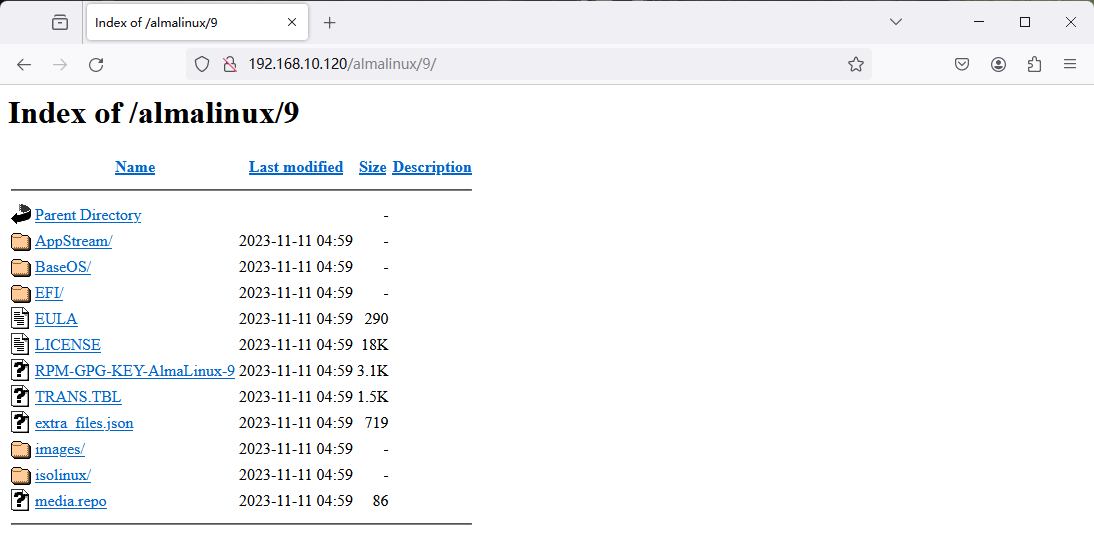
- 对于像 extras 这样的 YUM 仓库,在 CD-ROM 中是不存在,可以使用如下的命令,将互联网上的 YUM 仓库下载到本地:
shell
dnf reposync --repoid=extras --download-metadata -p /var/www/html/almalinux提醒
- ① 之所以这么配置,是因为
/var/www/html/almalinux/9是挂载目录,而挂载目录是只读的,不可以创建和删除内容。 - ② 上述配置的前提是,本机有 extras 仓库,并且该仓库是开启状态。
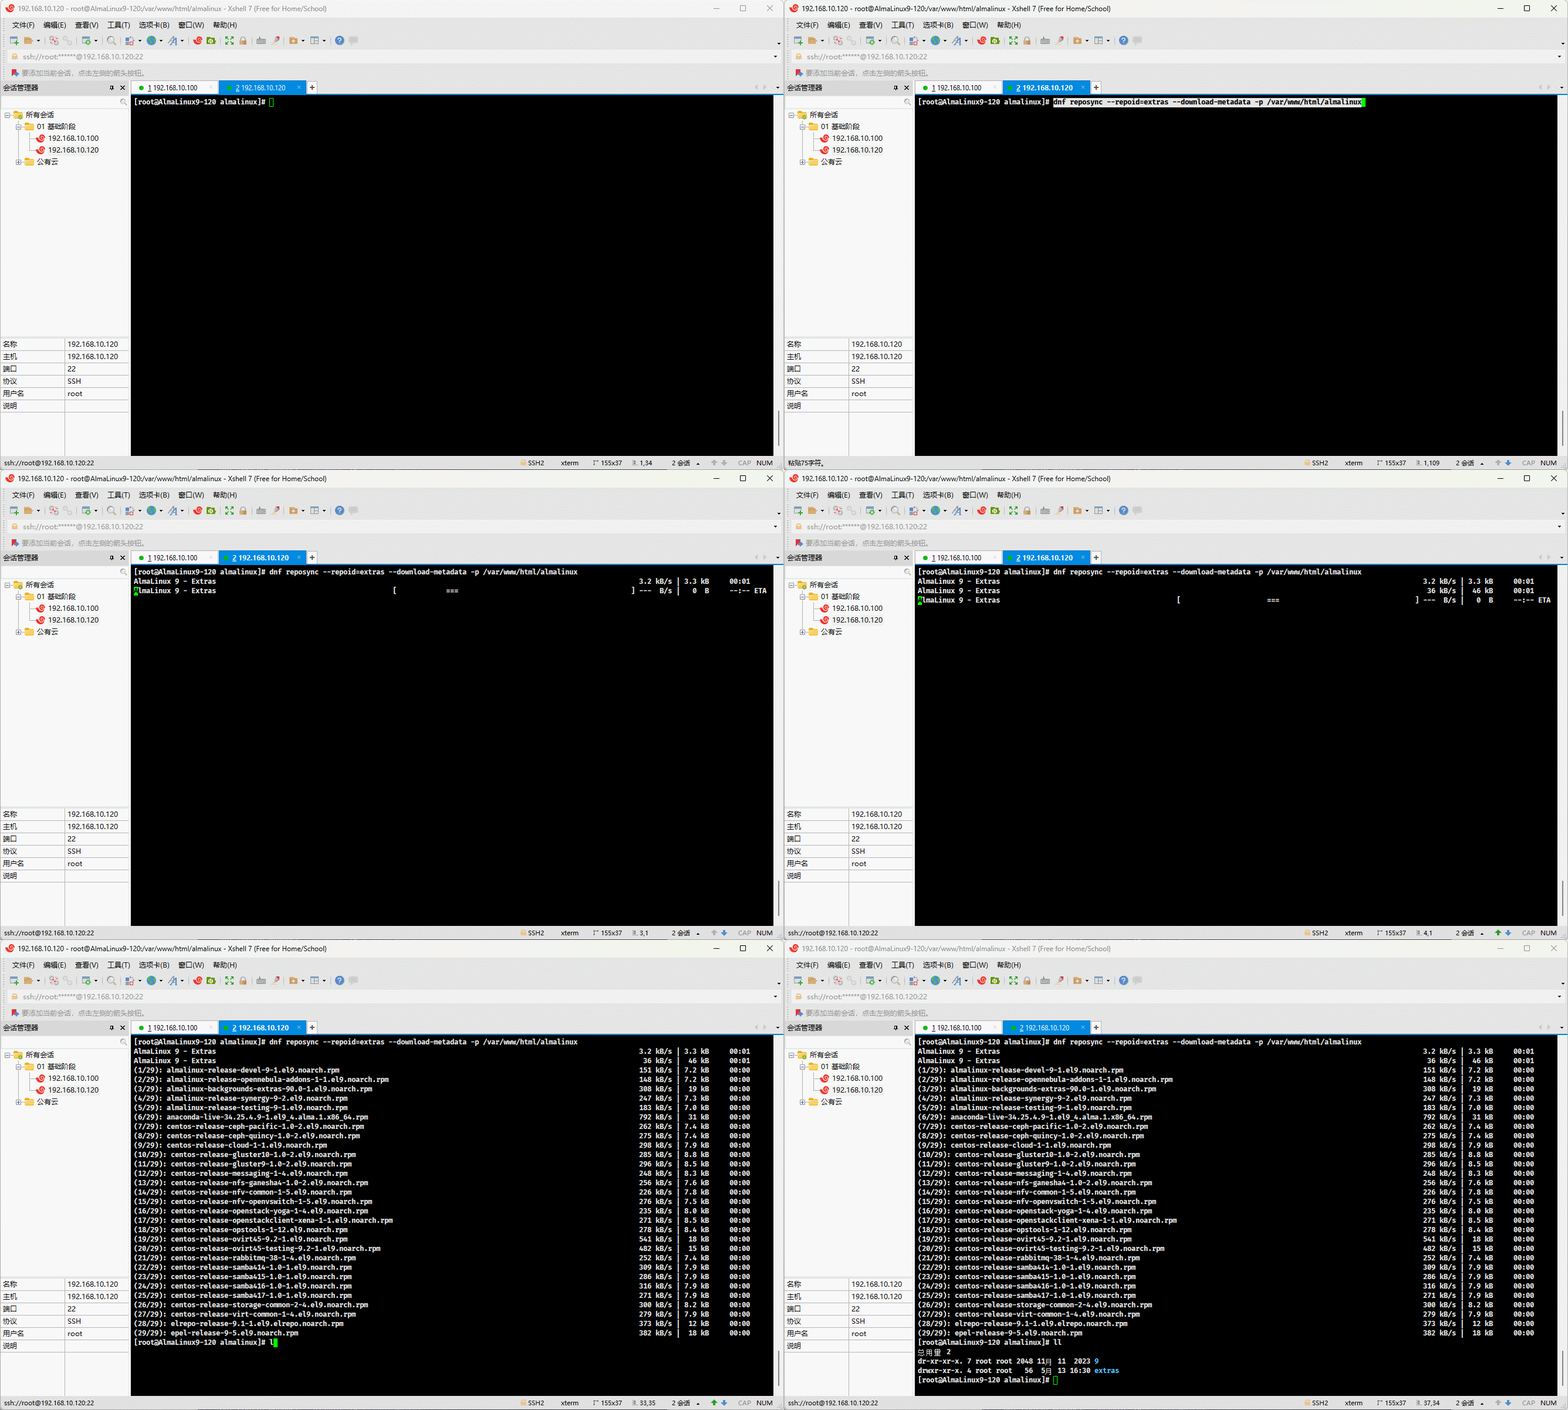
- 通过浏览器查看 extras 仓库:
shell
http://192.168.10.120/almalinux/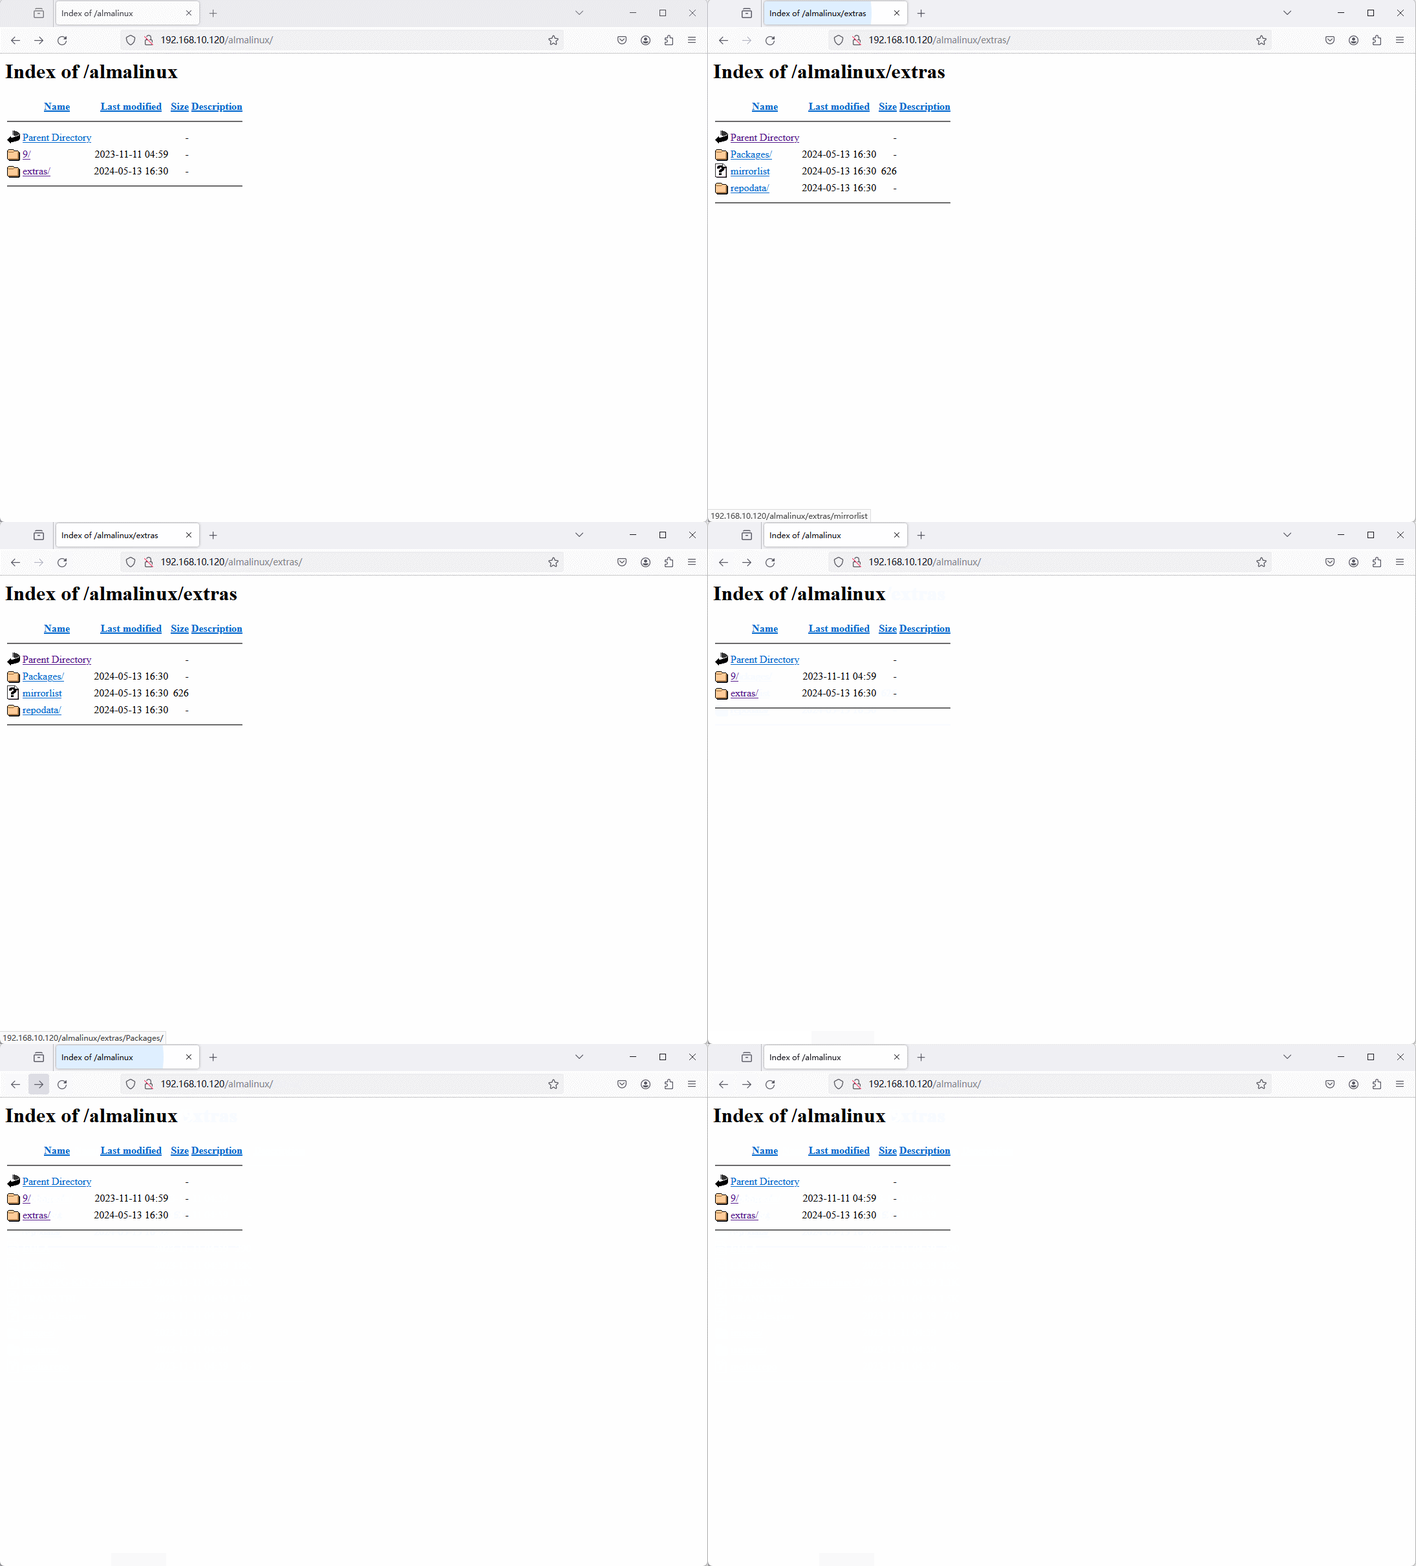
1.3 配置 YUM 源
- 所有的内网服务器配置 YUM 源:
shell
dnf config-manager --disable \* # 关闭所有的仓库shell
tee /etc/yum.repos.d/test.repo <<-'EOF'
[test-baseos]
name=AlmaLinux $releasever - test-BaseOS
baseurl=http://192.168.10.120/almalinux/9/BaseOS/
enabled=1
gpgcheck=1
countme=1
gpgkey=http://192.168.10.120/almalinux/9/RPM-GPG-KEY-AlmaLinux-9
metadata_expire=86400
enabled_metadata=1

[test-BaseOS]
name=AlmaLinux $releasever - test-AppStream
baseurl=http://192.168.10.120/almalinux/9/AppStream/
enabled=1
gpgcheck=1
countme=1
gpgkey=http://192.168.10.120/almalinux/9/RPM-GPG-KEY-AlmaLinux-9
metadata_expire=86400
enabled_metadata=1

[test-extras]
name=AlmaLinux $releasever - test-extras
baseurl=http://192.168.10.120/almalinux/extras/
enabled=1
gpgcheck=1
countme=1
gpgkey=http://192.168.10.120/almalinux/9/RPM-GPG-KEY-AlmaLinux-9
metadata_expire=86400
enabled_metadata=1
EOF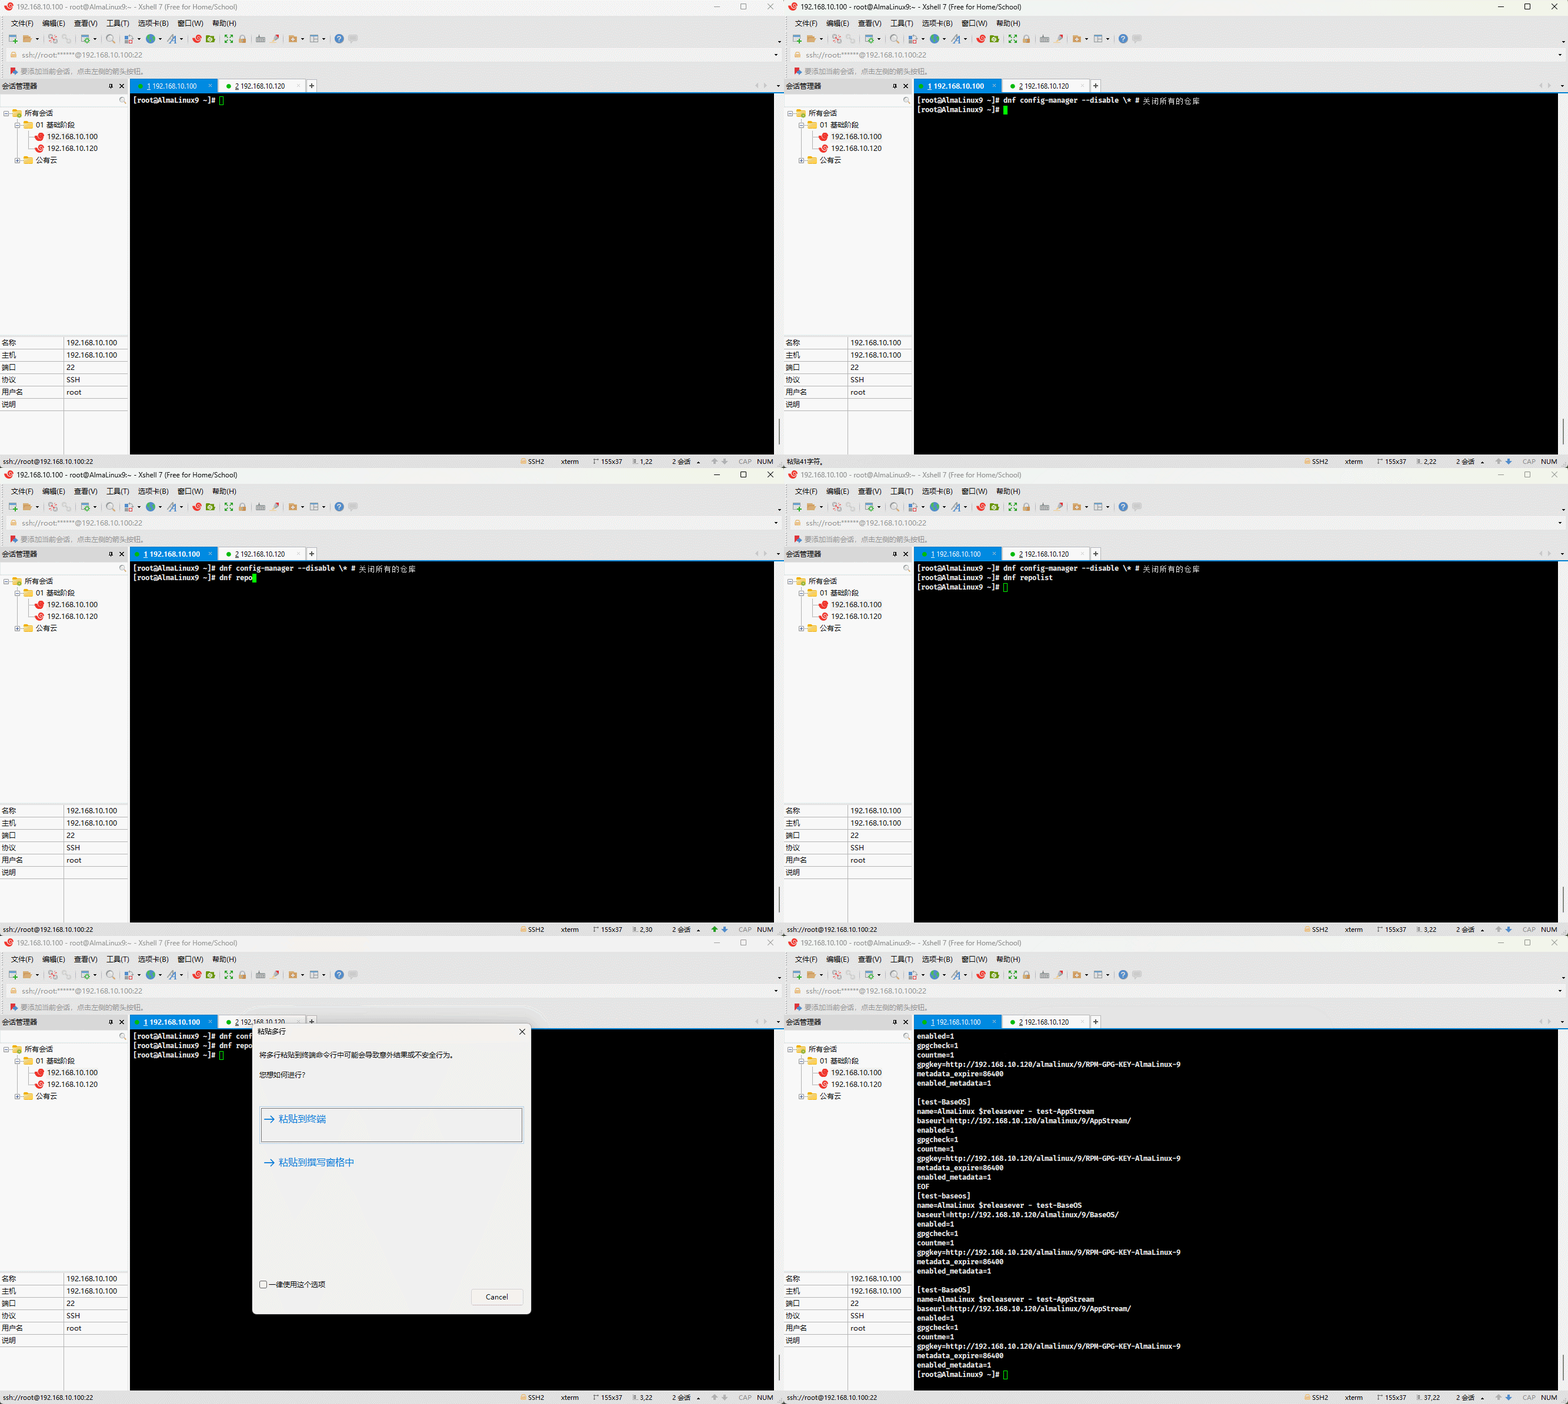
- 生成缓存:
shell
dnf makecache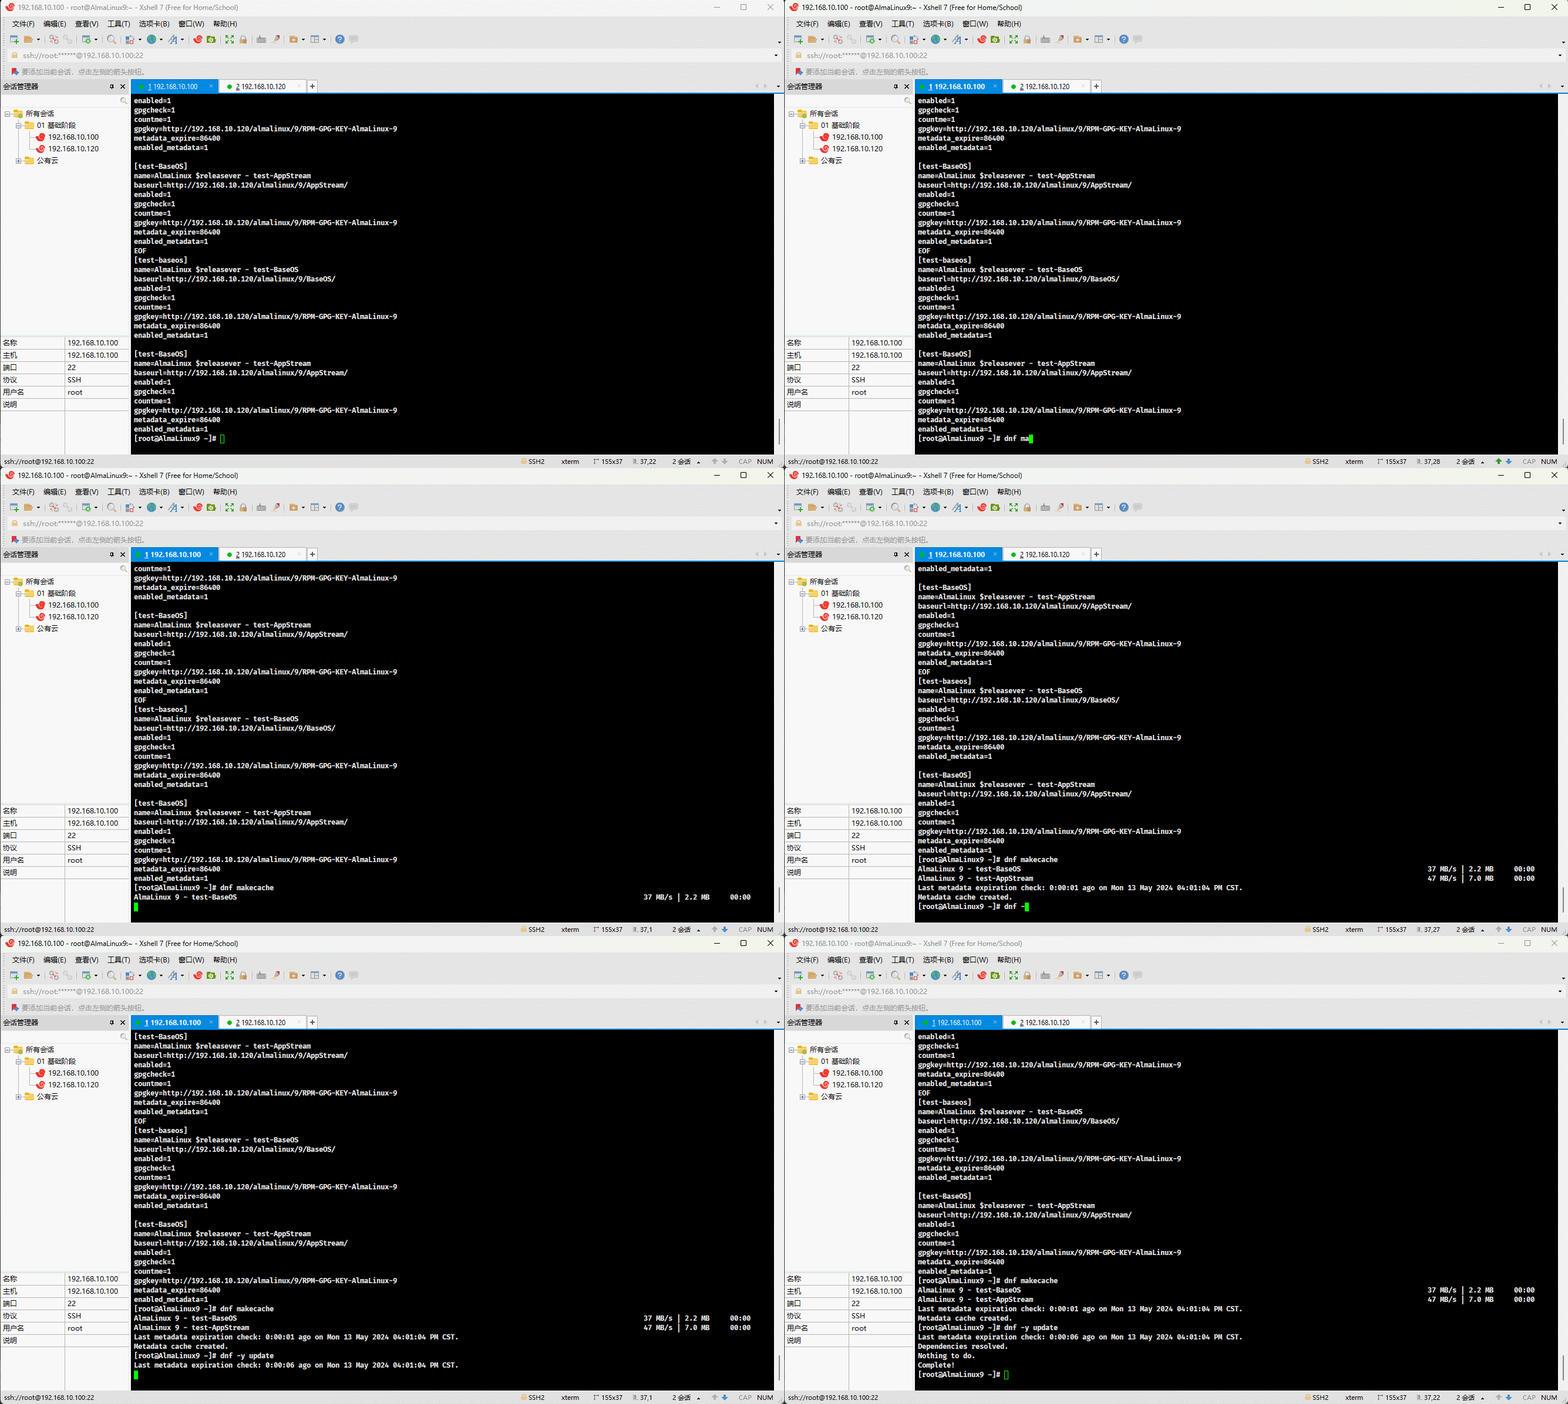
- 安装软件进行测试:
shell
dnf -y install java-21*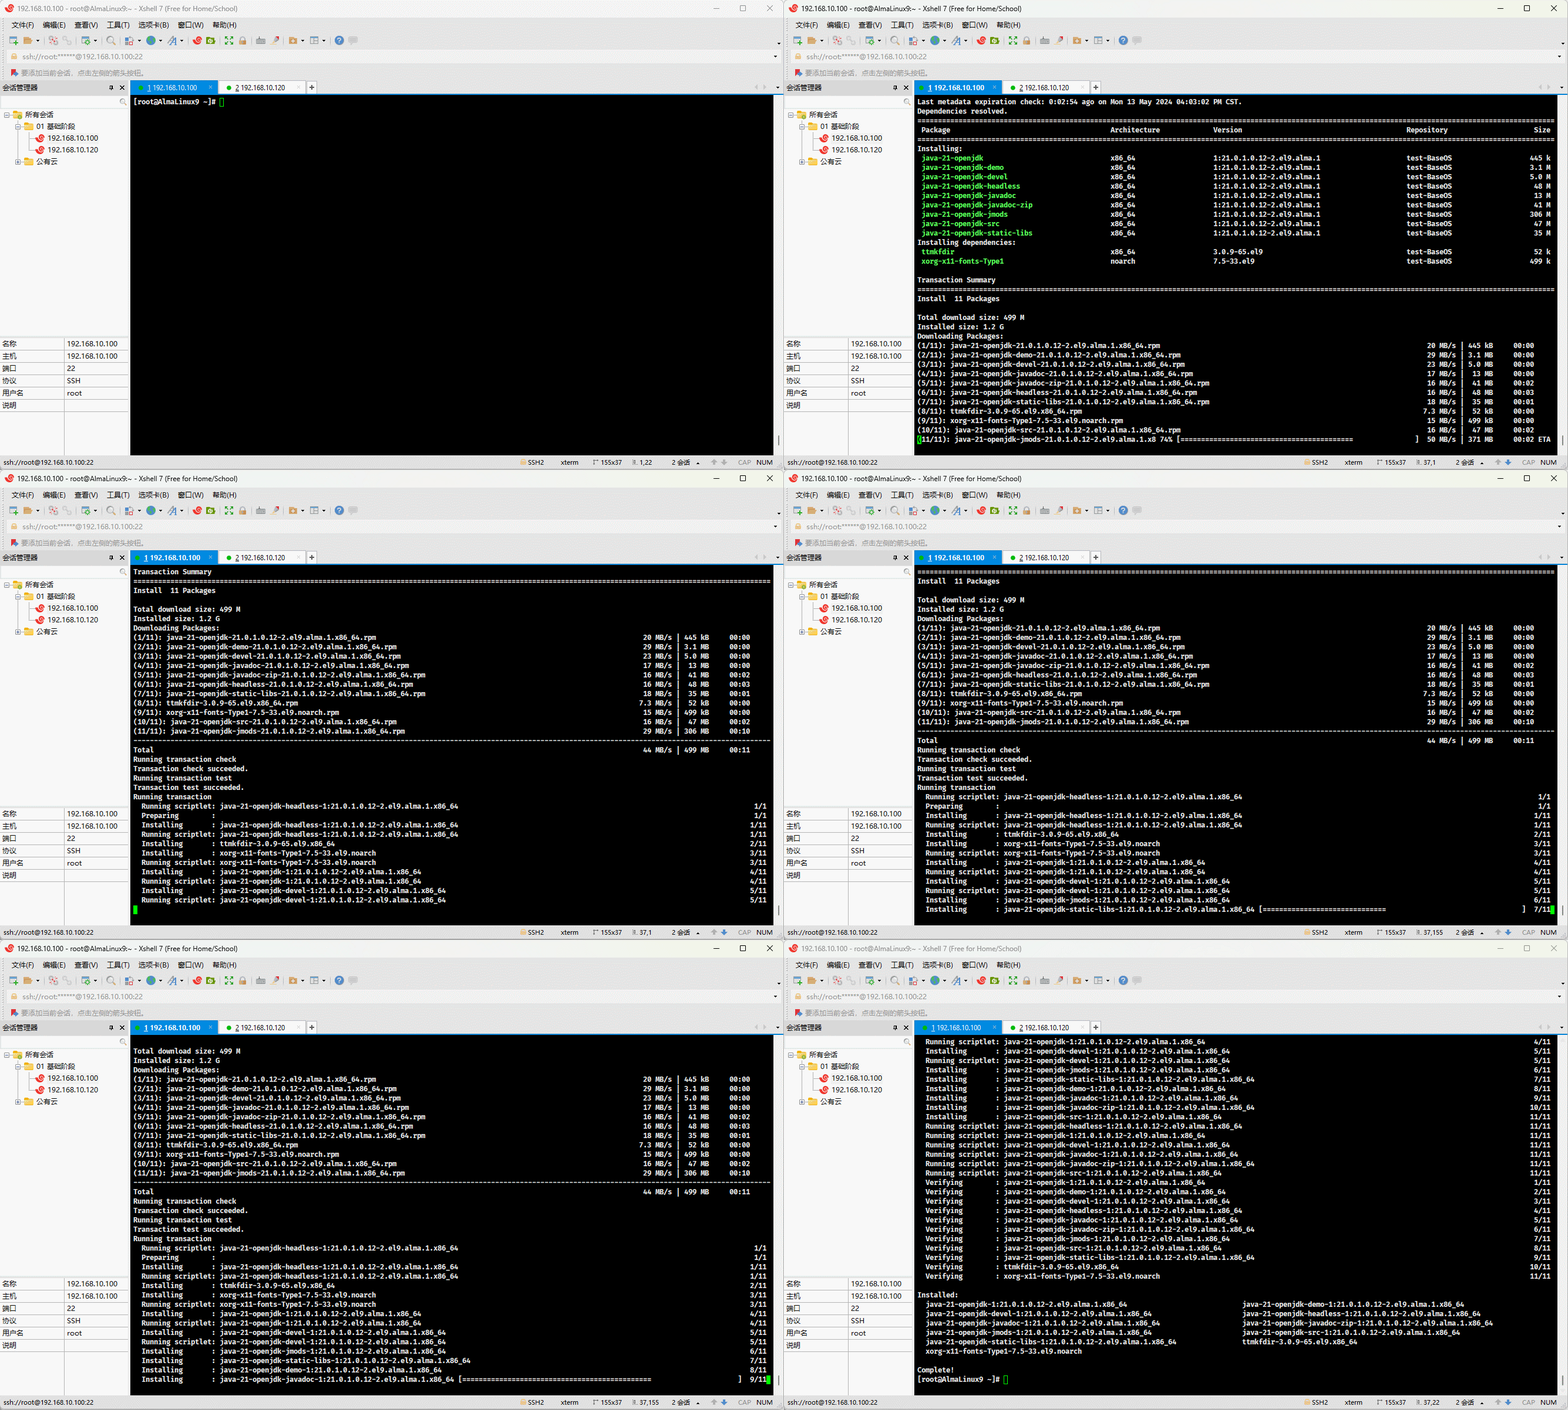
第二章:编译(源码)安装
2.1 安装 cmatrix
- 下载源码:
shell
wget https://github.com/abishekvashok/cmatrix/releases/download/v2.0/cmatrix-v2.0-Butterscotch.tar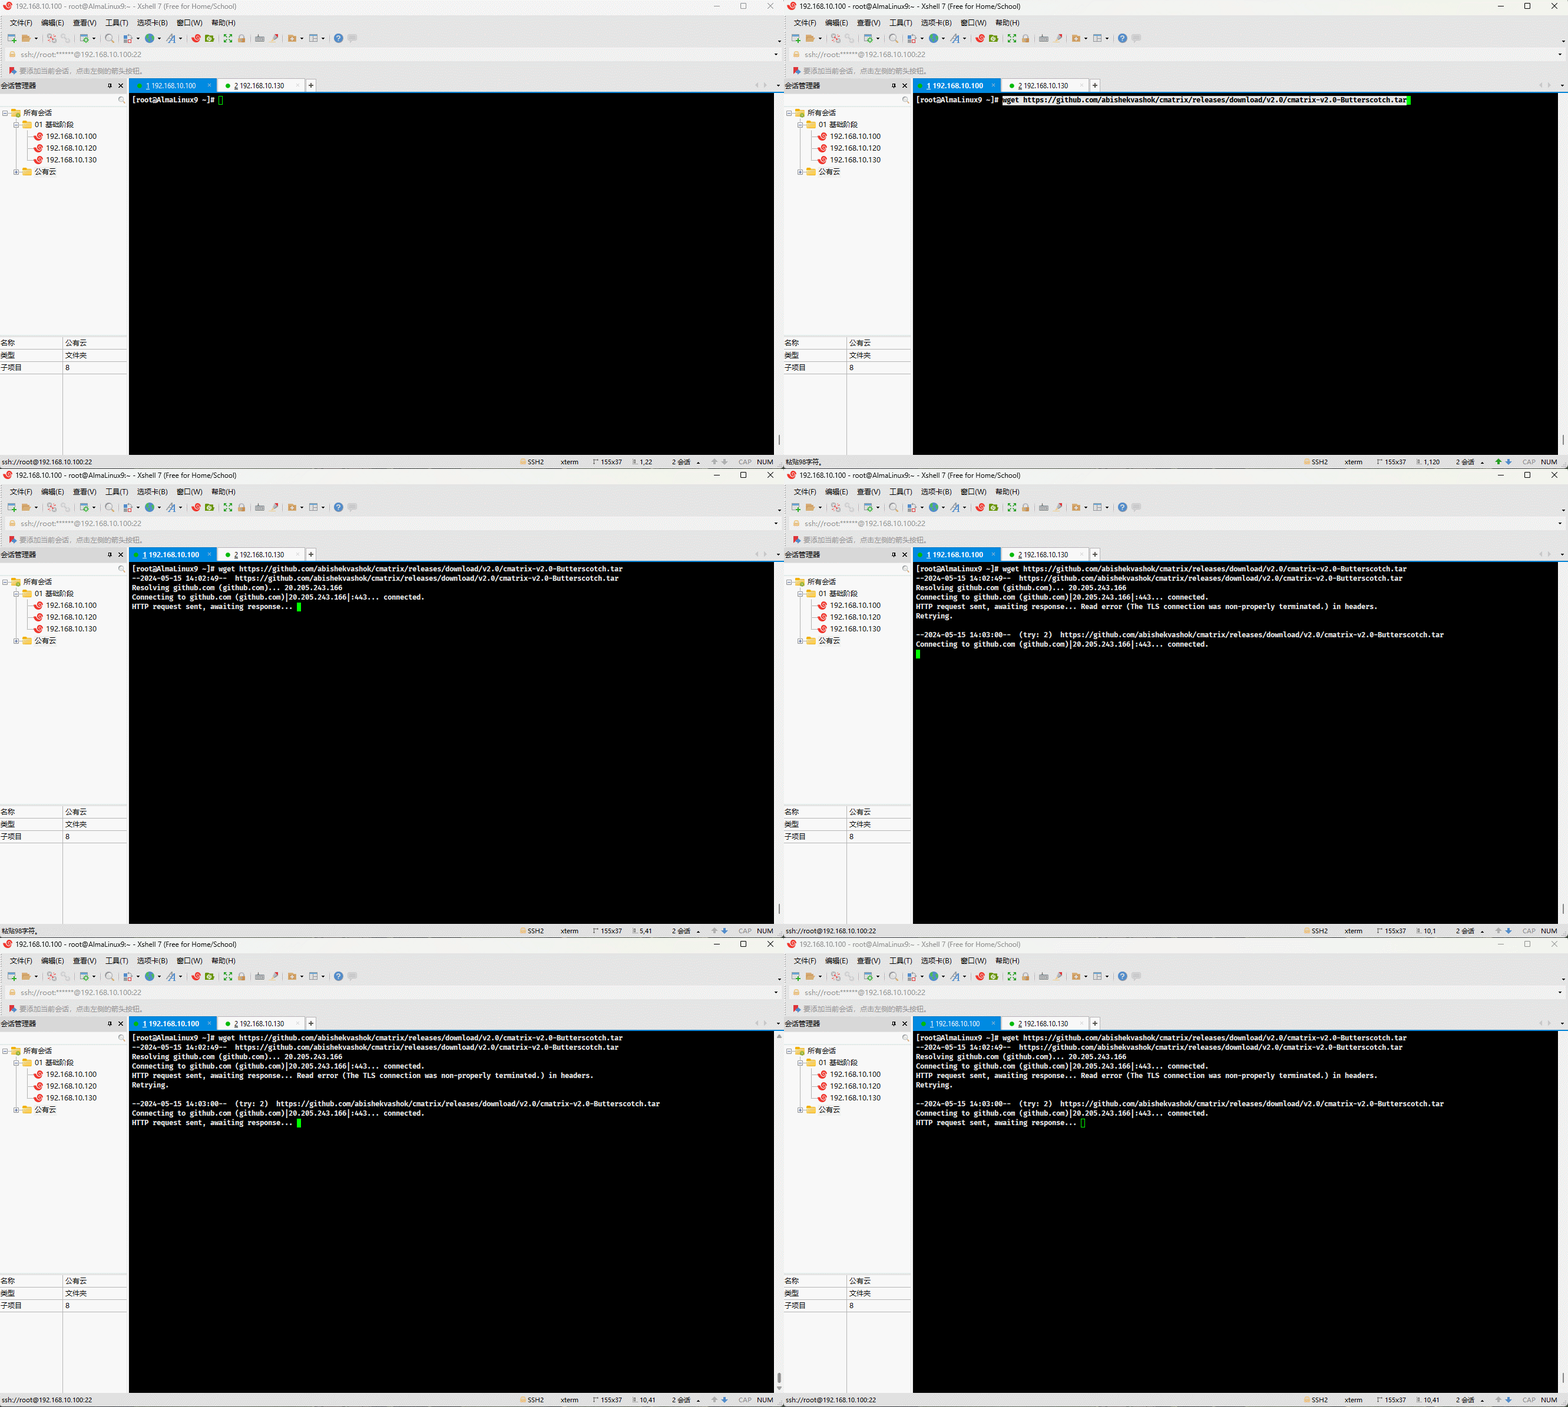
- 安装依赖:
shell
dnf -y install gcc make autoconf ncurses-devel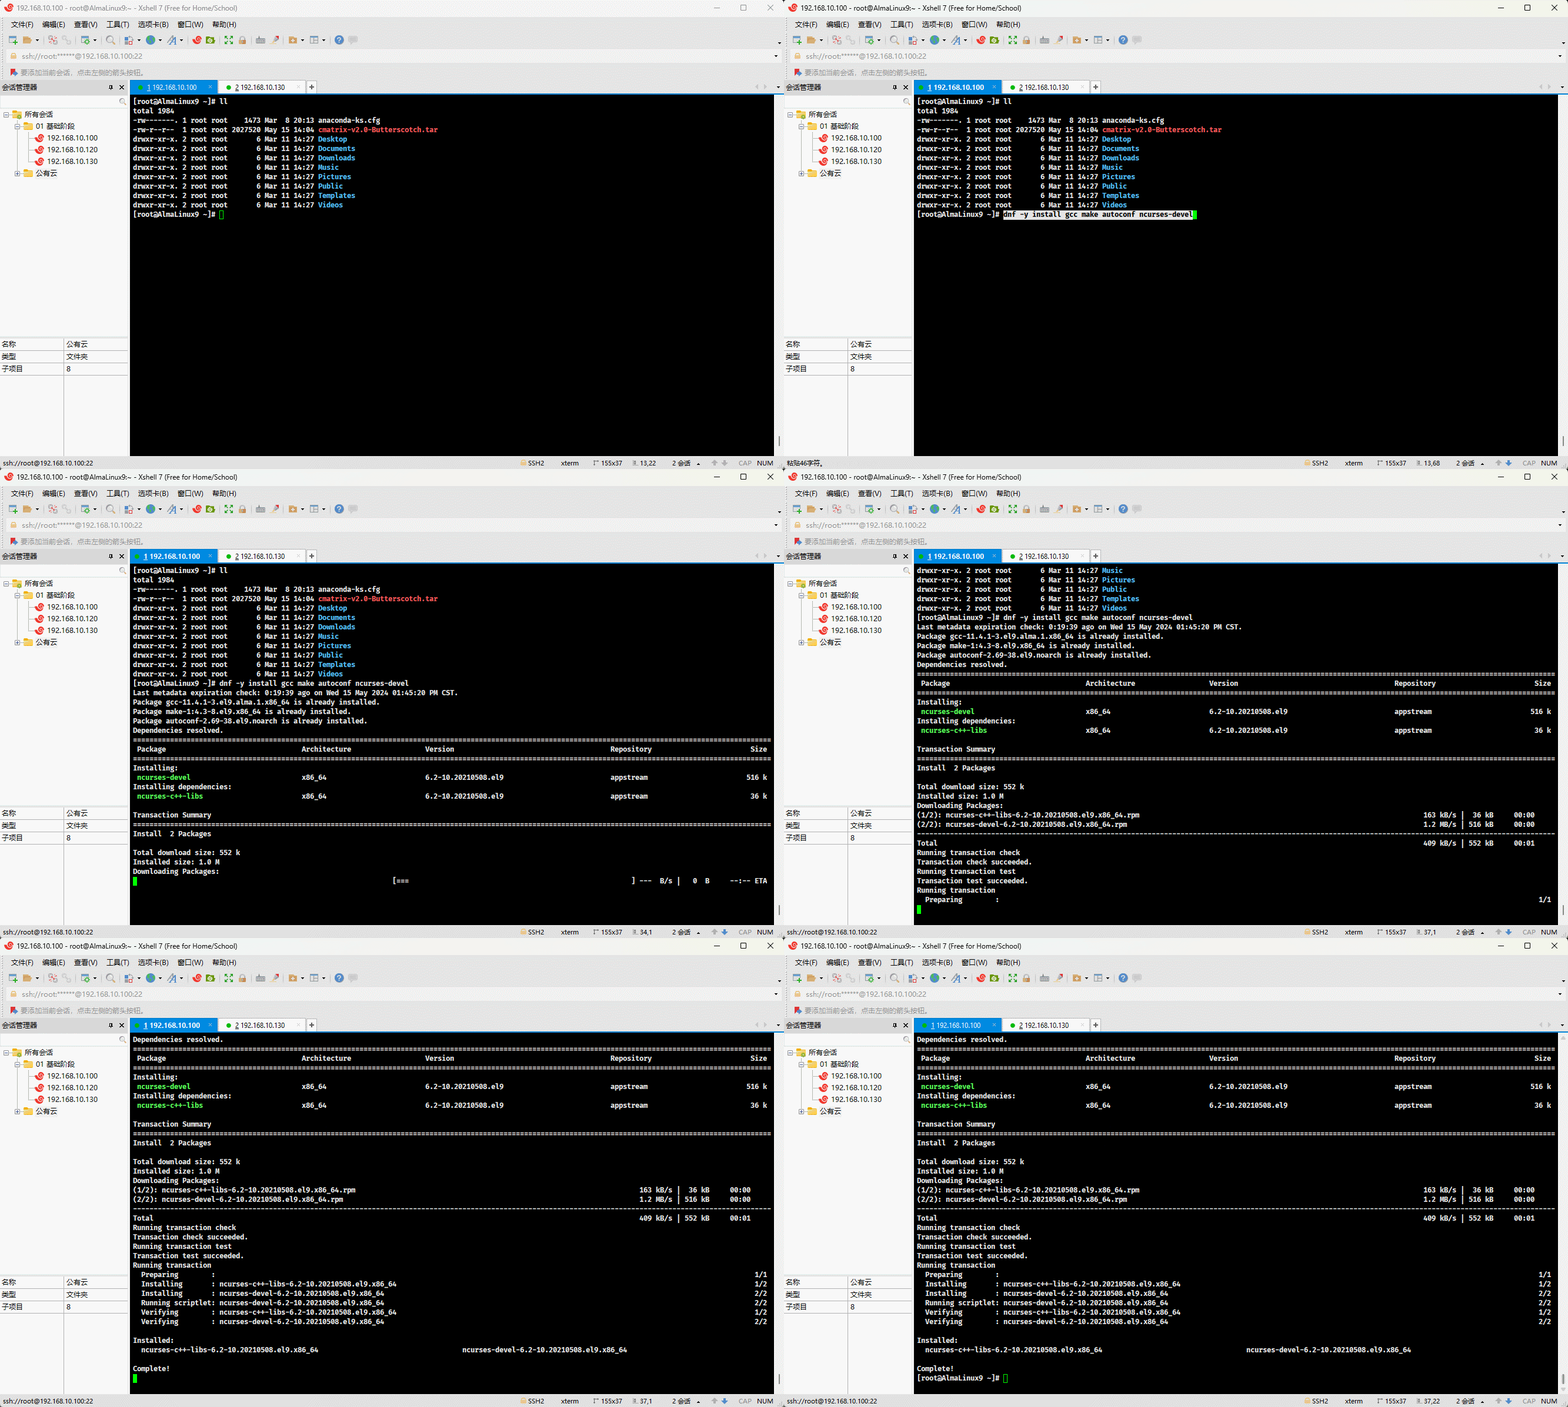
- 解压到指定目录:
shell
tar -xvf cmatrix-v2.0-Butterscotch.tar -C /usr/local/src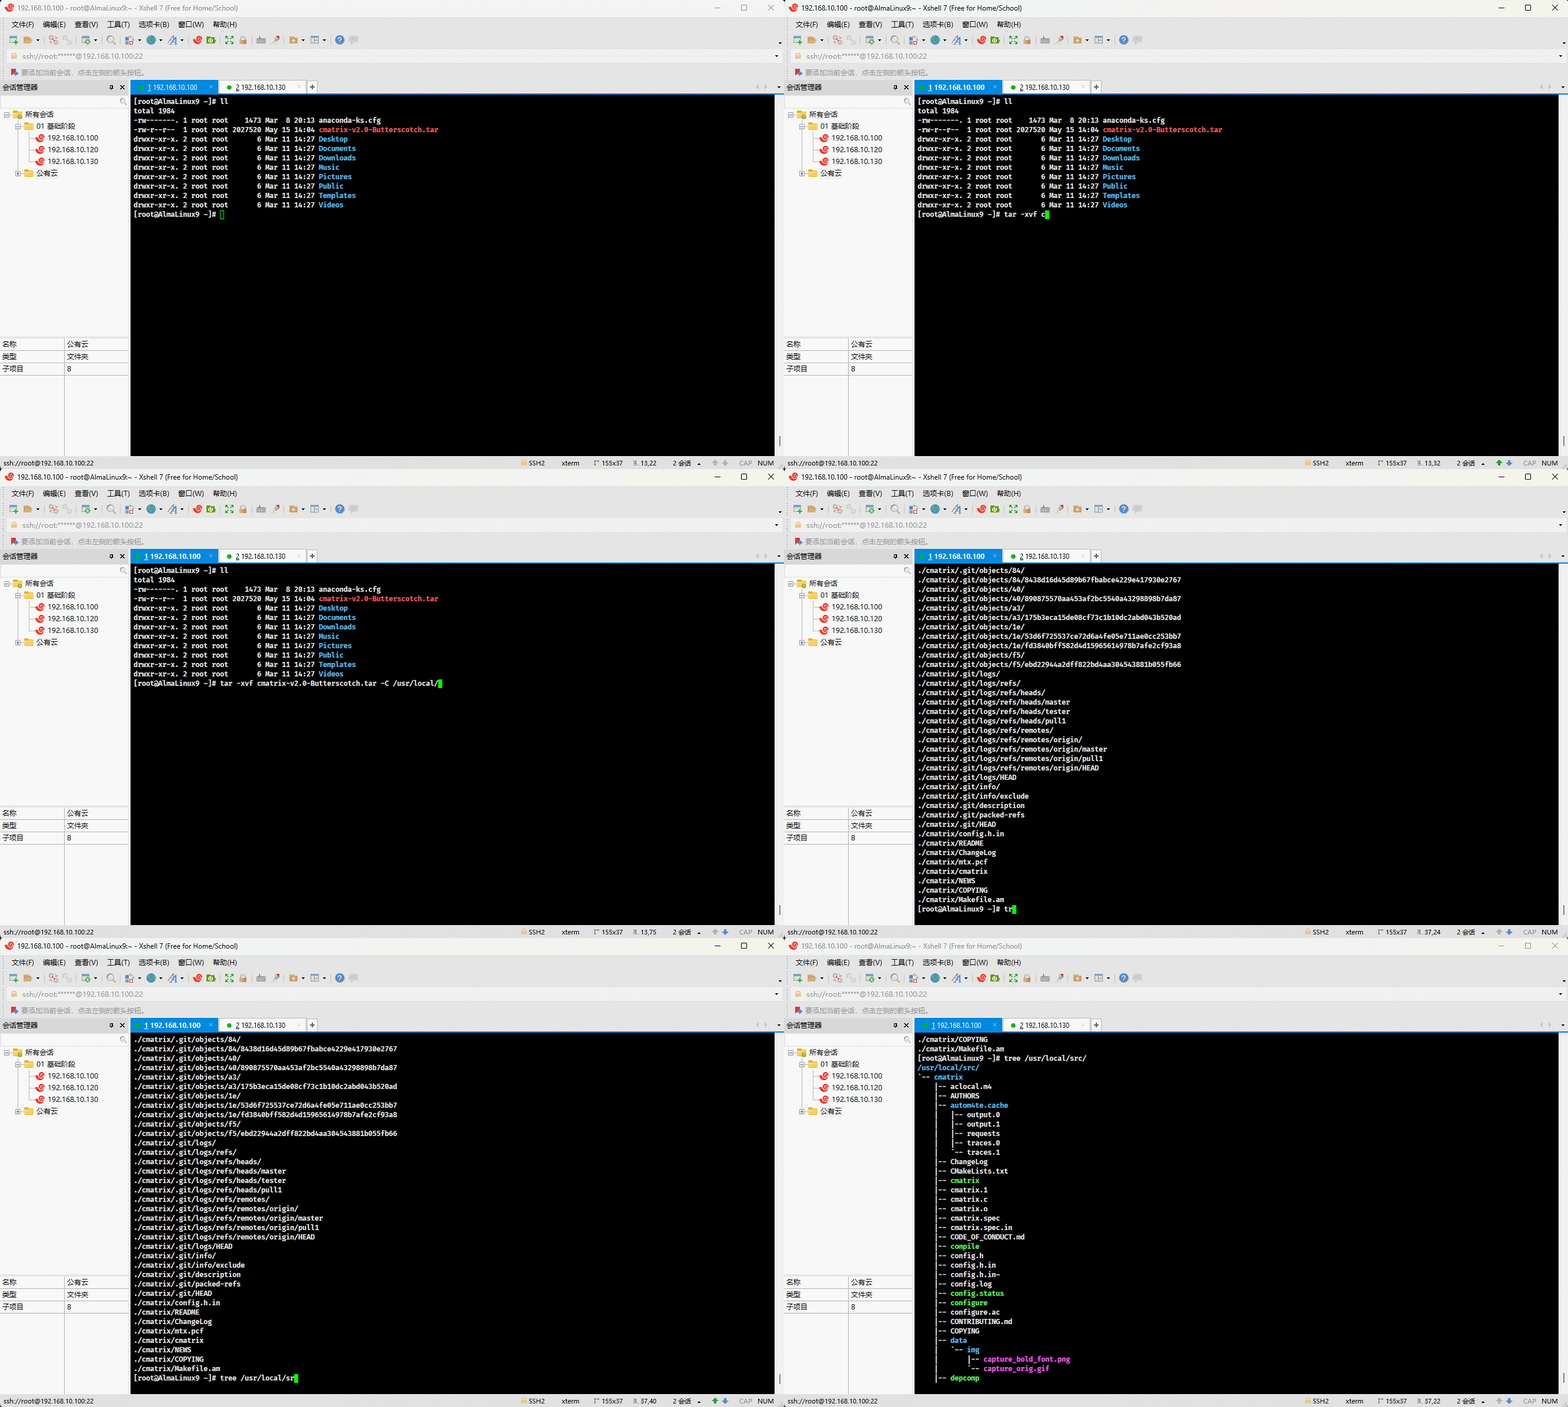
- 配置:
shell
cd /usr/local/src/cmatrixshell
./configure --prefix=/usr/local/cmatrix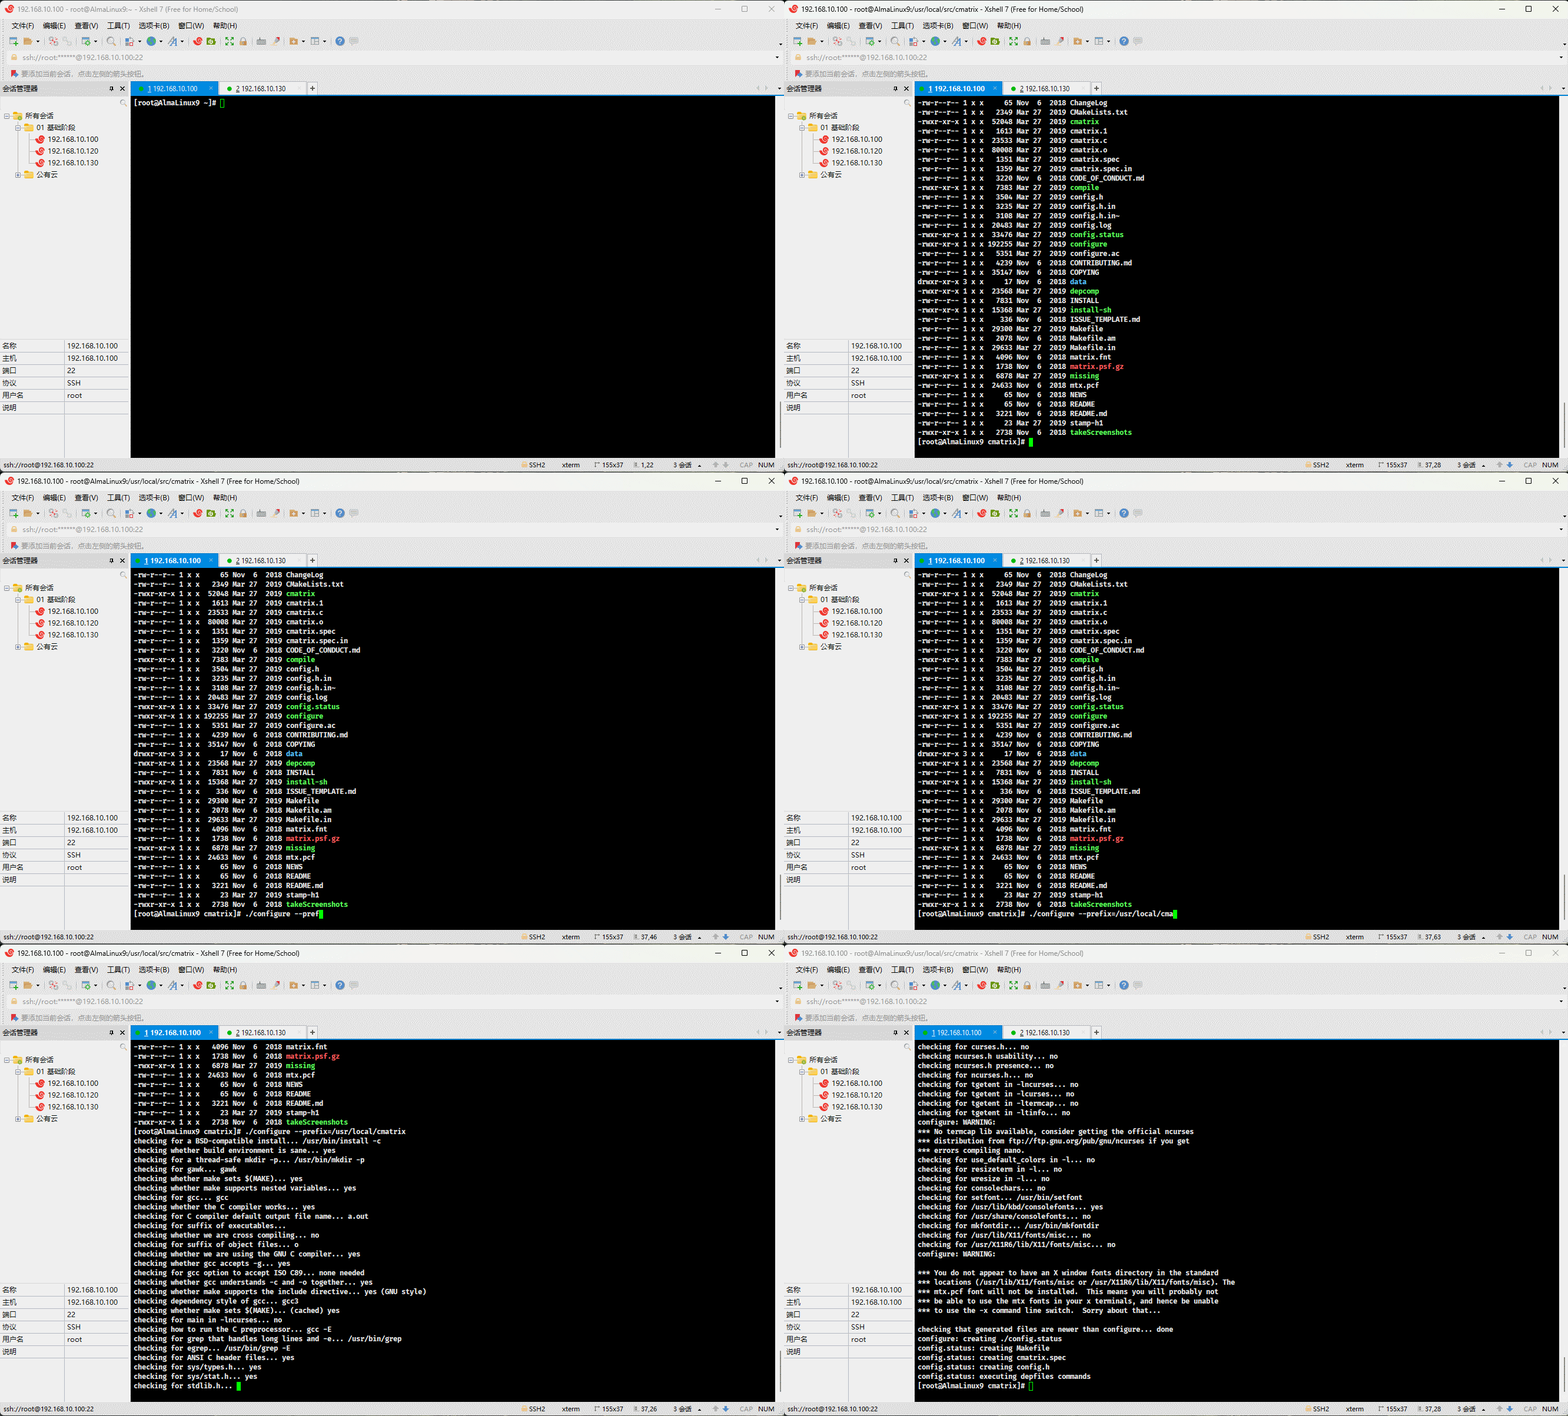
- 查看 CPU 核数:
shell
lscpu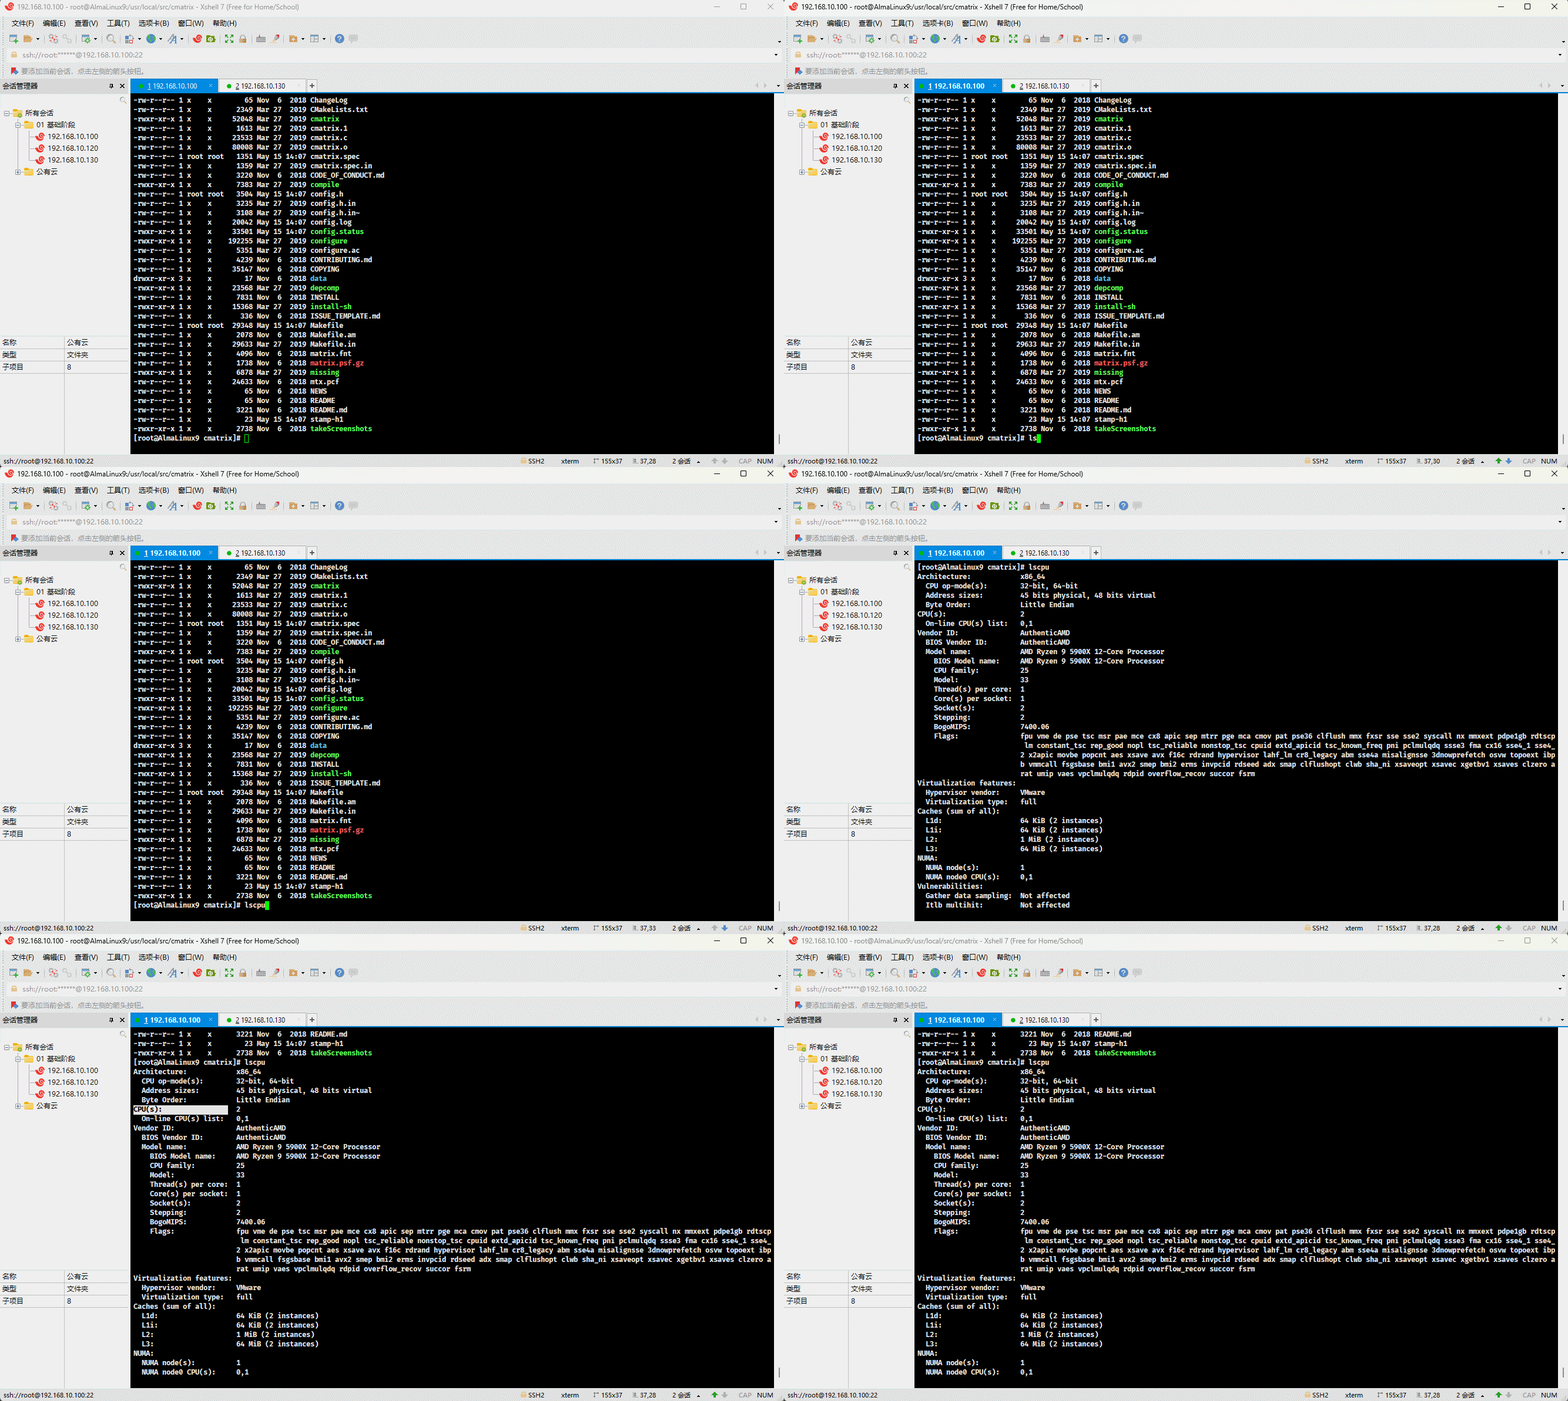
- 编译和安装:
shell
make -j 2 && make install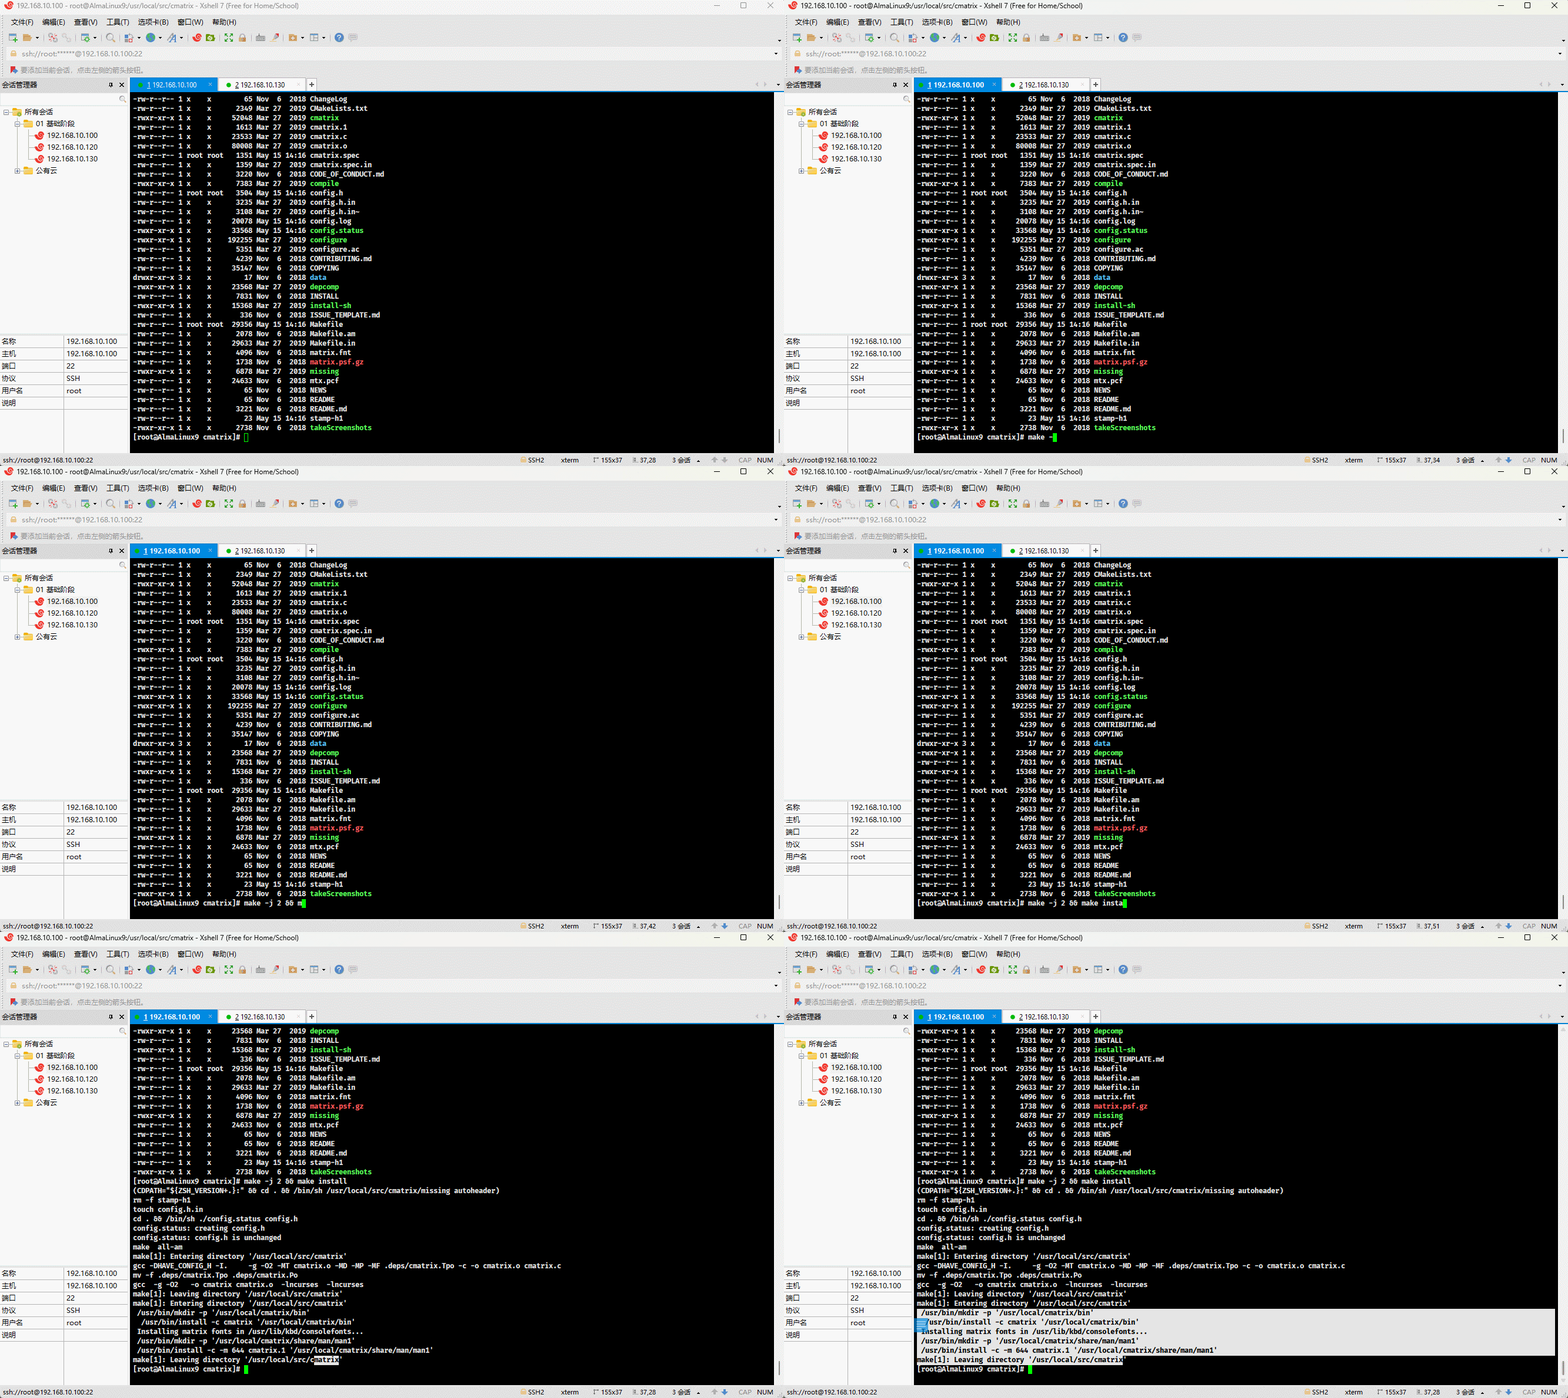
- 使用软链接将 cmatrix 命令链接到 /usr/local/bin 目录下:
shell
ln -sv /usr/local/cmatrix/bin/cmatrix /usr/local/bin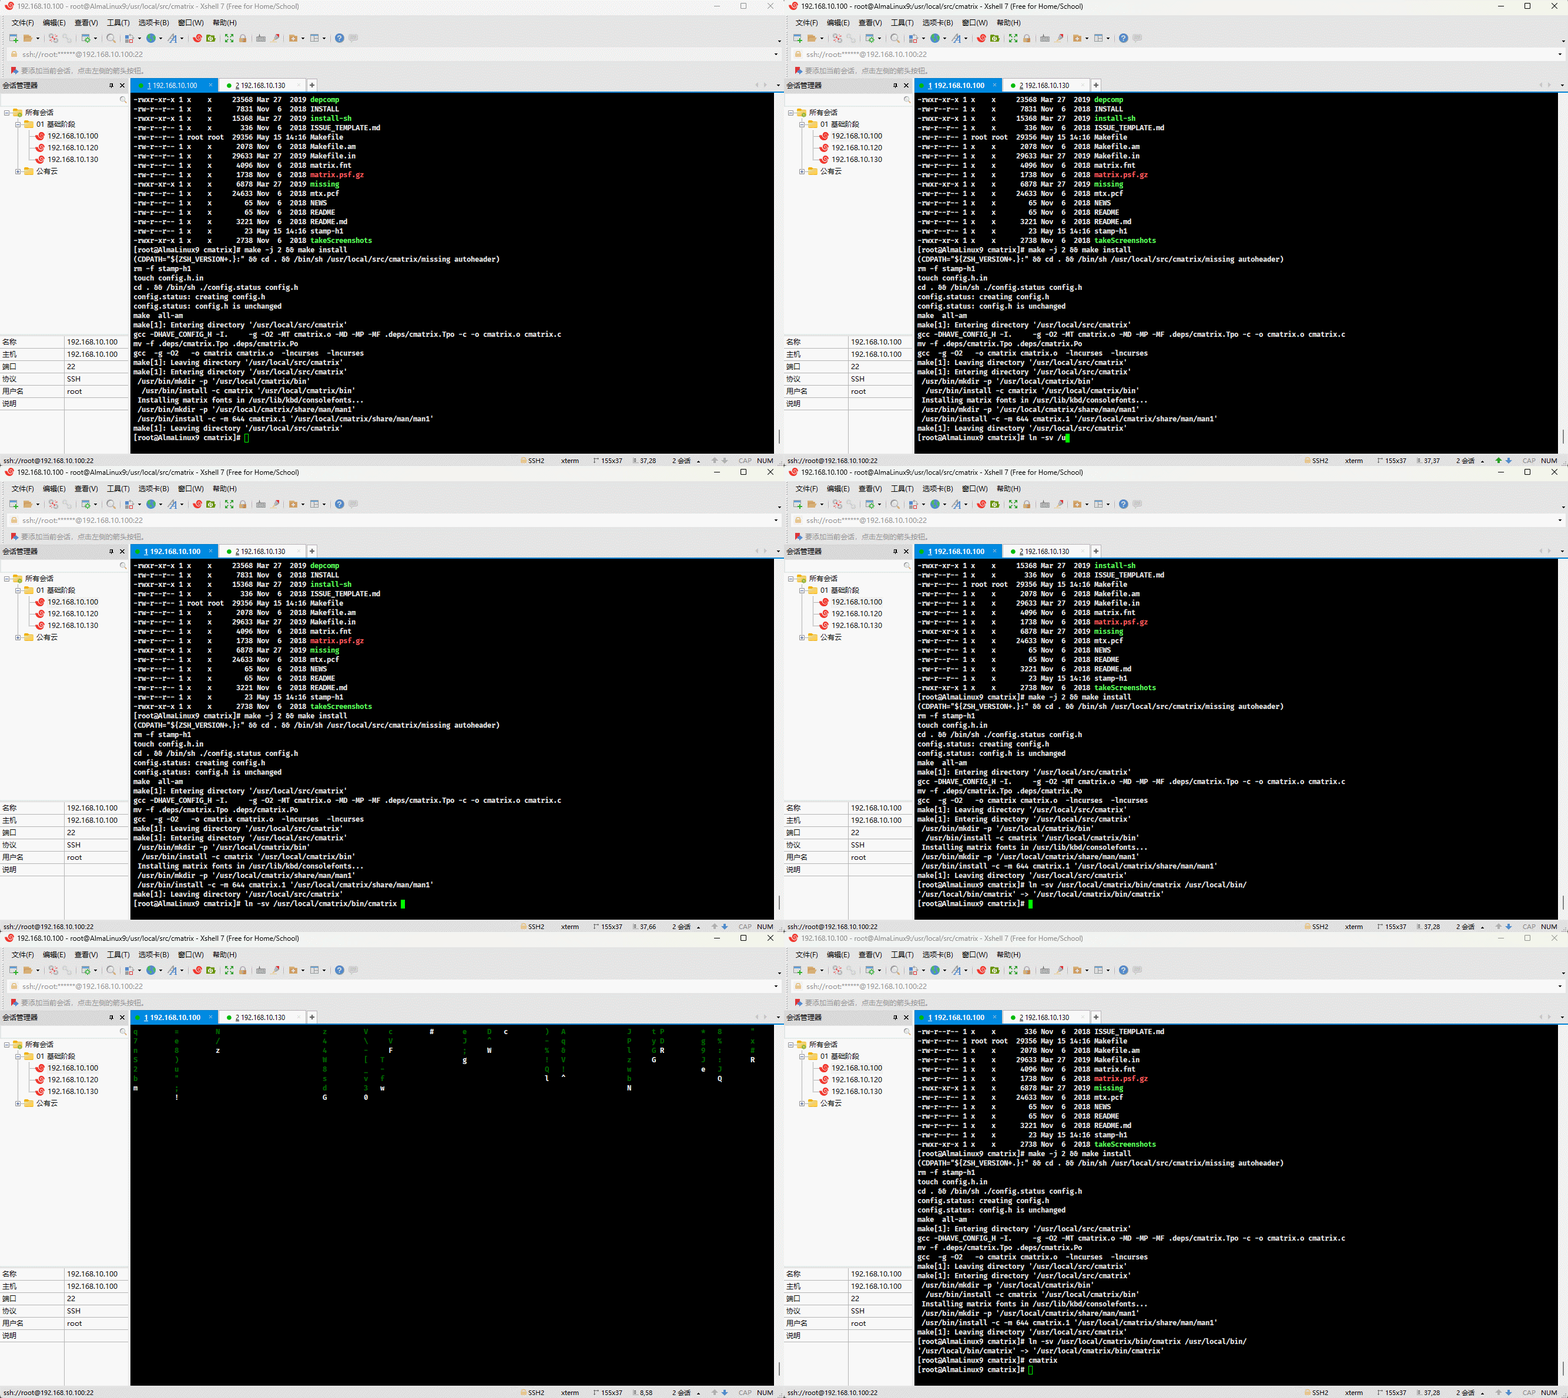
- 查看 cmatrix 的命令帮助路径:
shell
tree /usr/local/cmatrix/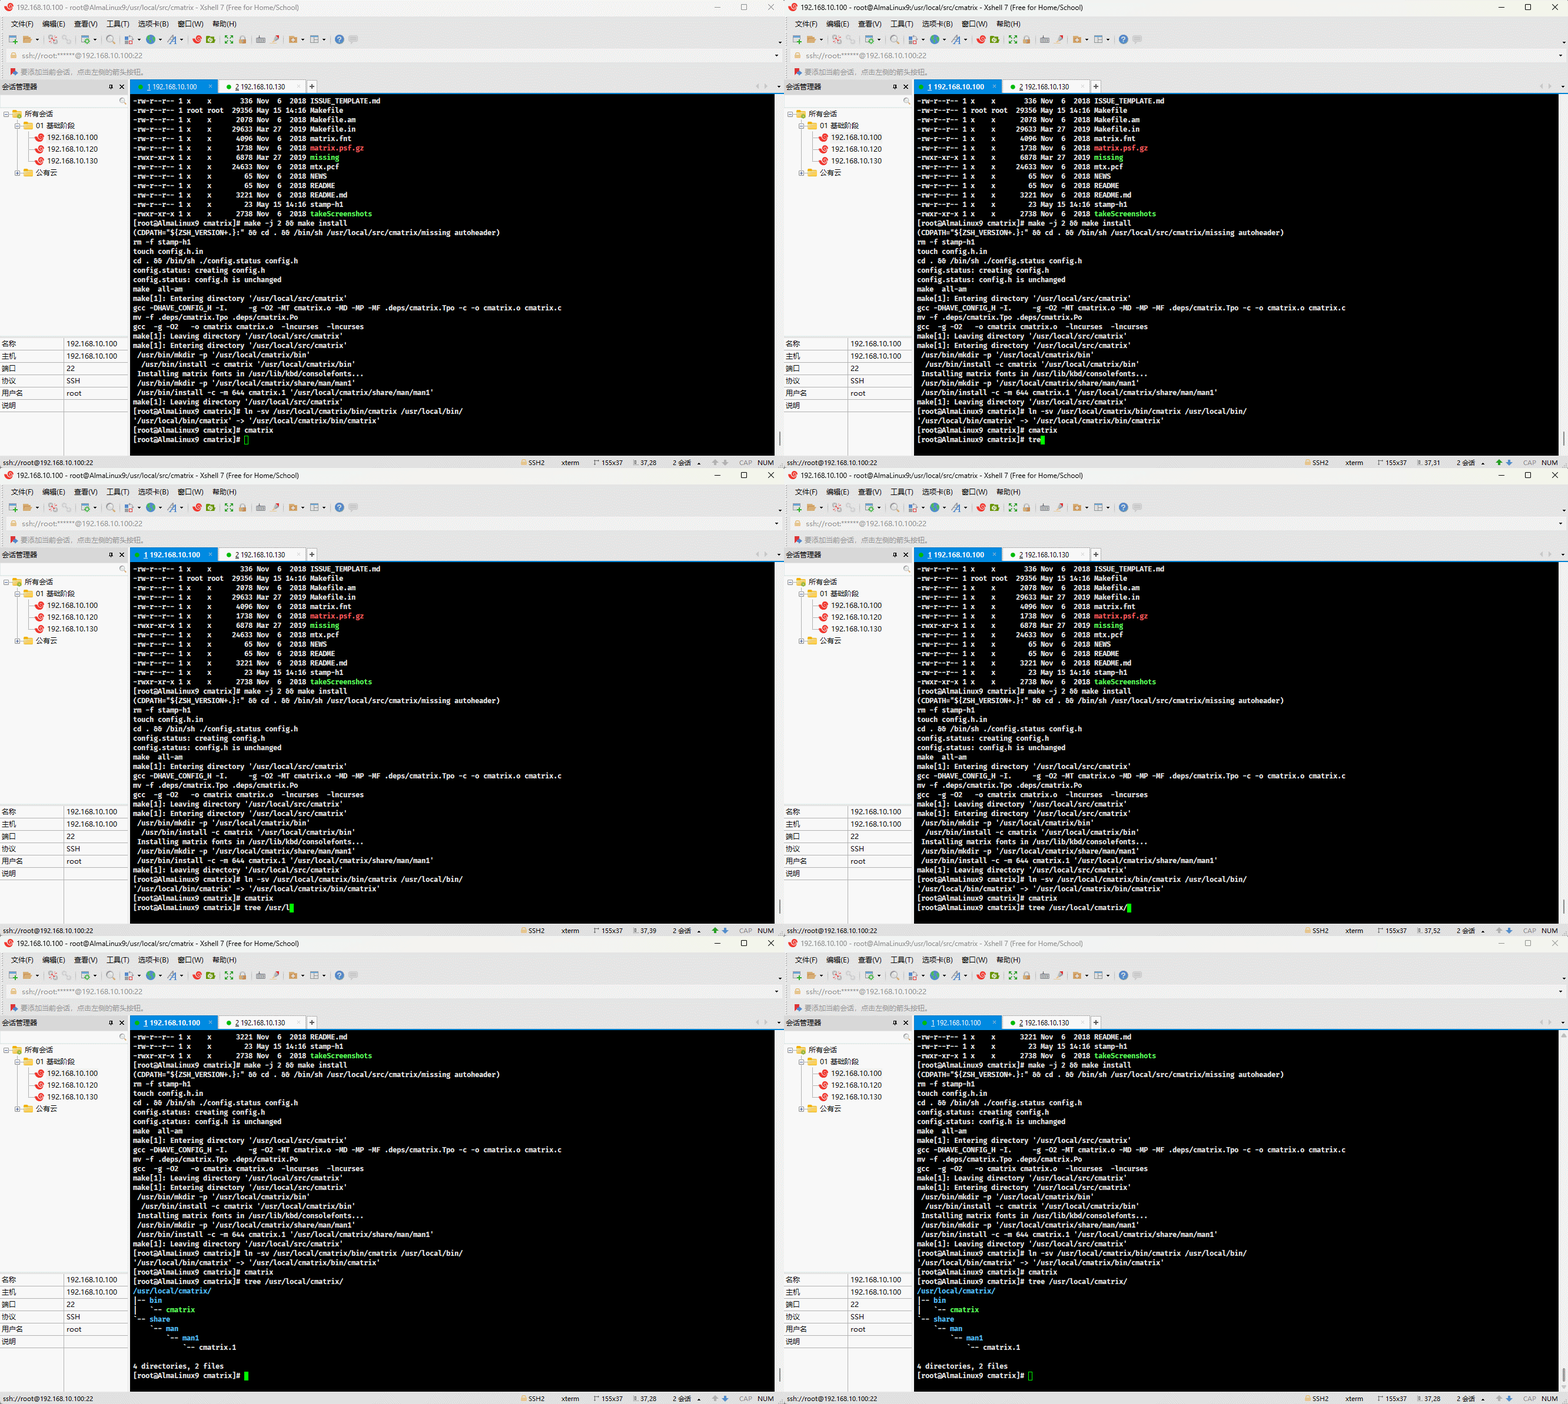
- 配置 cmatrix 命令帮助手册:
shell
vim /etc/man_db.confshell
MANDATORY_MANPATH                       /usr/man
MANDATORY_MANPATH                       /usr/share/man
MANDATORY_MANPATH                       /usr/local/share/man
MANDATORY_MANPATH                       /usr/local/cmatrix/share/man  # 增加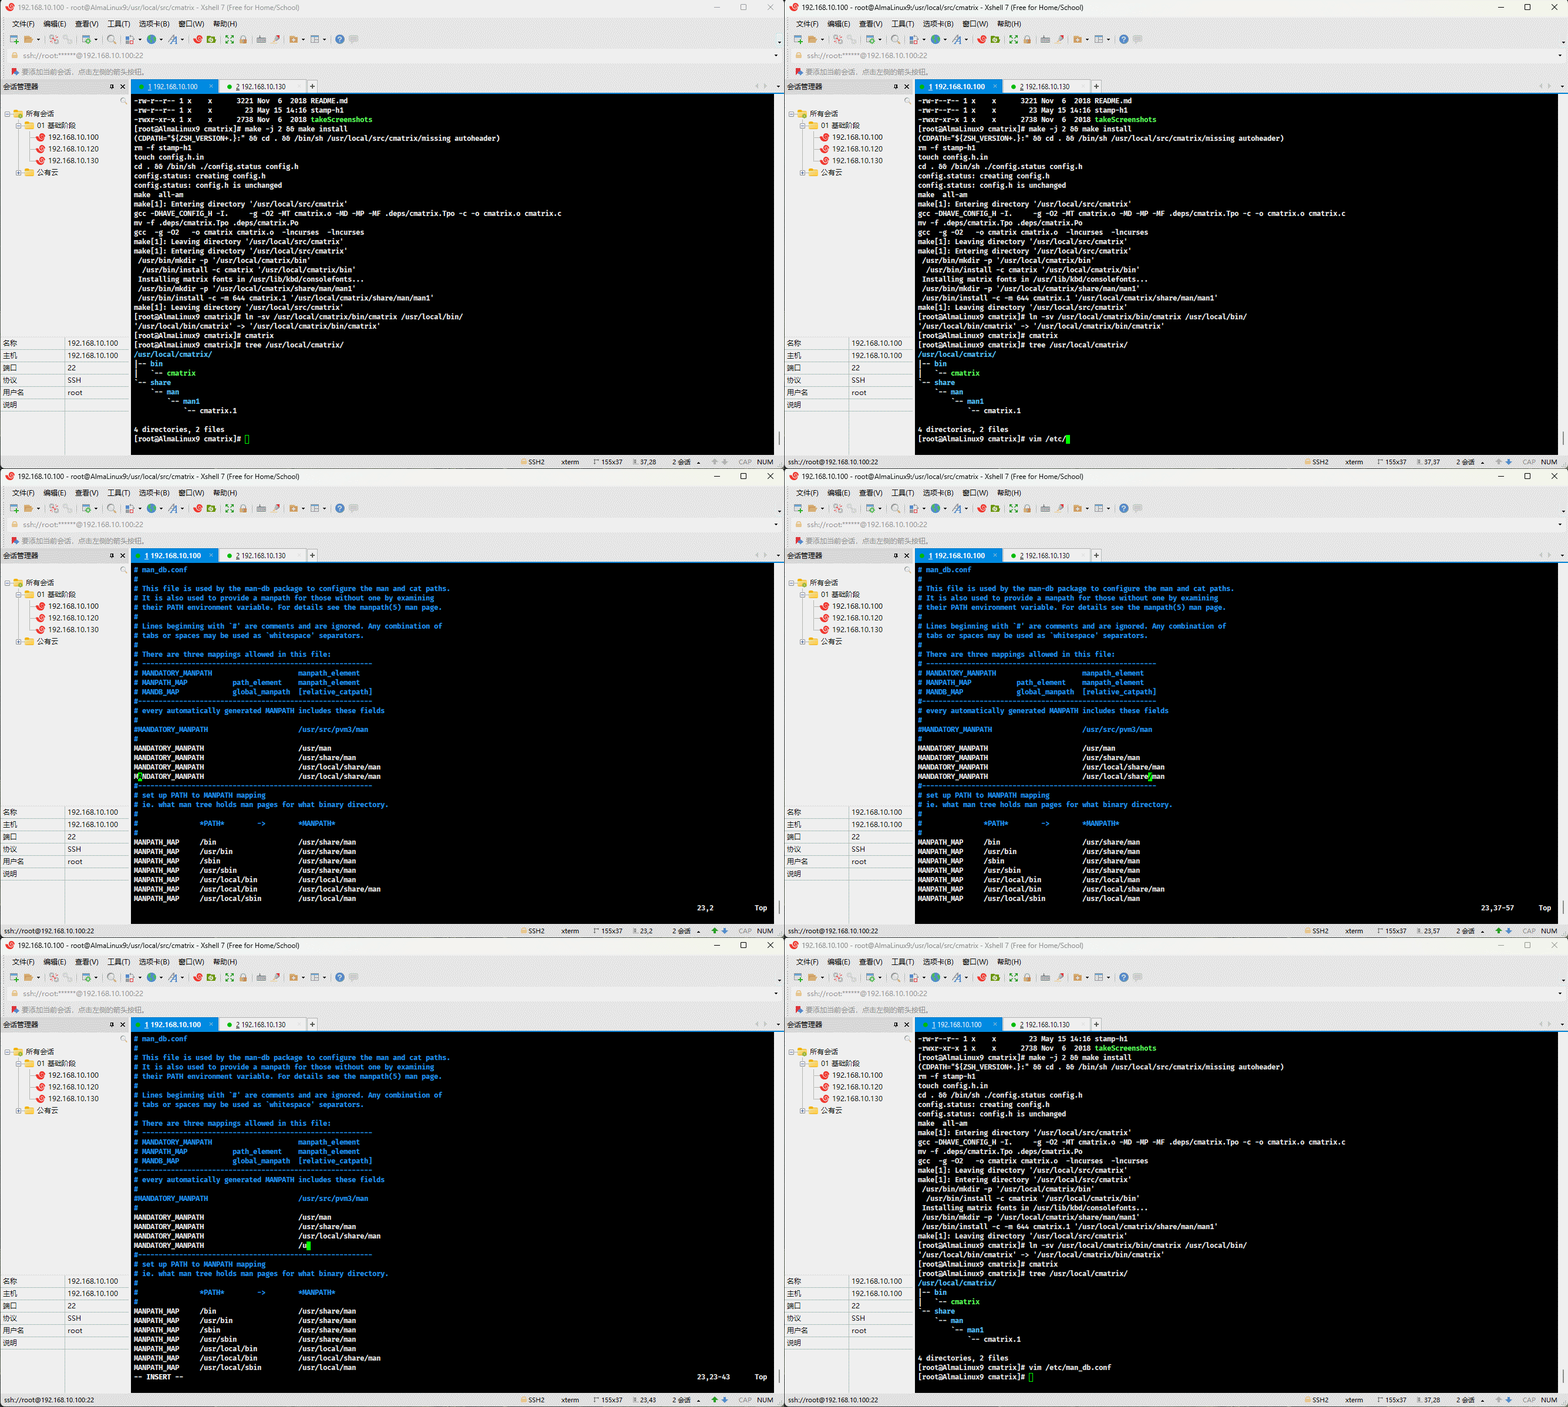
- 测试 cmatrix 命令帮助手册是否配置成功:
shell
man cmatrix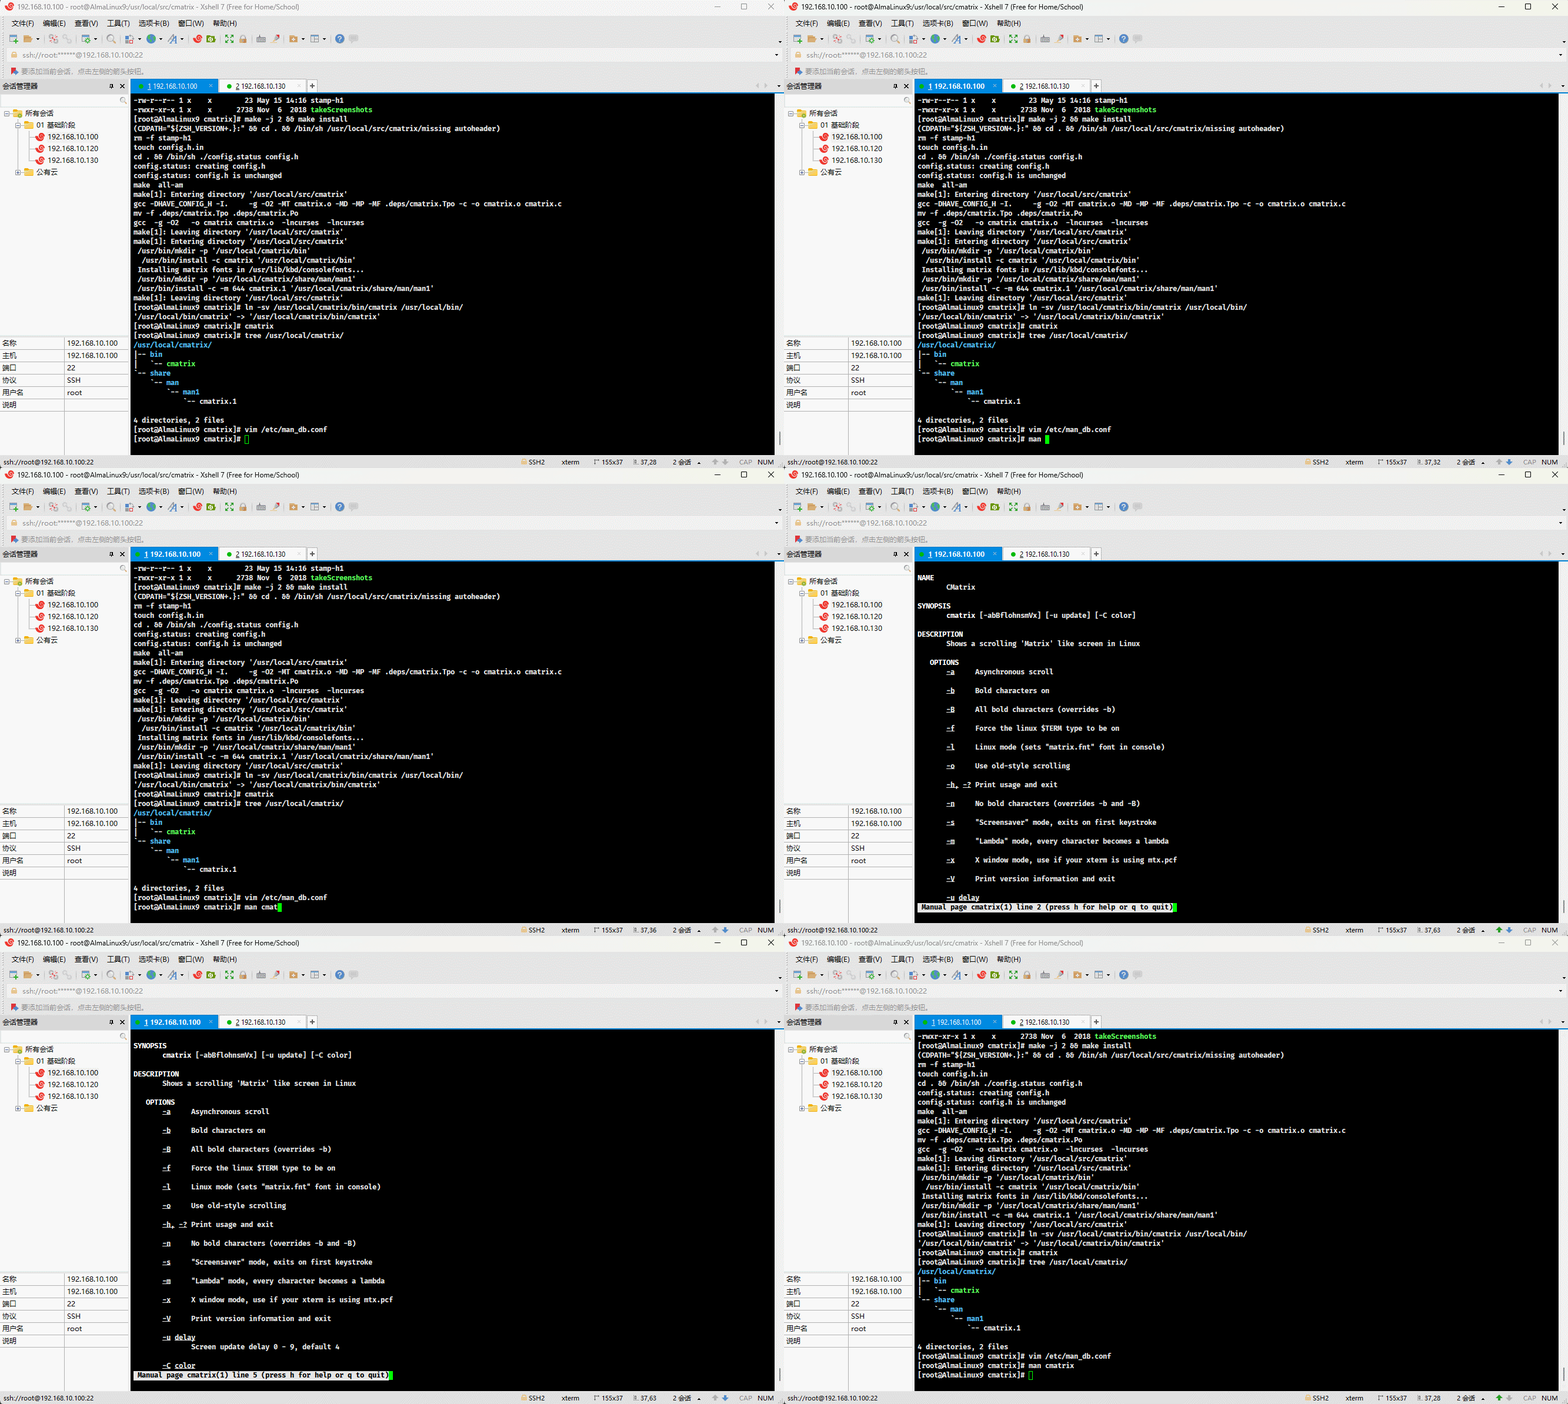
2.2 安装 httpd
- 关闭防火墙和 SELinux:
shell
# 查看 SELinux 是否开启
getenforce
# 查看 SELinux 是否开启
cat /etc/selinux/config
# 永久关闭 SELinux ,需要重启
sed -i 's/enforcing/disabled/' /etc/selinux/config
# 关闭当前会话的 SELinux ,重启之后无效
setenforce 0
# 查看 SELinux 是否开启
cat /etc/selinux/configshell
systemctl disable --now firewalld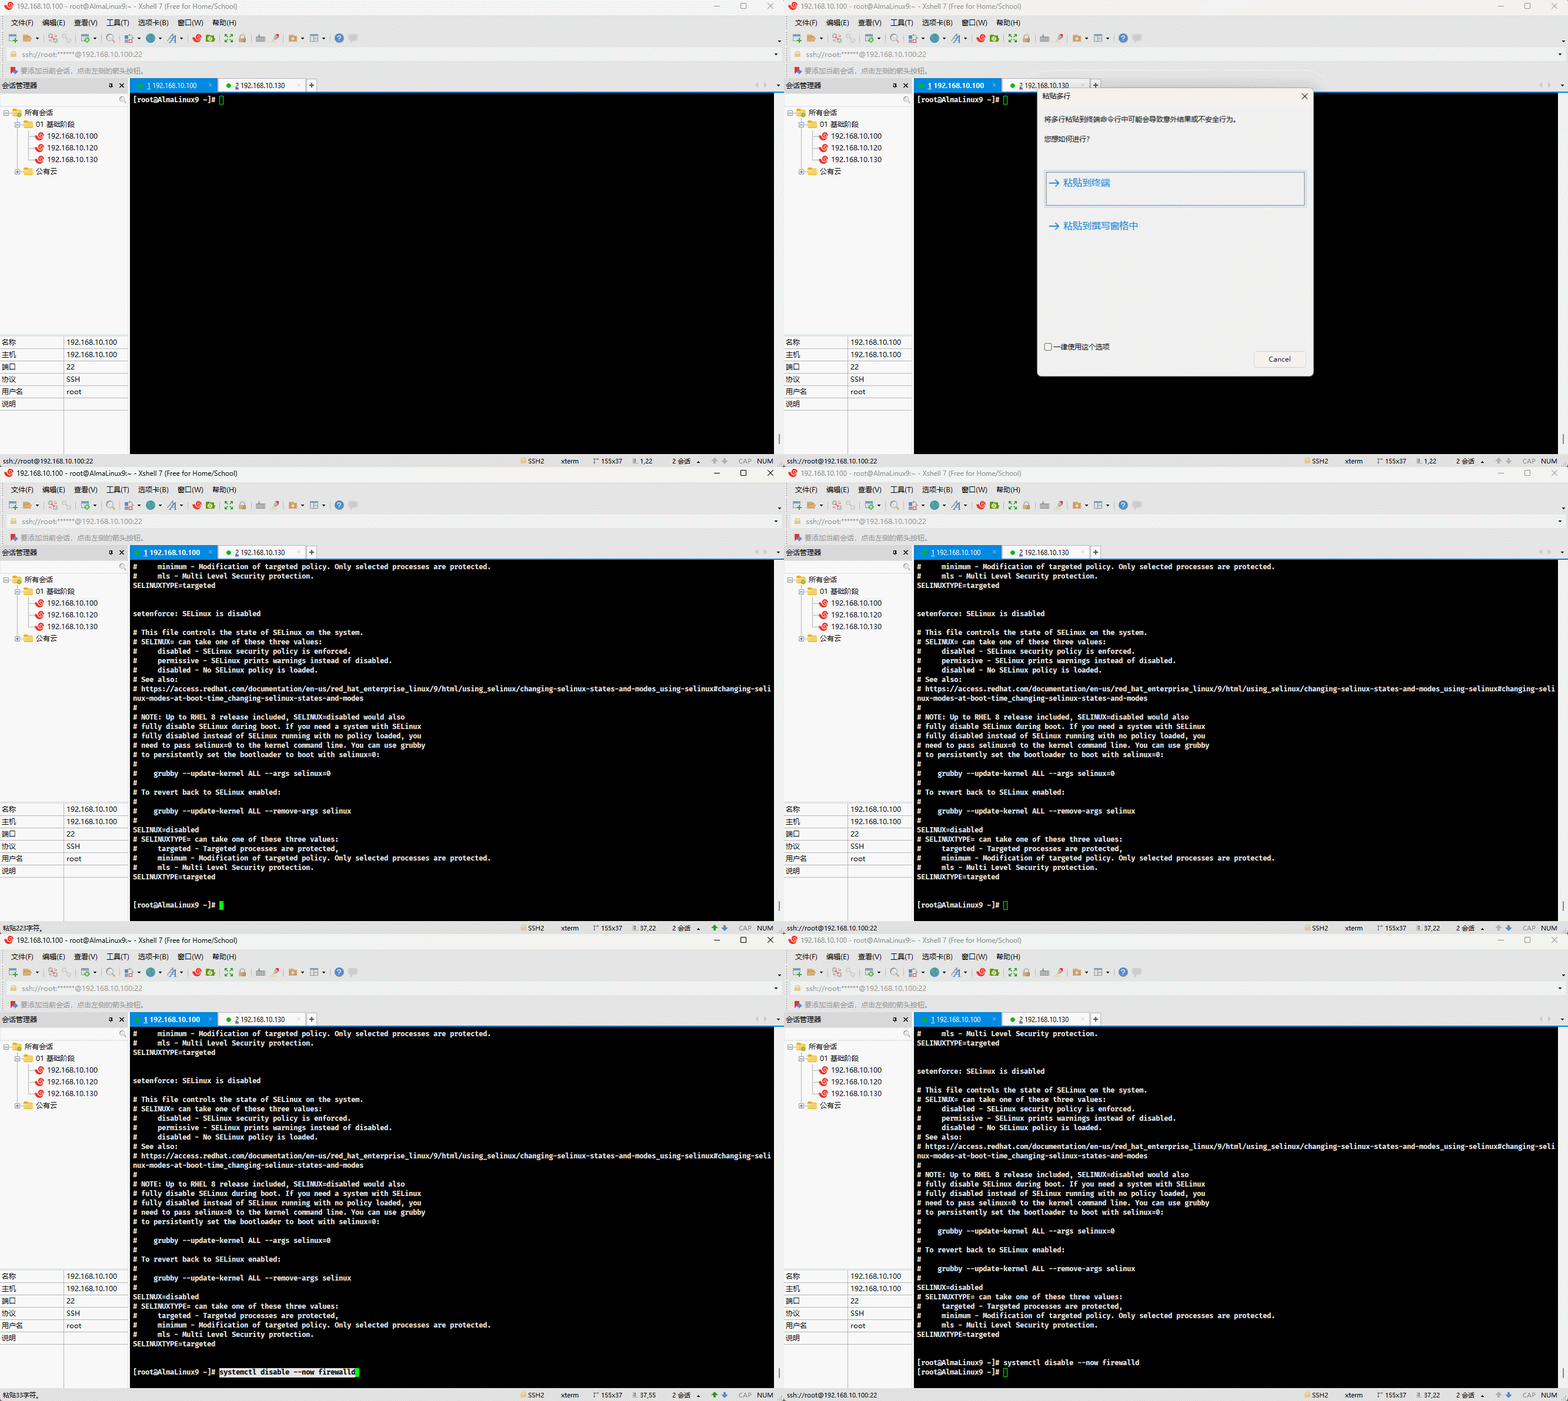
- 查看系统是否安装有 httpd :
shell
dnf list --installed | grep httpd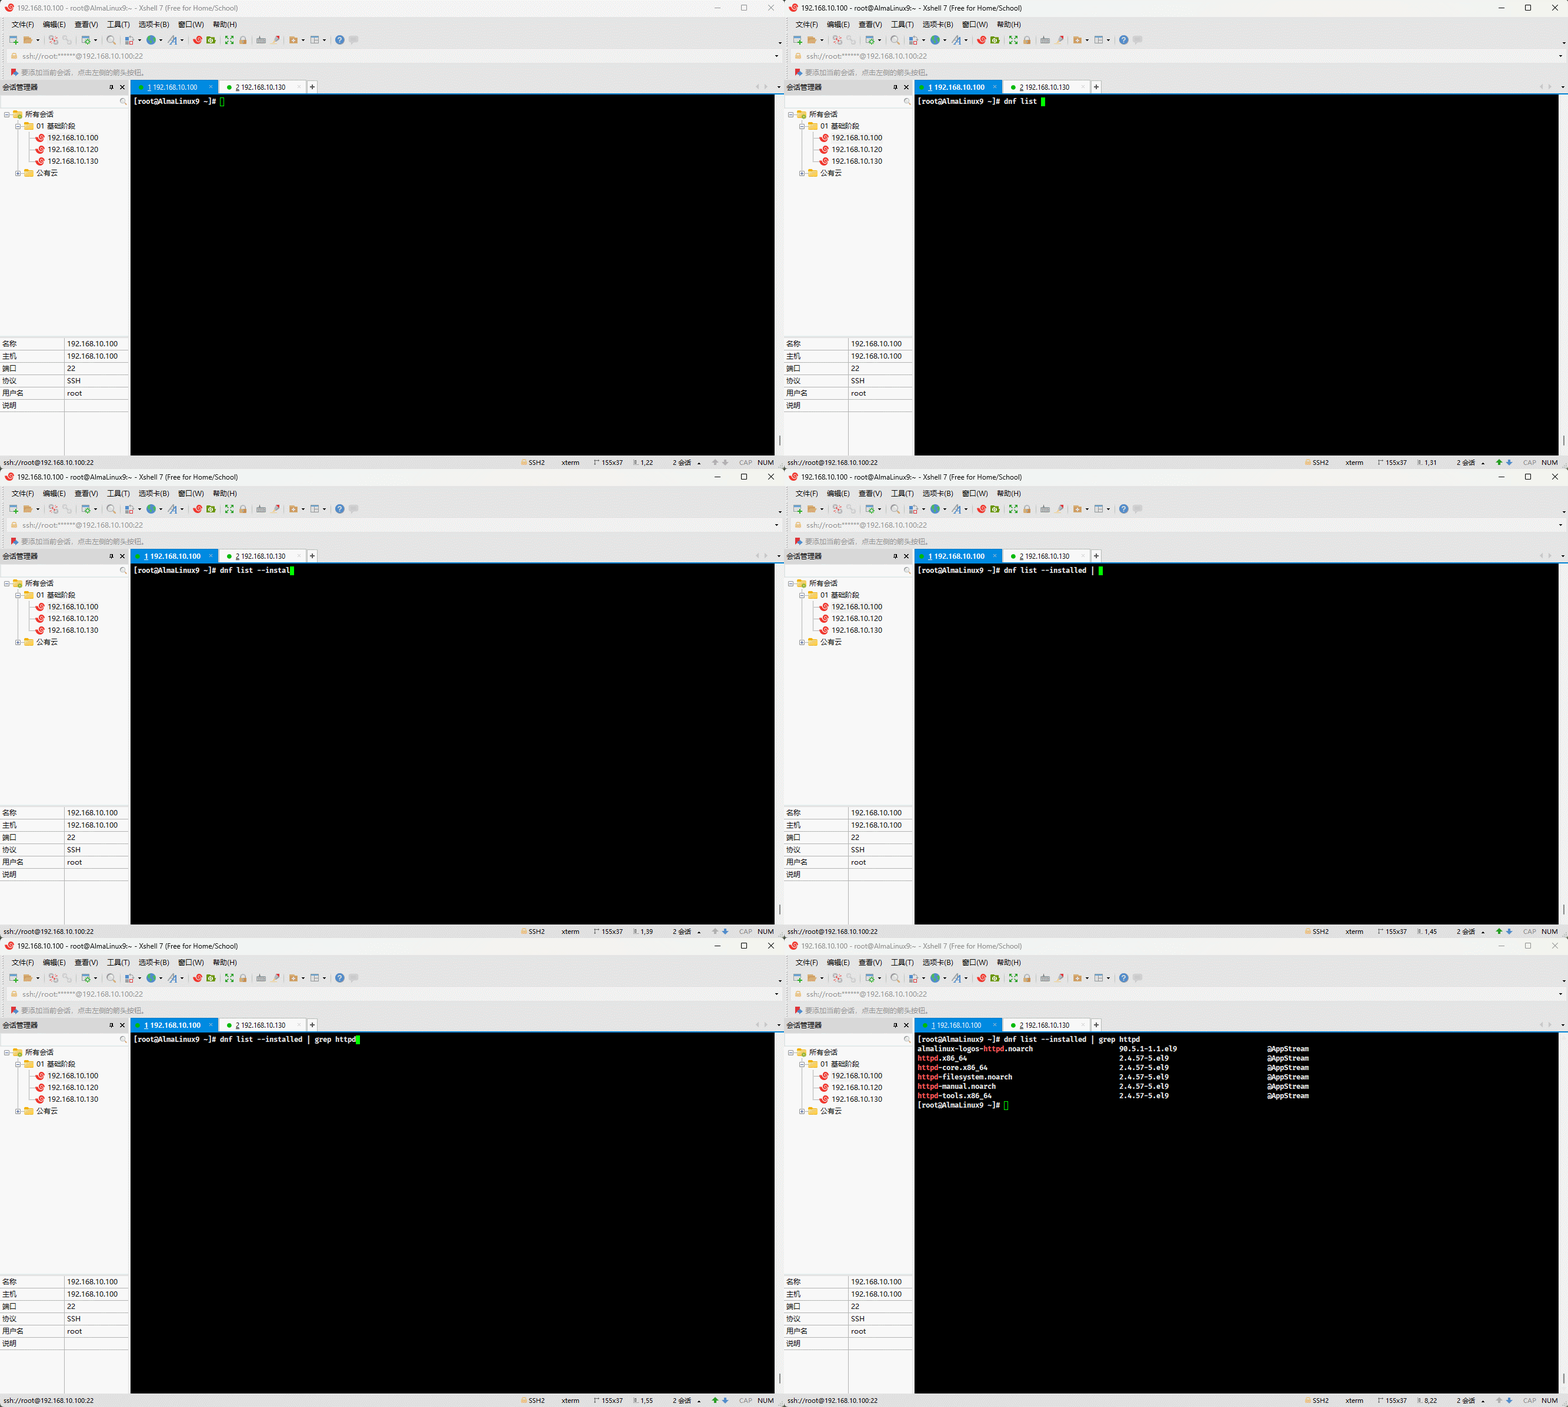
- 卸载系统自带的 httpd :
shell
dnf -y remove httpd*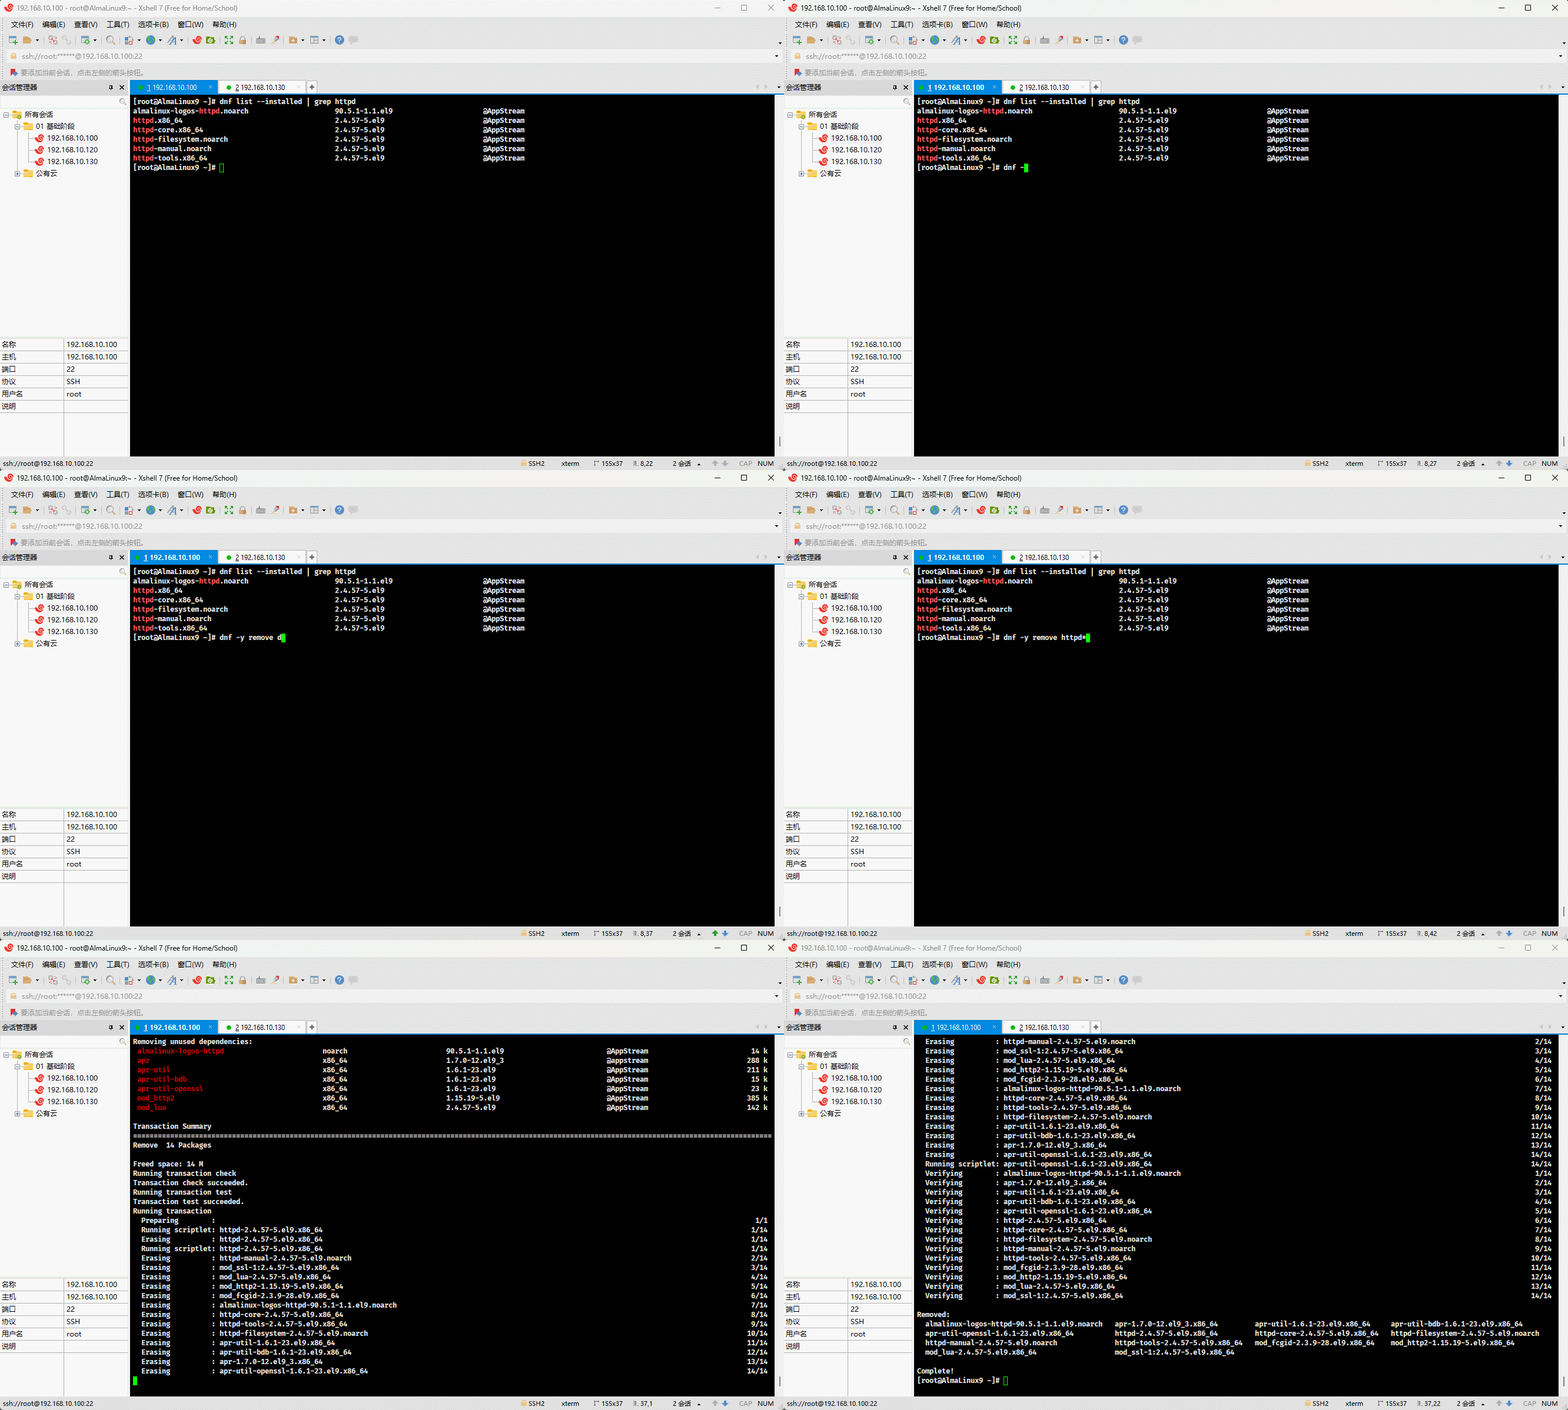
- 查看是否卸载成功:
shell
dnf list --installed | grep httpd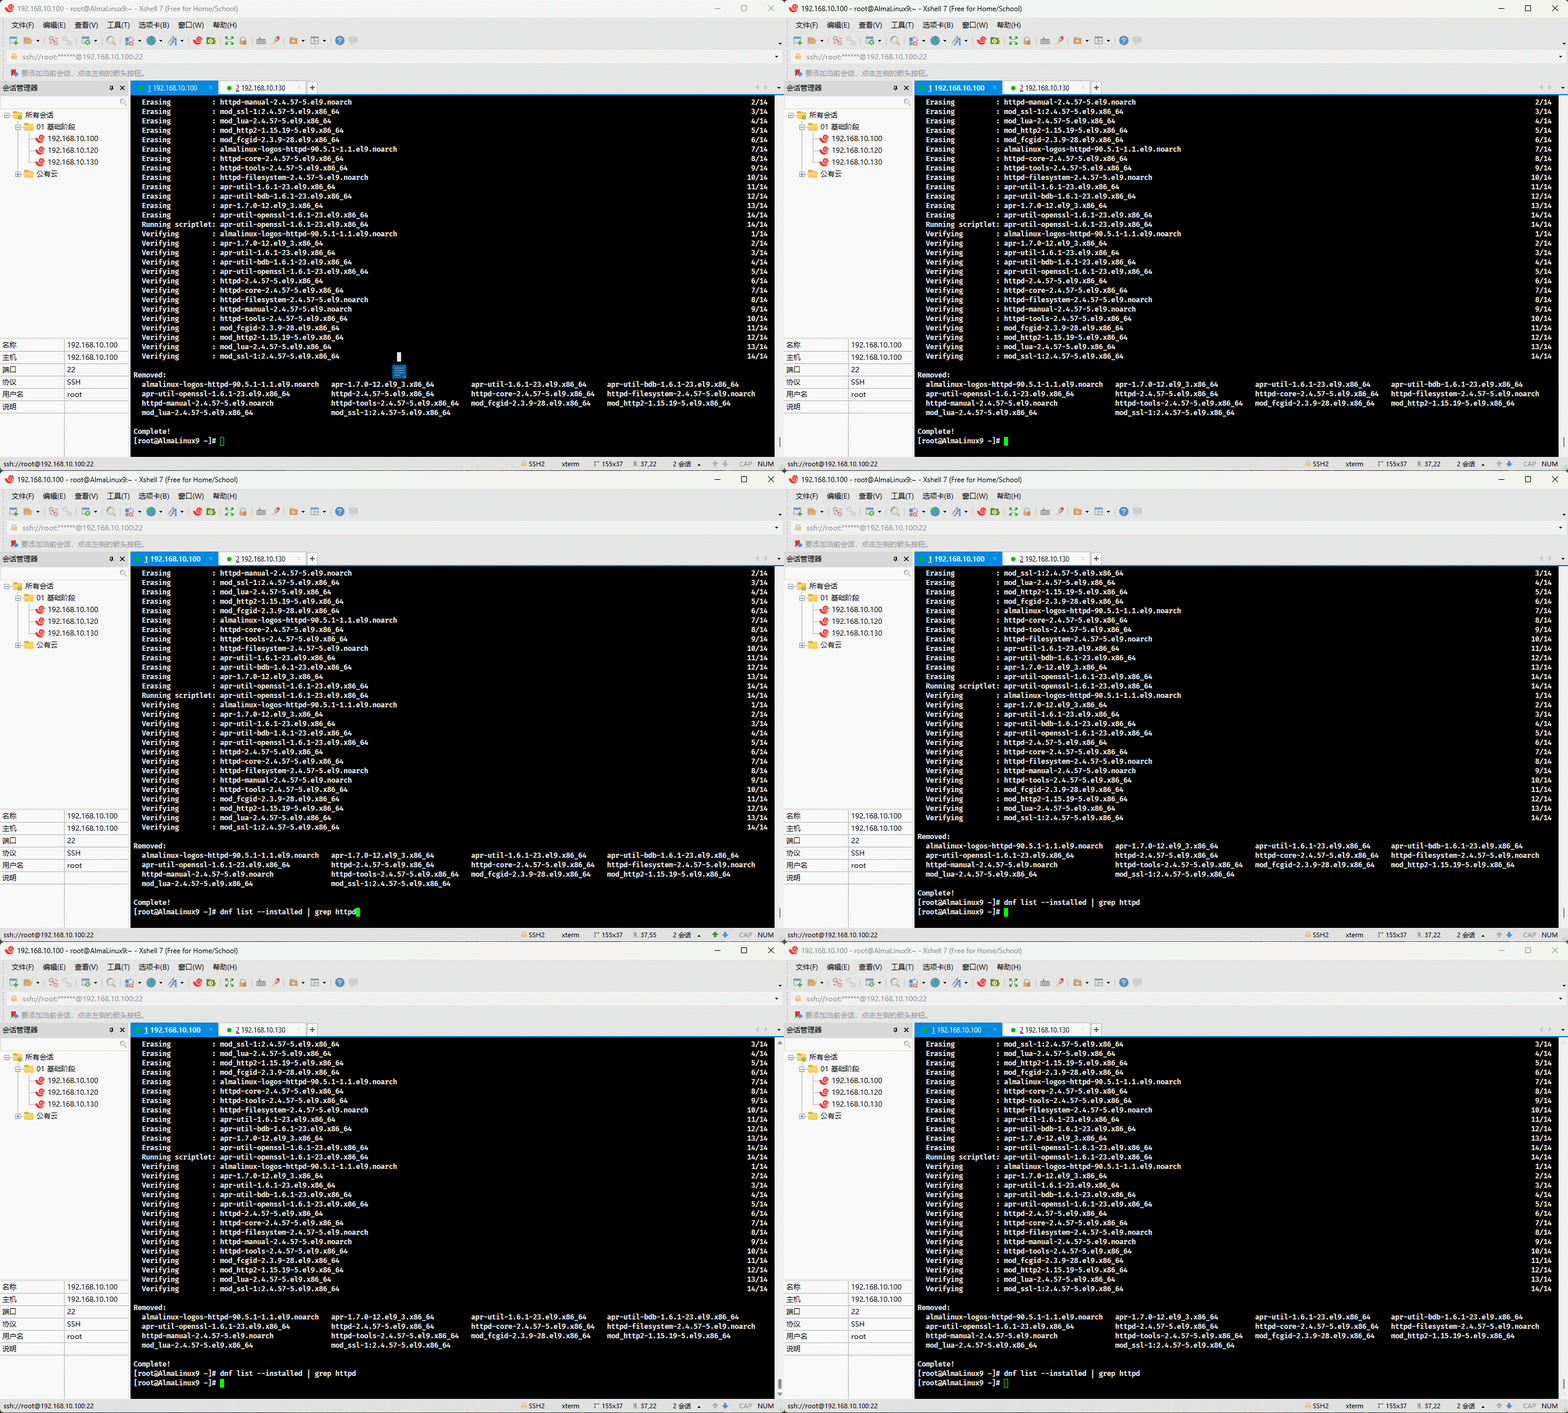
- 删除默认的系统用户(服务用户):
shell
useradd -r apache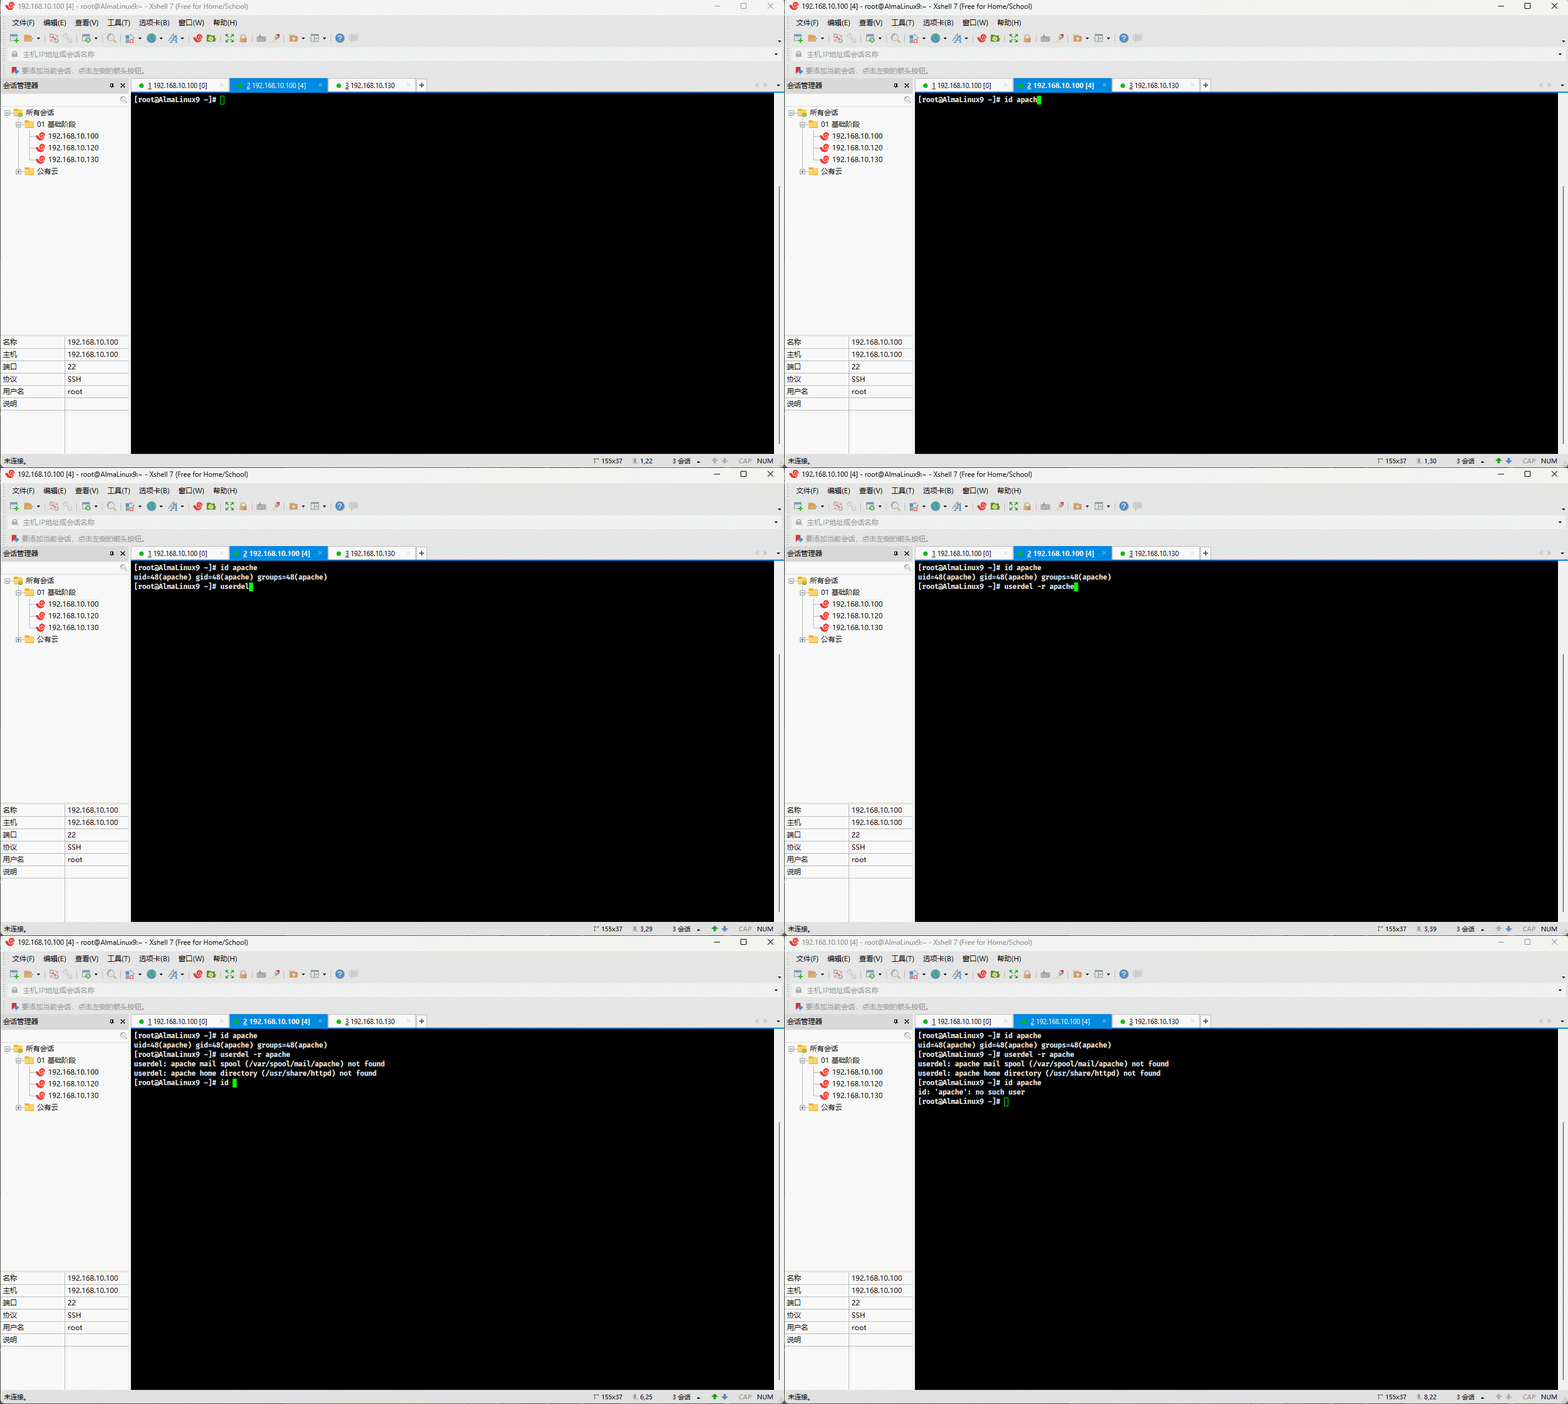
- 下载源码:
shell
wget -P /usr/local/src https://dlcdn.apache.org/httpd/httpd-2.4.59.tar.gz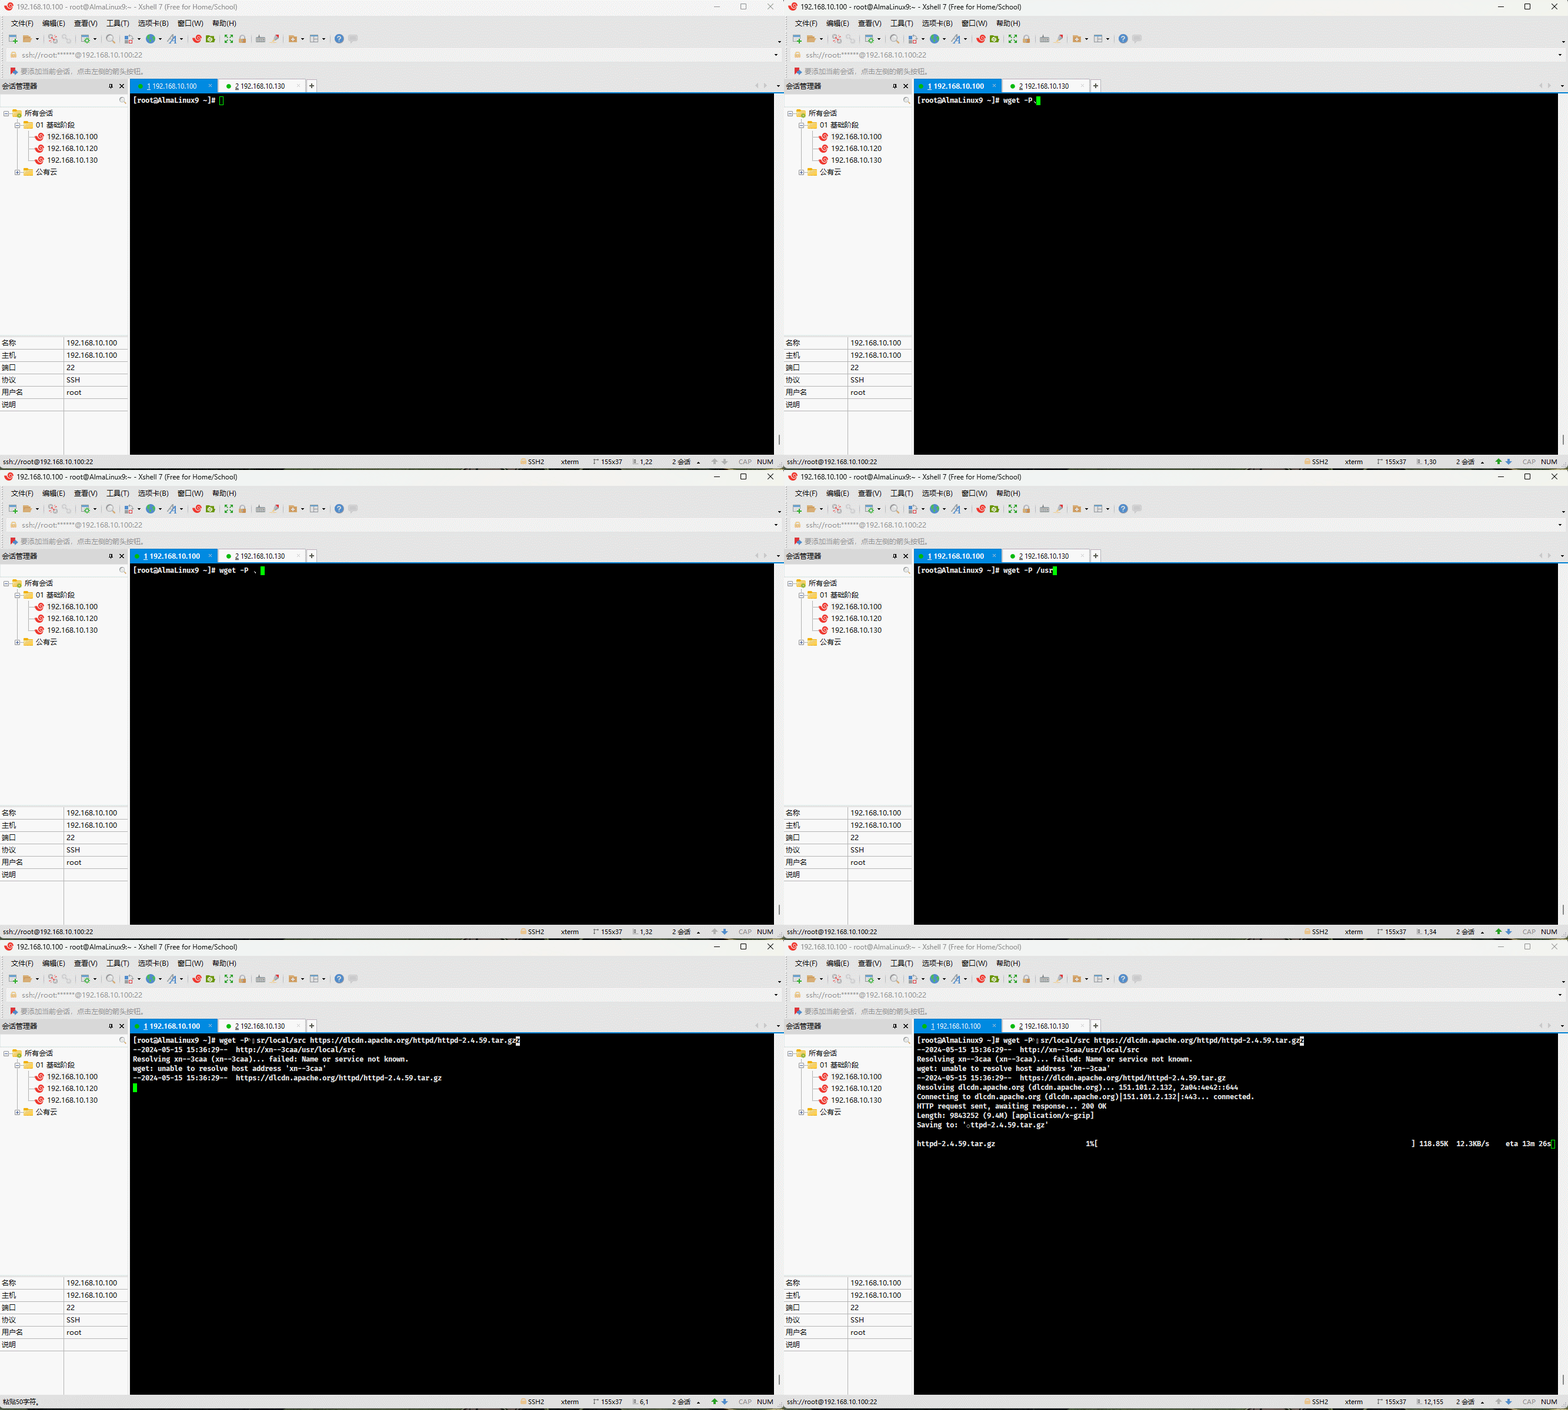
- 安装依赖:
shell
dnf -y install gcc make apr-devel \
	apr-util-devel pcre-devel openssl-devel redhat-rpm-config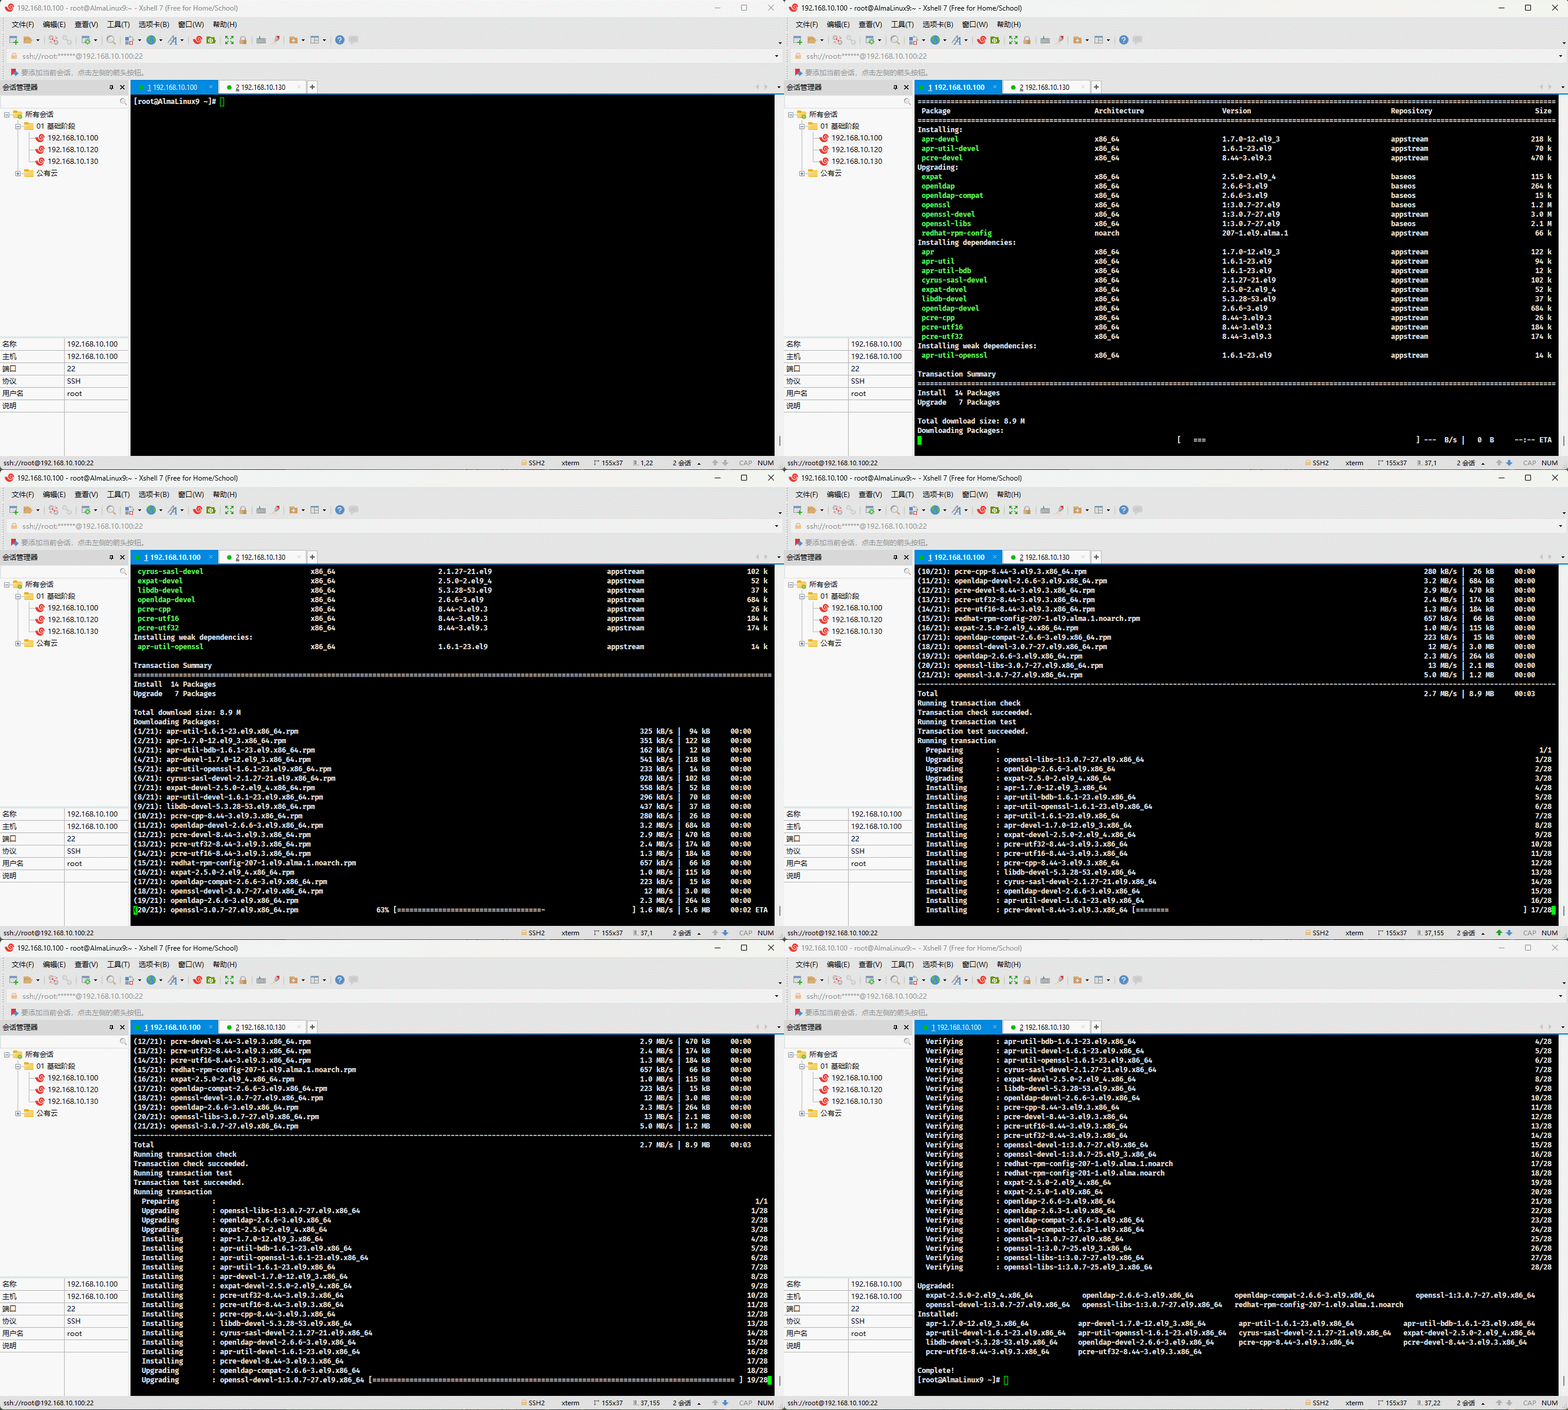
- 解压:
shell
cd /usr/local/src/shell
tar -xvf httpd-2.4.59.tar.gz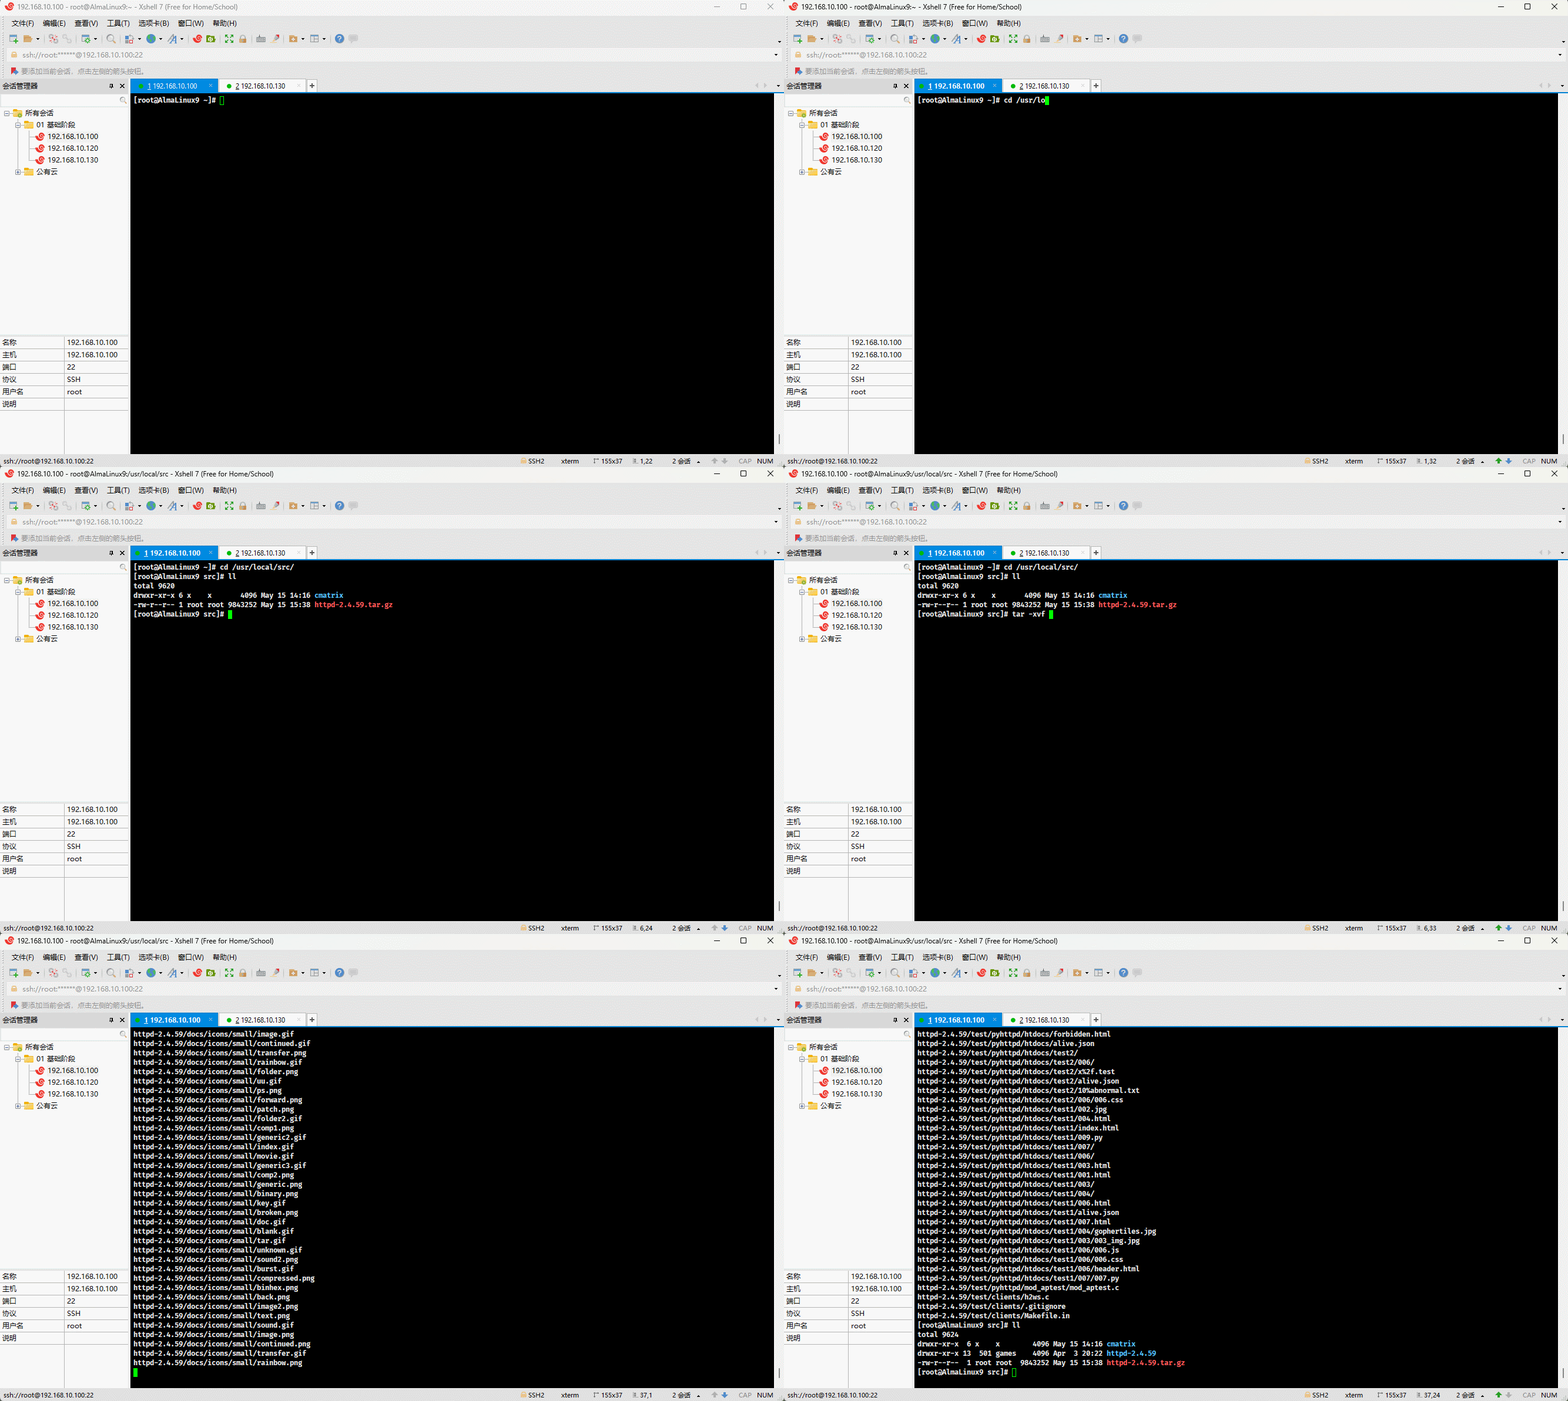
- 配置:
shell
cd httpd-2.4.59shell
./configure --prefix=/usr/local/apache2 --enable-ssl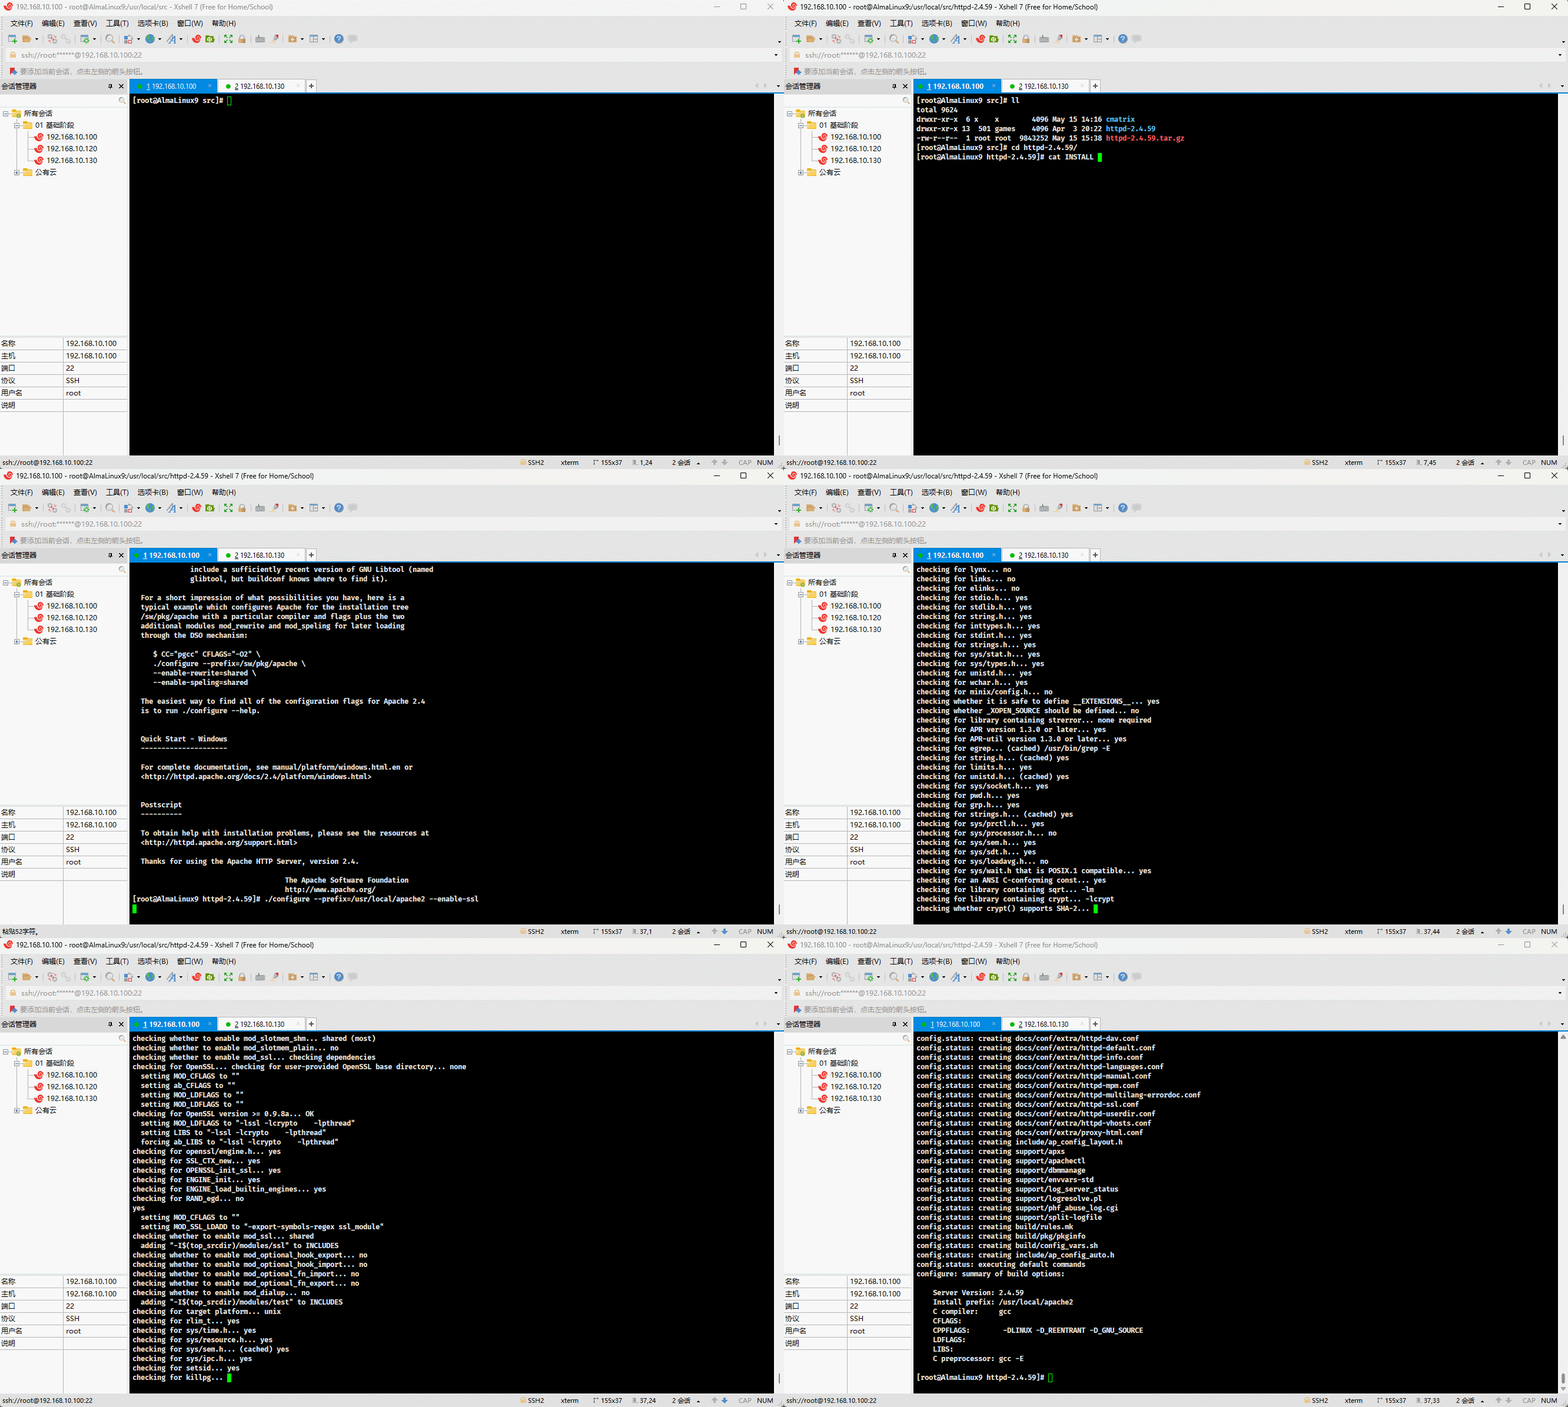
- 编译和安装:
shell
make -j 2 && make install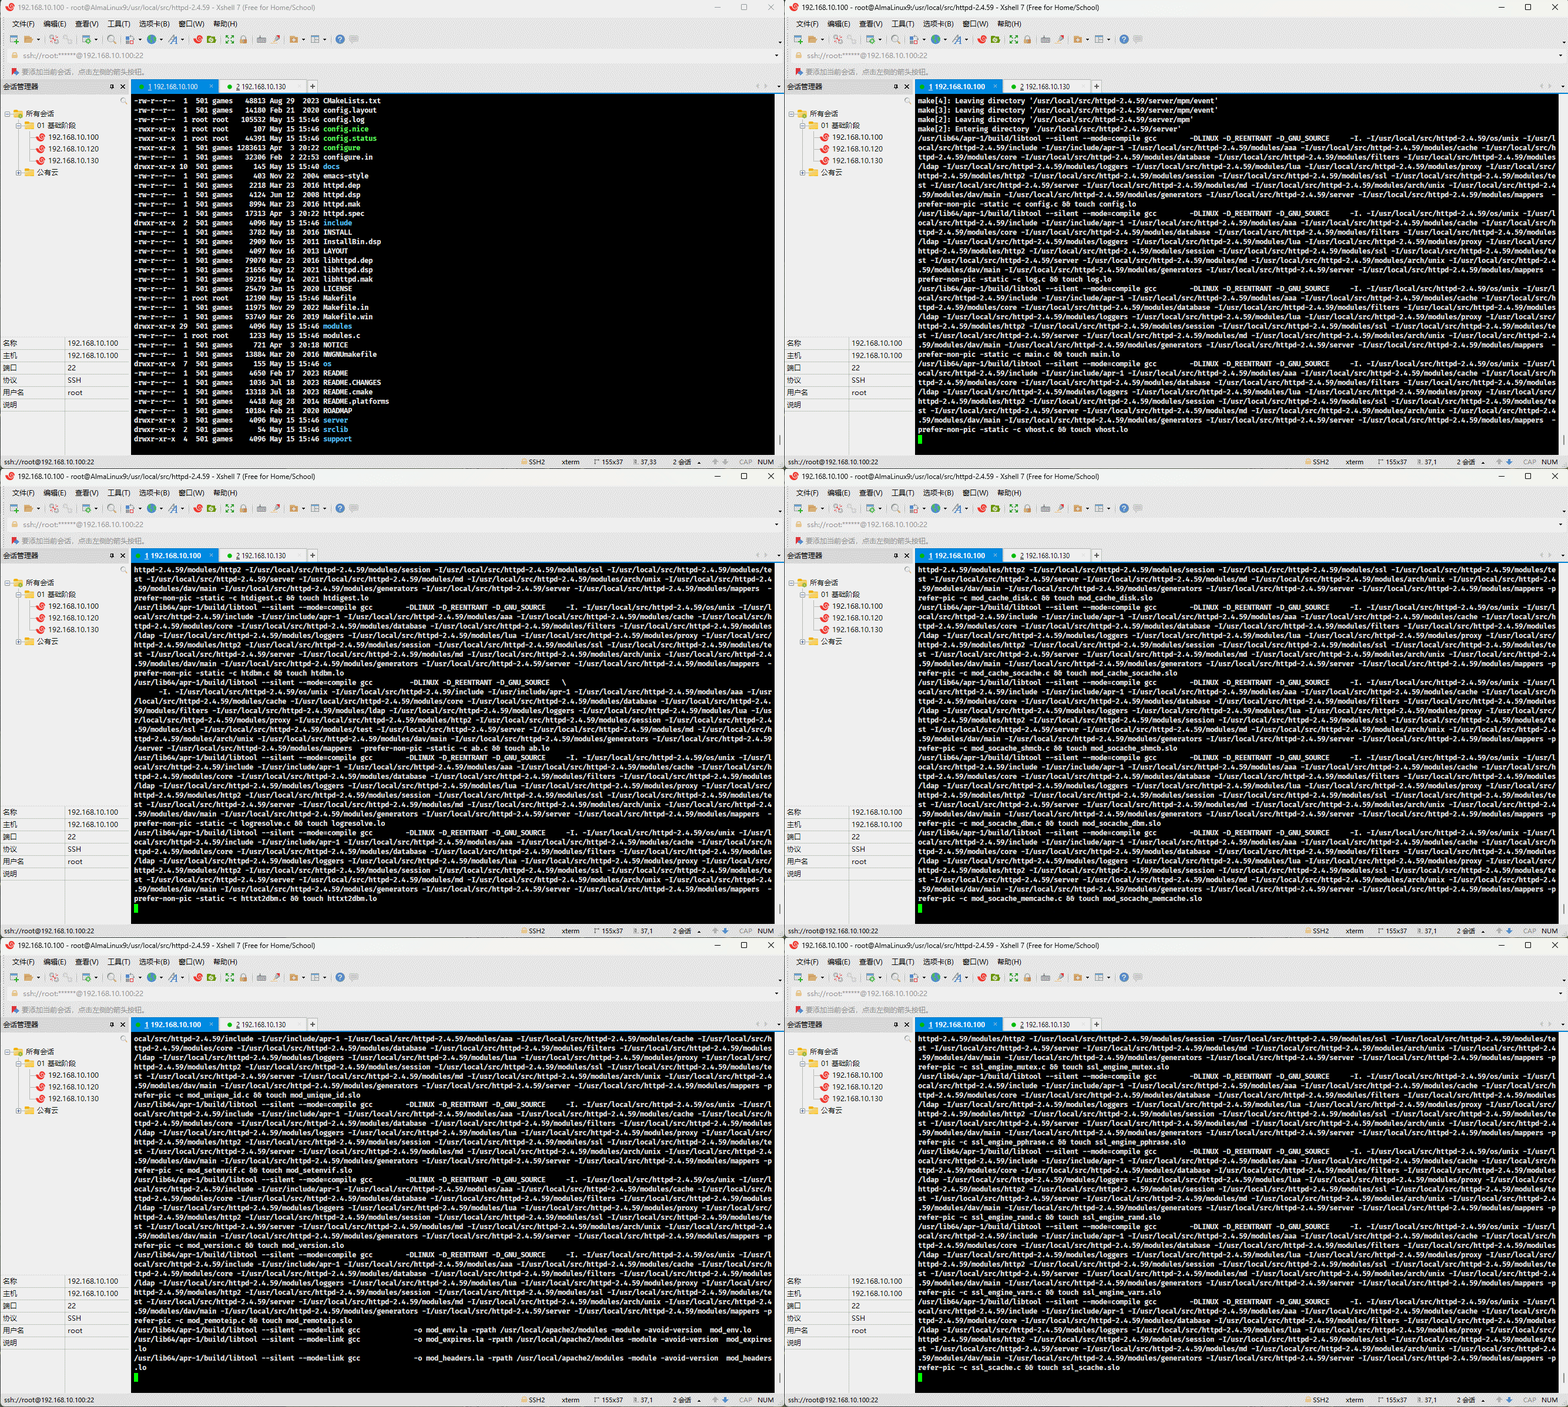
- 创建指定的用户,并以该用户运行 httpd :
shell
useradd -r -s /sbin/nologin -u 48 -c Apache apacheshell
vim /usr/local/apache2/conf/httpd.confshell
User apache # 167 行
Group apache # 167 行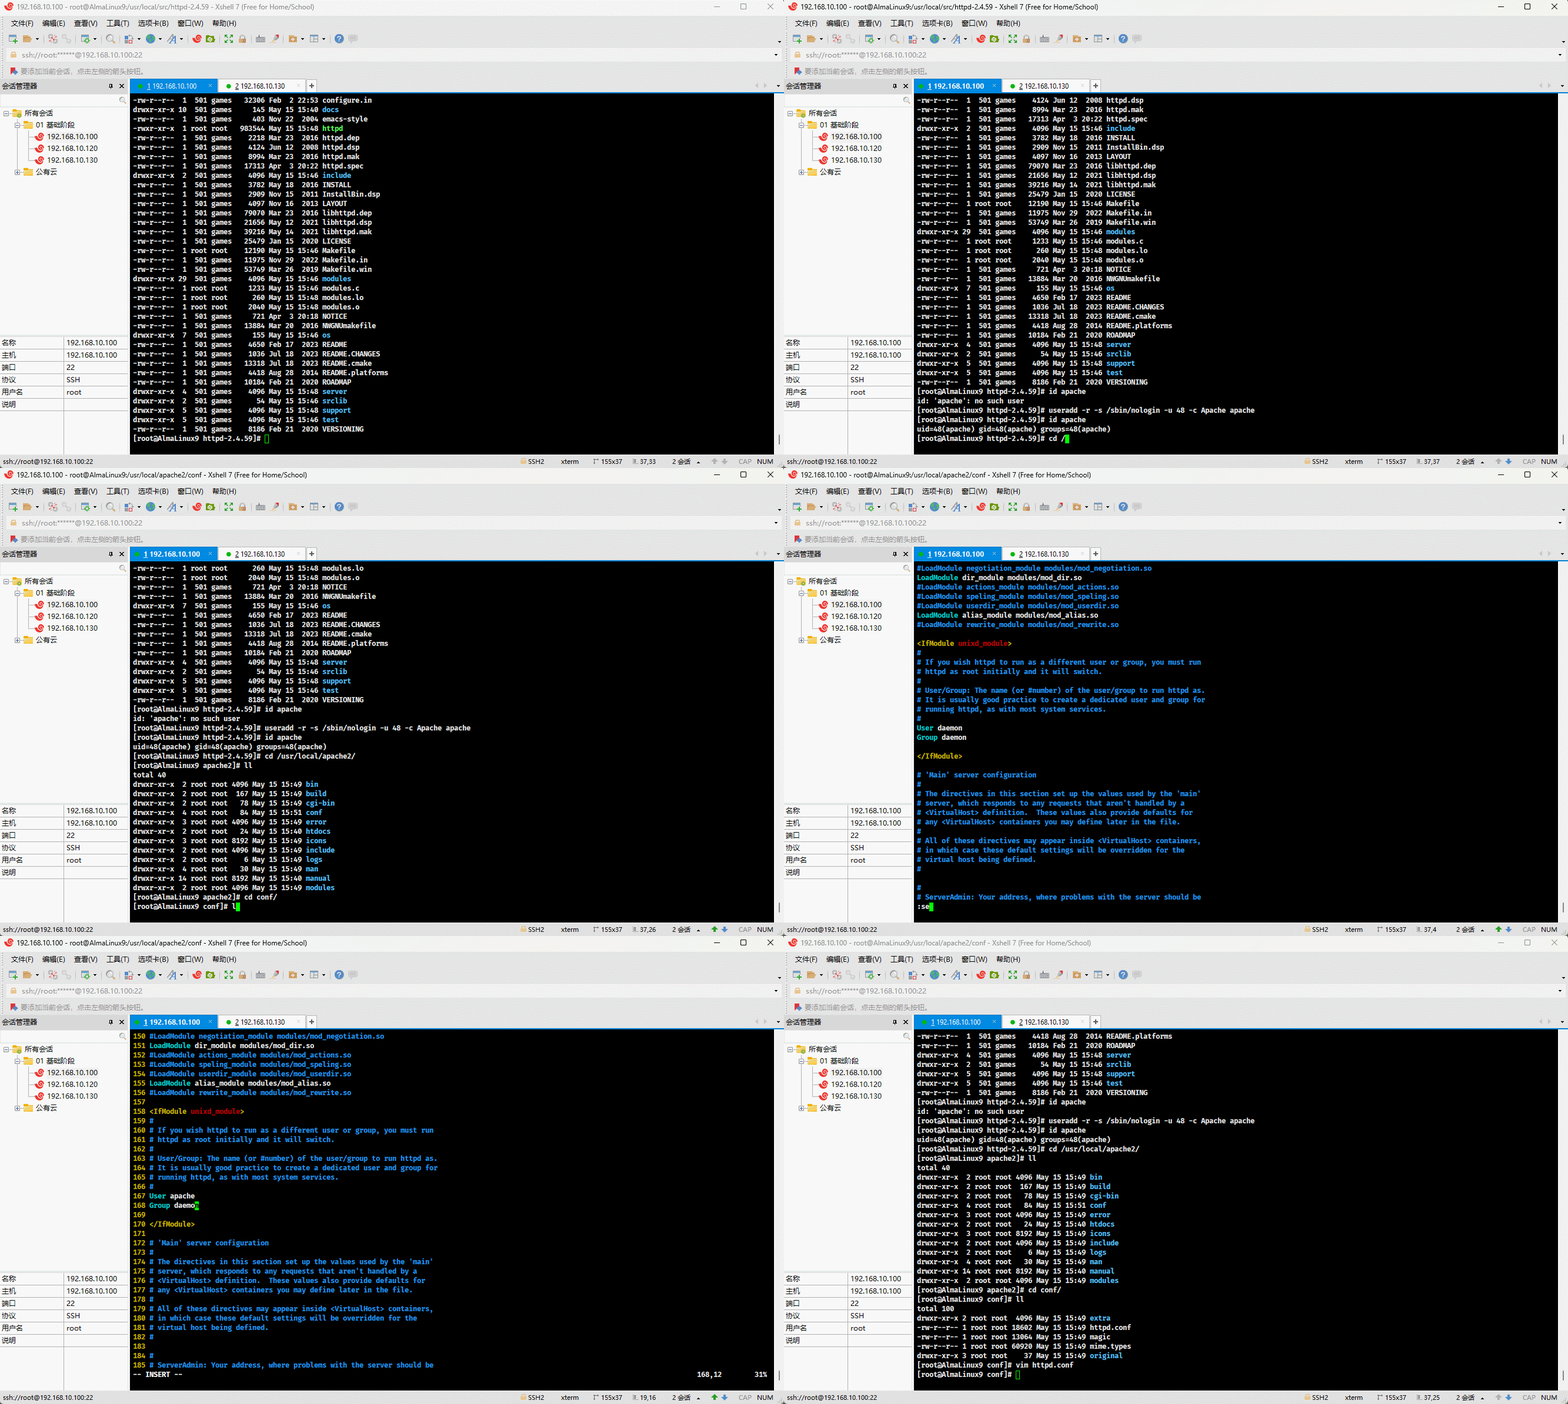
- 使用软链接将 httpd 命令链接到 /usr/local/bin 目录下:
shell
ln -sv /usr/local/apache2/bin/httpd /usr/local/bin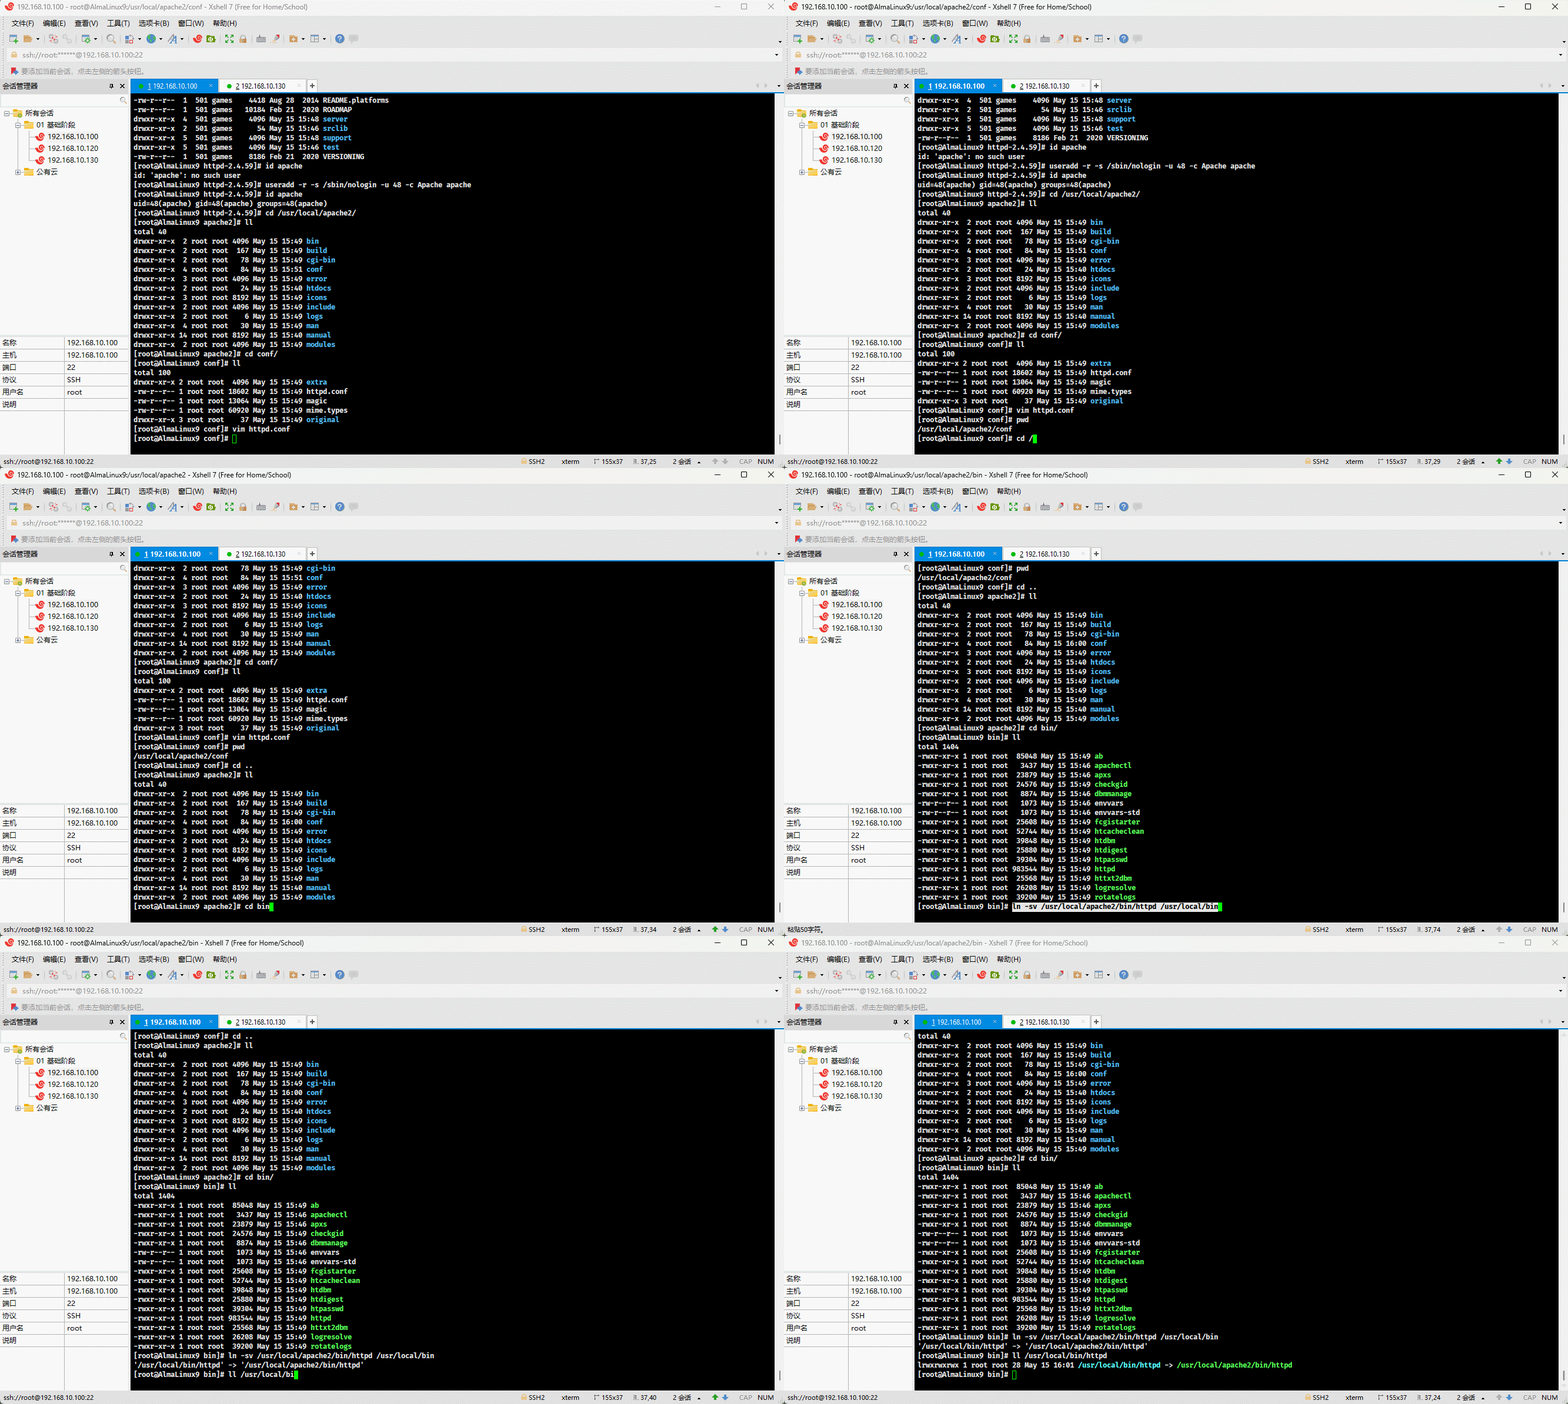
- 配置 httpd 命令帮助手册:
shell
vim /etc/man_db.confshell
MANDATORY_MANPATH                       /usr/man
MANDATORY_MANPATH                       /usr/share/man
MANDATORY_MANPATH                       /usr/local/share/man
MANDATORY_MANPATH                       /usr/local/apache2/man  # 增加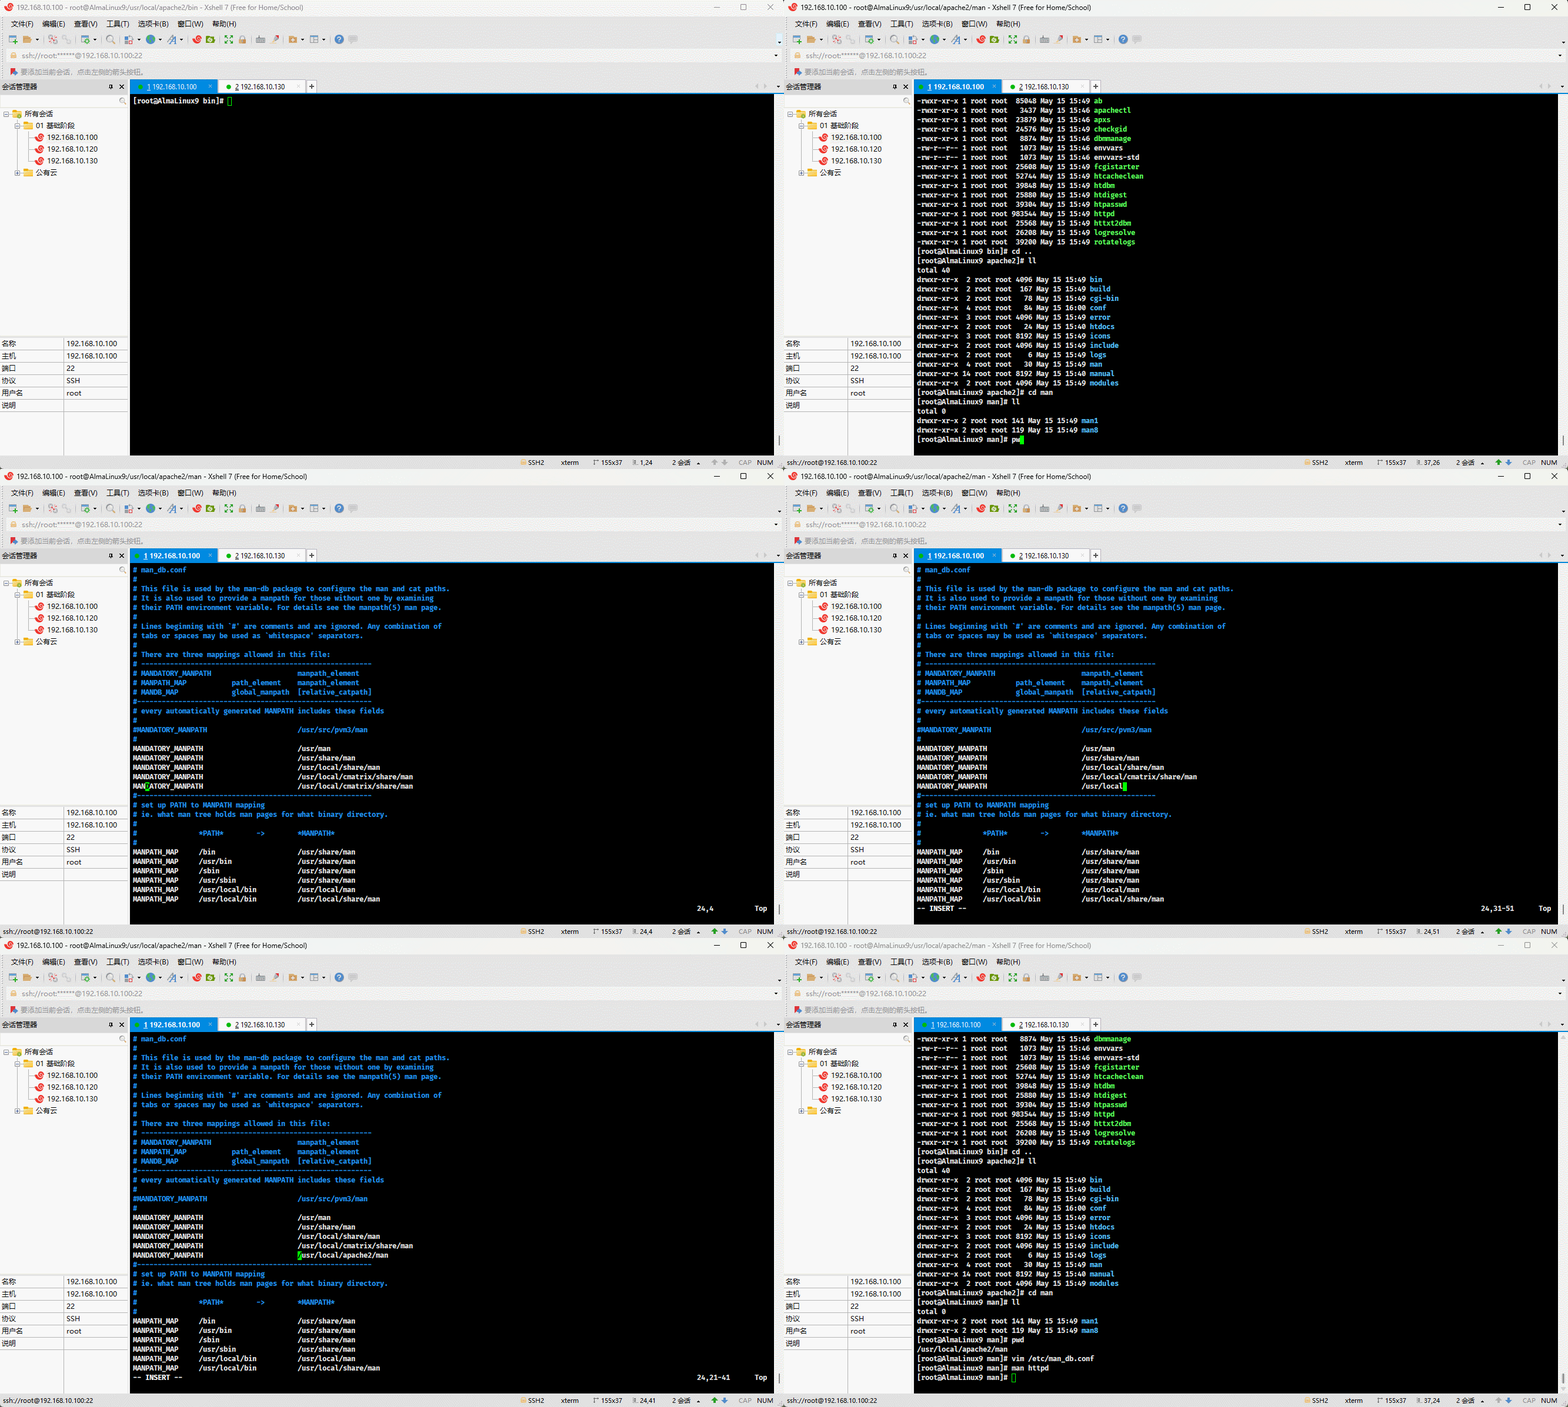
- 配置 systemd :
shell
tee /usr/lib/systemd/system/httpd.service <<'EOF'
[Unit]
Description=The Apache HTTP Server
Wants=httpd-init.service
After=network.target remote-fs.target nss-lookup.target httpd-init.service
Documentation=man:httpd.service(8)

[Service]
Type=simple
Environment=LANG=C

ExecStart=/usr/local/bin/httpd  -k start -DFOREGROUND
ExecReload=/usr/local/bin/httpd  -k graceful
ExecStop=/usr/local/bin/httpd  -k graceful-stop
# Send SIGWINCH for graceful stop
KillSignal=SIGWINCH
KillMode=mixed
PrivateTmp=true
OOMPolicy=continue

[Install]
WantedBy=multi-user.target
EOF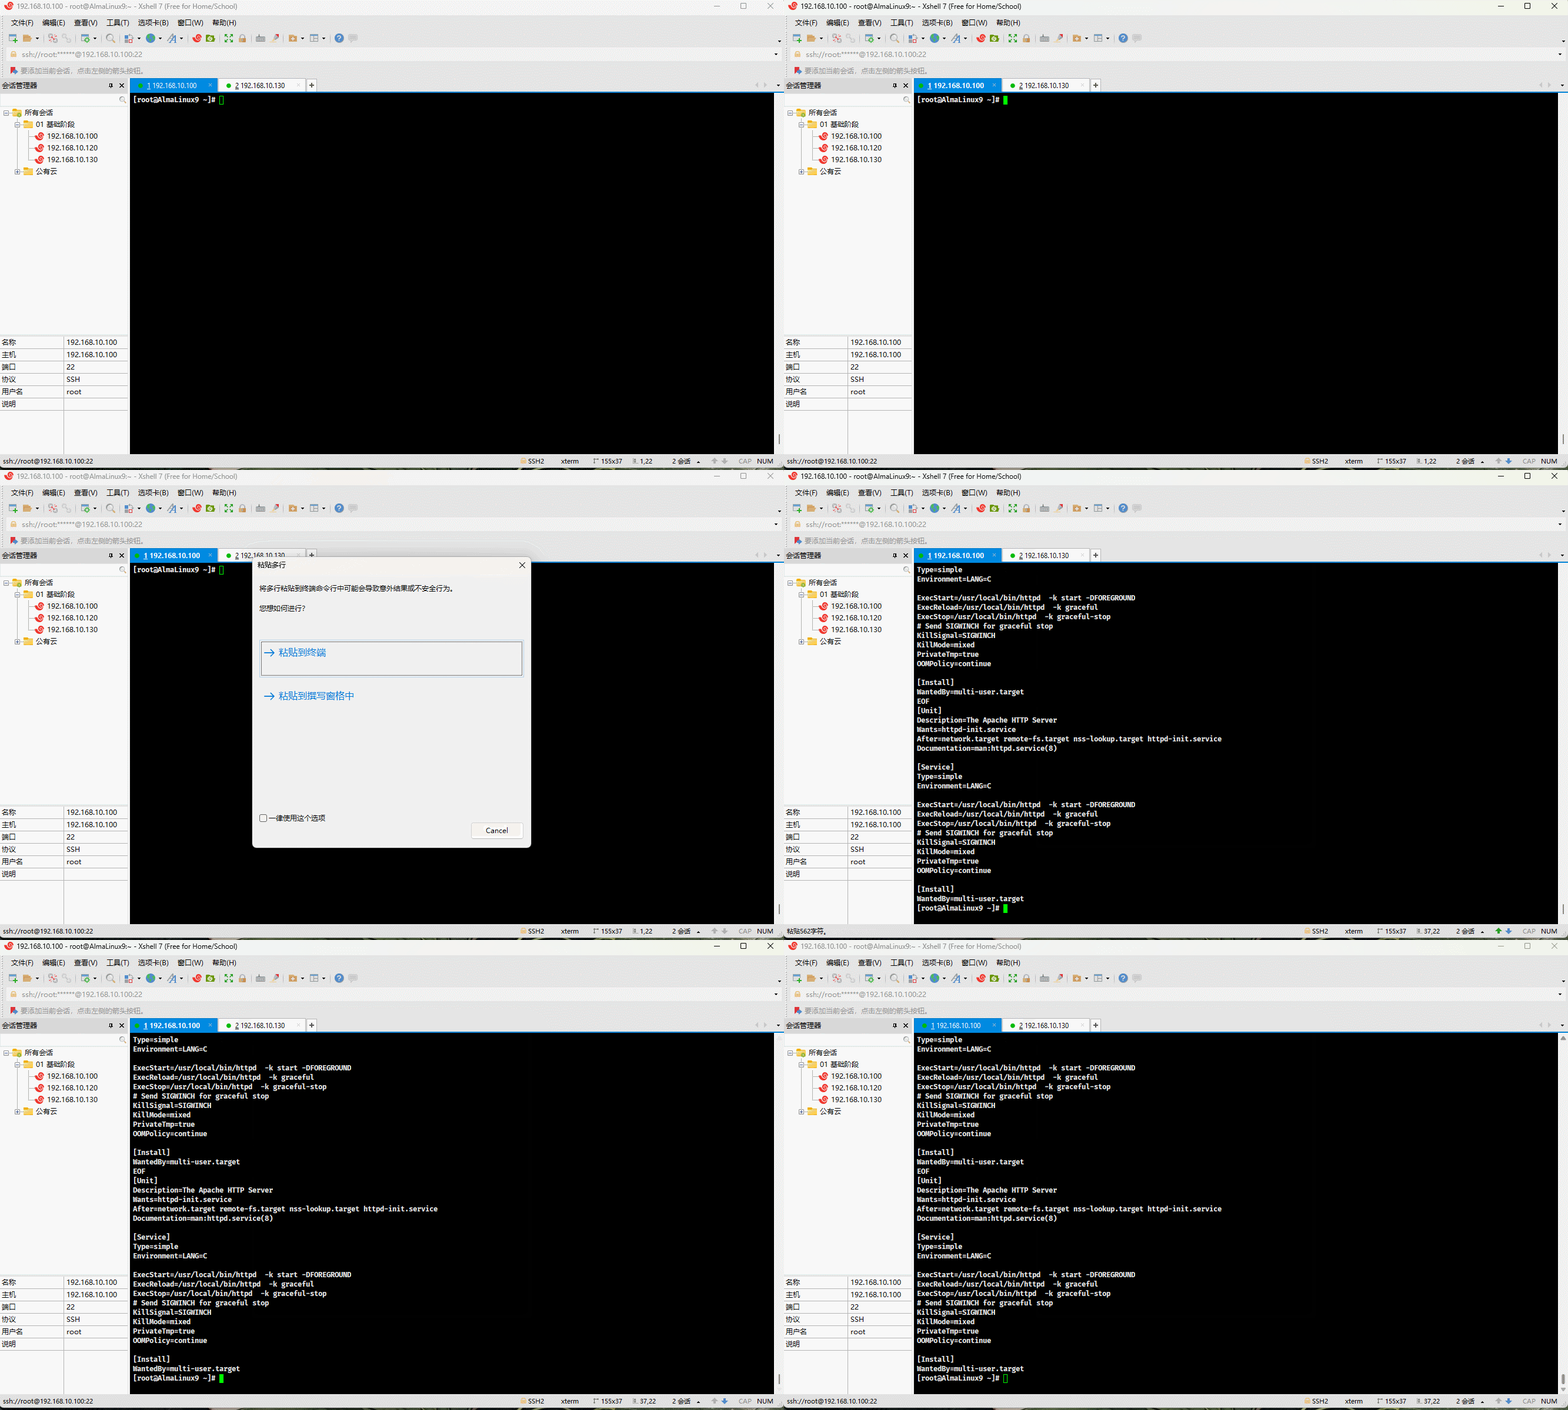
- 启动 httpd :
shell
systemctl daemon-reloadshell
systemctl enable --now httpd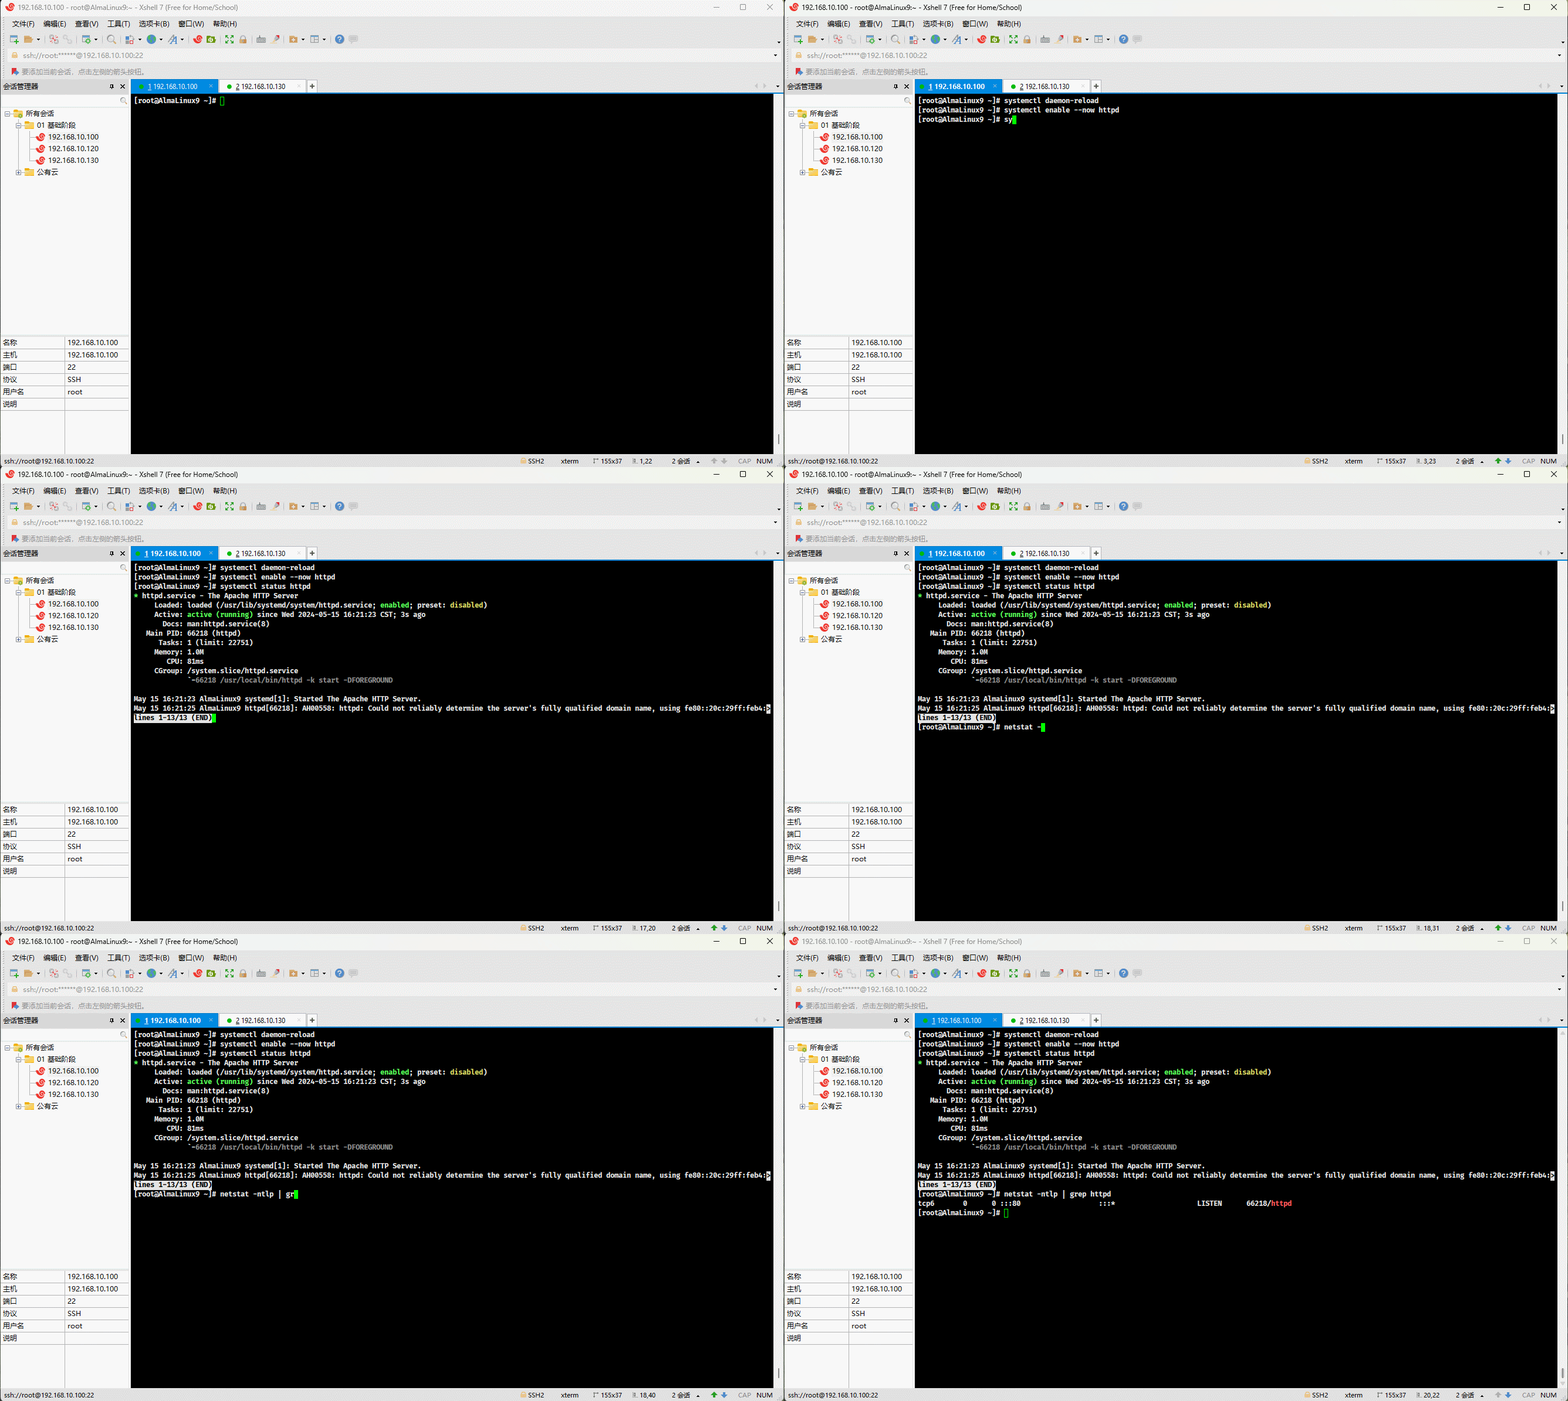
- 浏览器测试访问:
shell
http://192.168.10.100:80
第三章:Ubuntu (24.04 LTS)软件包管理(⭐)
3.1 dkpg
3.1.1 概述
- dpgk (Debian Package) 是用于 Debian 及其衍生系统(如: Ubuntu)的软件包管理器。它是 Debian 软件包管理系统的核心部分,用于安装、删除和提供有关
.deb软件包的信息。
3.1.2 dpkg 管理软件包
3.1.2.1 概述
- dpkg 管理软件包,无非增(安装)删(卸载)改(升级)查(查询),即:
| 功能 | 命令 | 选项含义 | 类比 rpm |
|---|---|---|---|
| 增(安装) | dpkg -i xxx.deb | -i, --install:安装软件包。 | rpm -ivh xxx.rpm |
| 删(卸载) | dpkg -r xxx | -e,--remove:删除软件包,但是保留配置文件。 | rpm -e xxx.rpm --nodeps |
dpkg -P xxx | -P,--purge:删除软件包及其配置文件。 | rpm -e xxx.rpm --nodeps | |
| 改(升级) | dpkg -i xxx.deb | -i, --install:安装或升级软件包。 | rpm -Uvh xxx.rpm |
| 查(查询) | dpkg -l | grep xxx | -l,--list:列出当前已安装的软件包。 | rpm -qa |grep xxx |
dpkg -L xxx | -l,--listfiles:列出已安装软件包中所包含的文件。 | rpm -ql xxx | |
dpkg -S $(which xxx) | -S,--Search :根据文件或命令的绝对路径,查询对应的软件包。 | rpm -qf $(which xxx) | |
dpkg -s xxx | -s,--status:查询已安装软件包的详细信息。 | rpm -qi xxx | |
dpkg -c xxx.deb | -c,--contents:列出 deb 包的内容。 | rpm -qpl xxx.rpm |
3.1.2.2 增(安装)
- 命令:
shell
dpkg -i xxx.deb- 示例:
shell
wget https://mirrors.tuna.tsinghua.edu.cn/ubuntu/ubuntu/ubuntu/ubuntu/ubuntu/pool/universe/t/tree/tree_1.6.0-1_amd64.debshell
dpkg -i tree_1.6.0-1_amd64.deb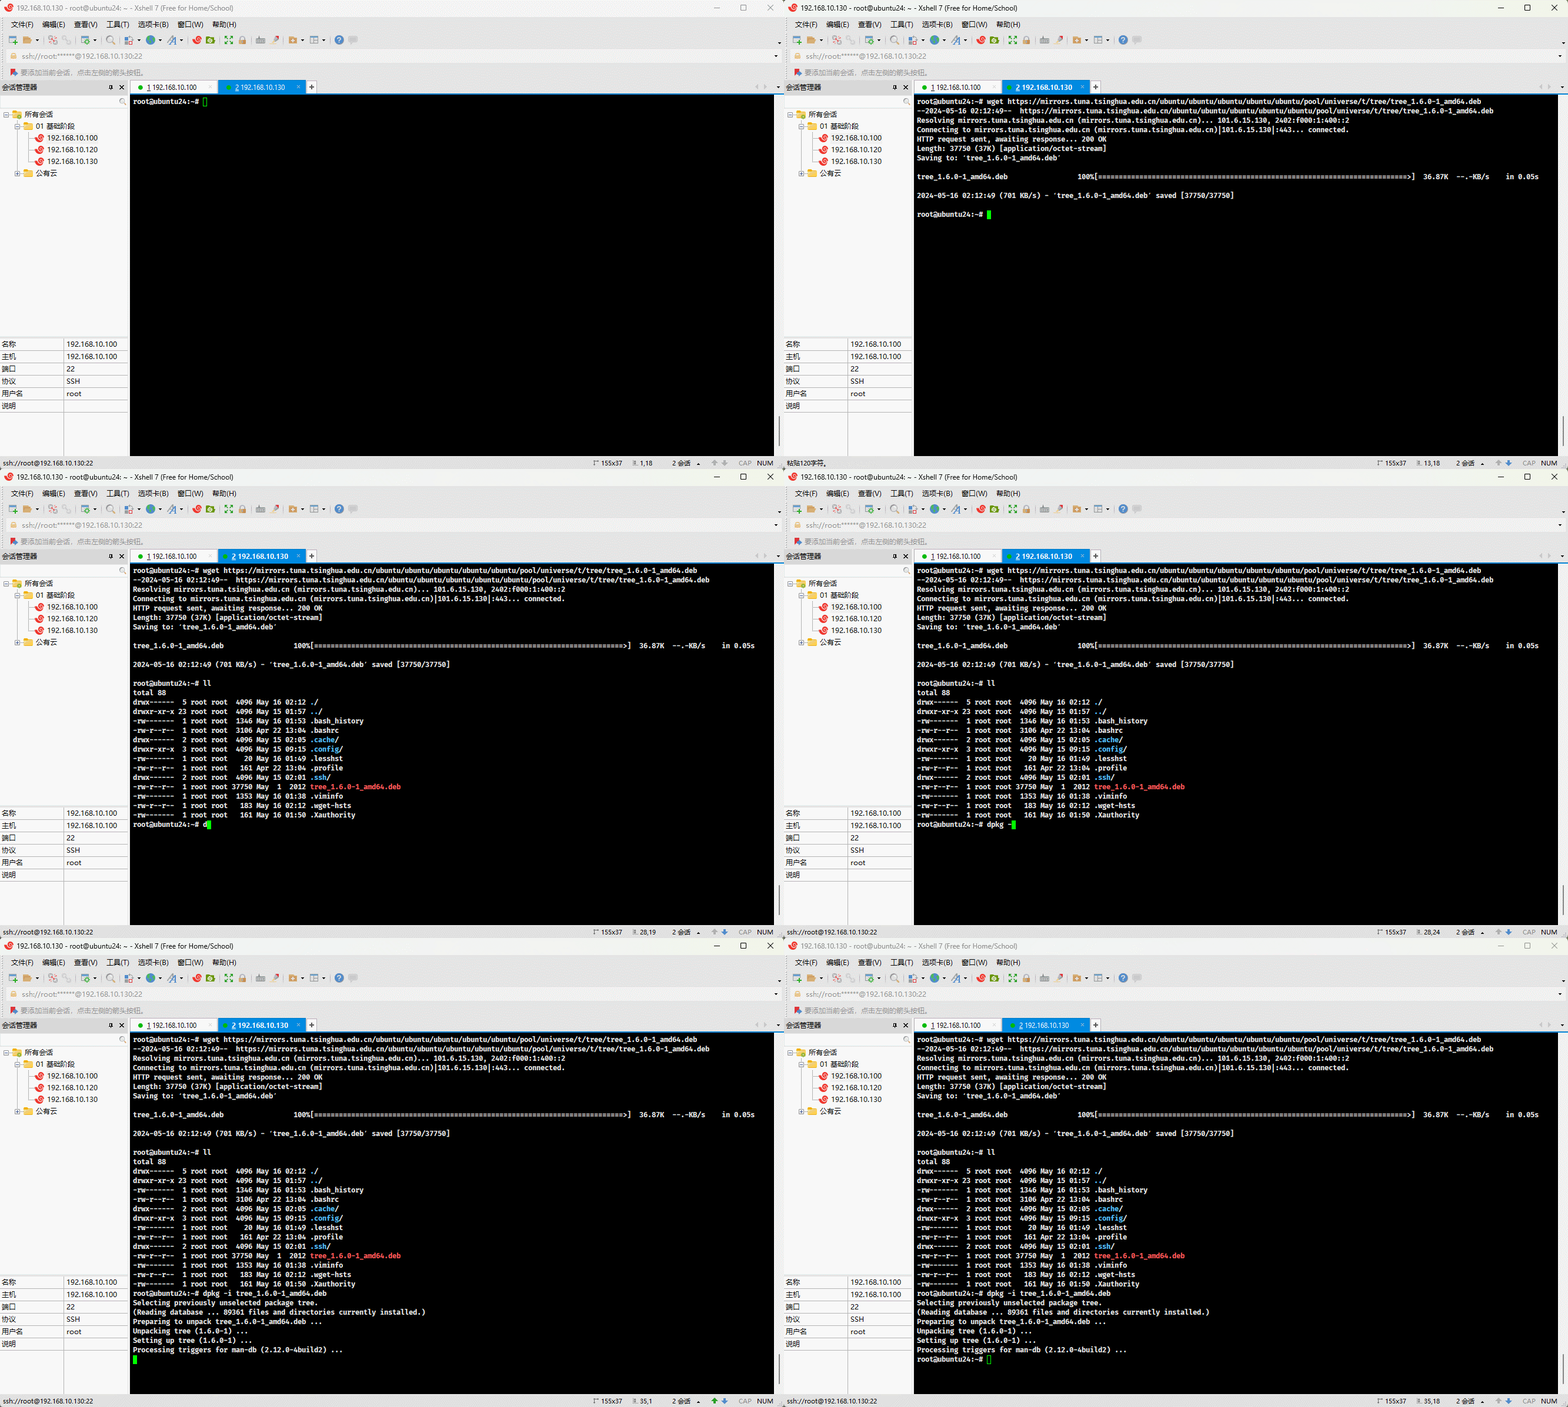
3.1.2.3 查(查询)
- 命令:
shell
dpkg -l | grep xxx # 查询是否安装成功shell
dpkg -s xxx # 查询已安装软件包的详细信息shell
dpkg -L xxx # 查询已安装软件包中中所包含的文件shell
dpkg -S $(which xxx) # 根据指定的命令或文件的绝对路径查询对应的软件包shell
dpkg -c xxx.deb # 查询软件包中的所有内容- 示例:查询是否安装成功
shell
dpkg -l | grep tree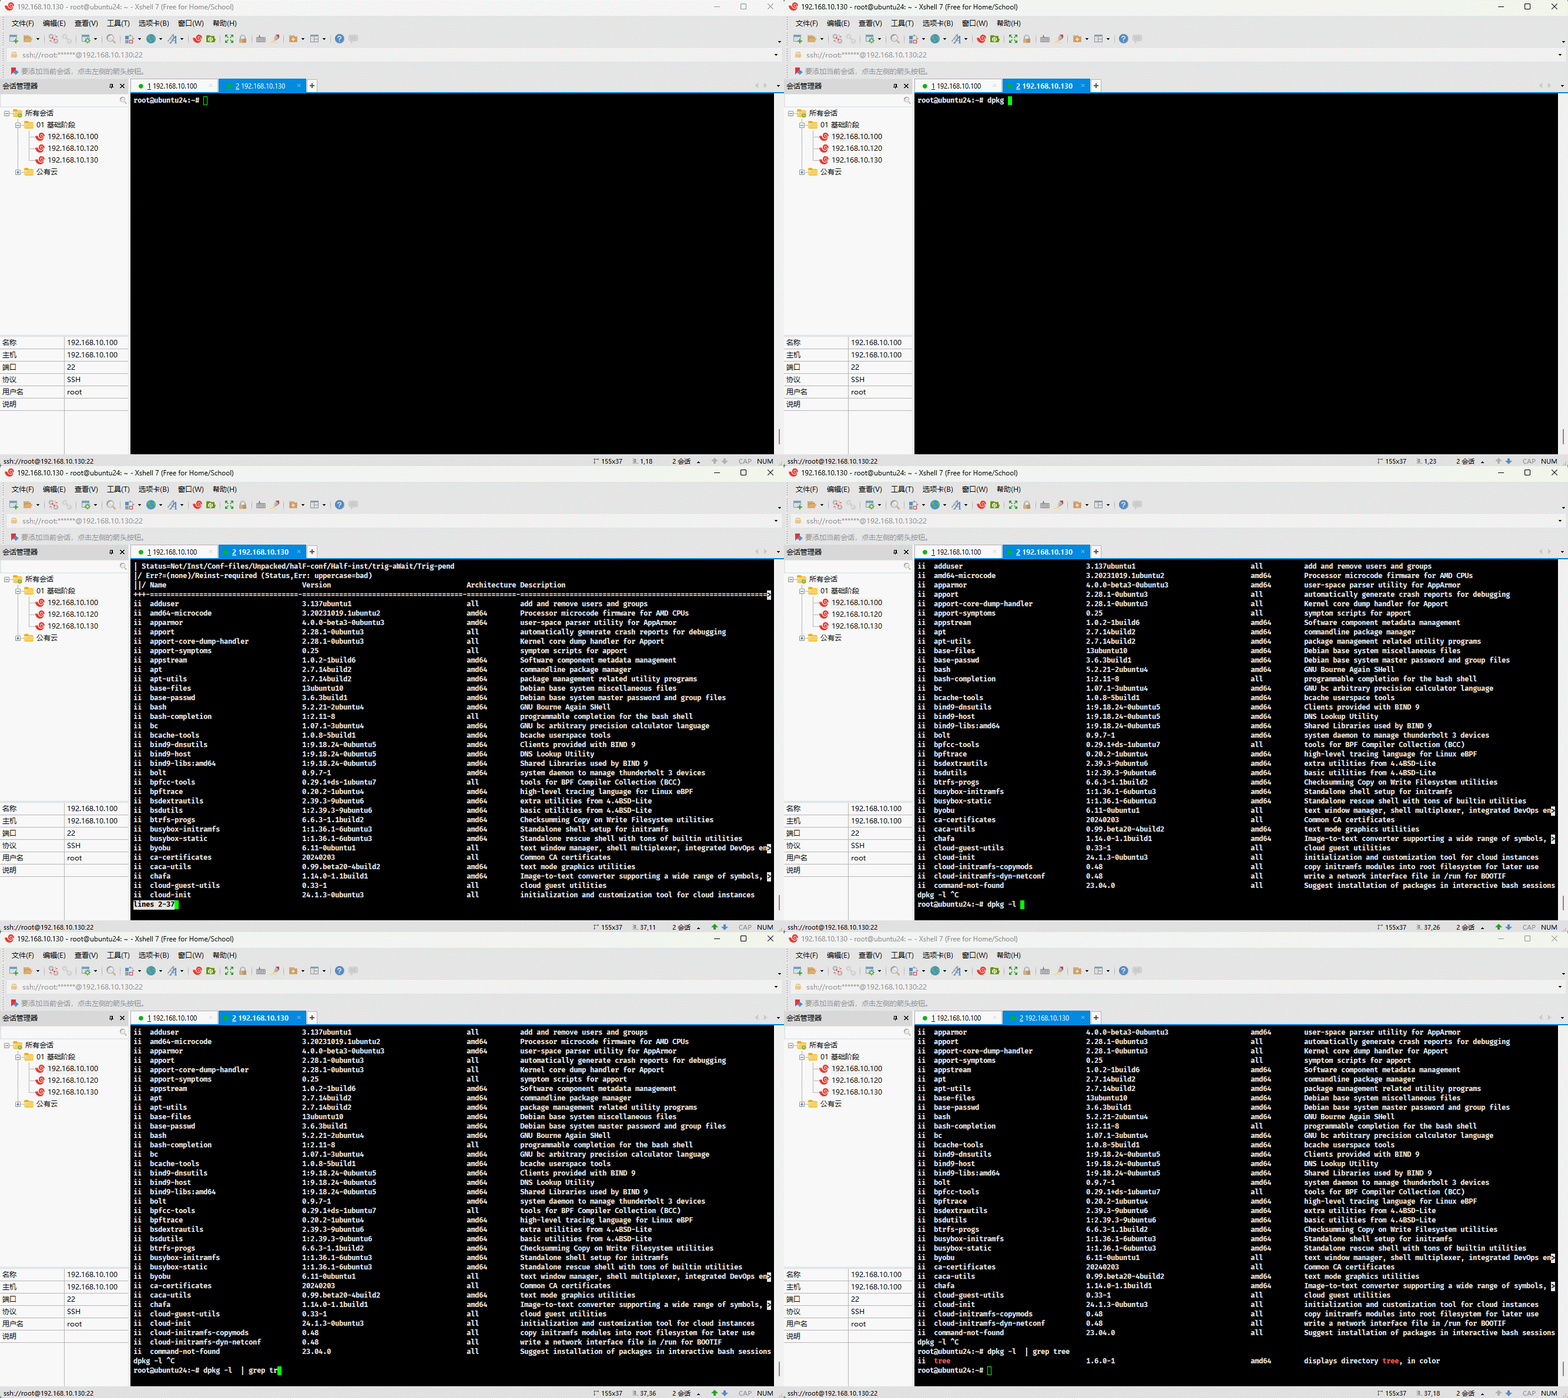
- 示例:查询已安装软件包的详细信息
shell
dpkg -s tree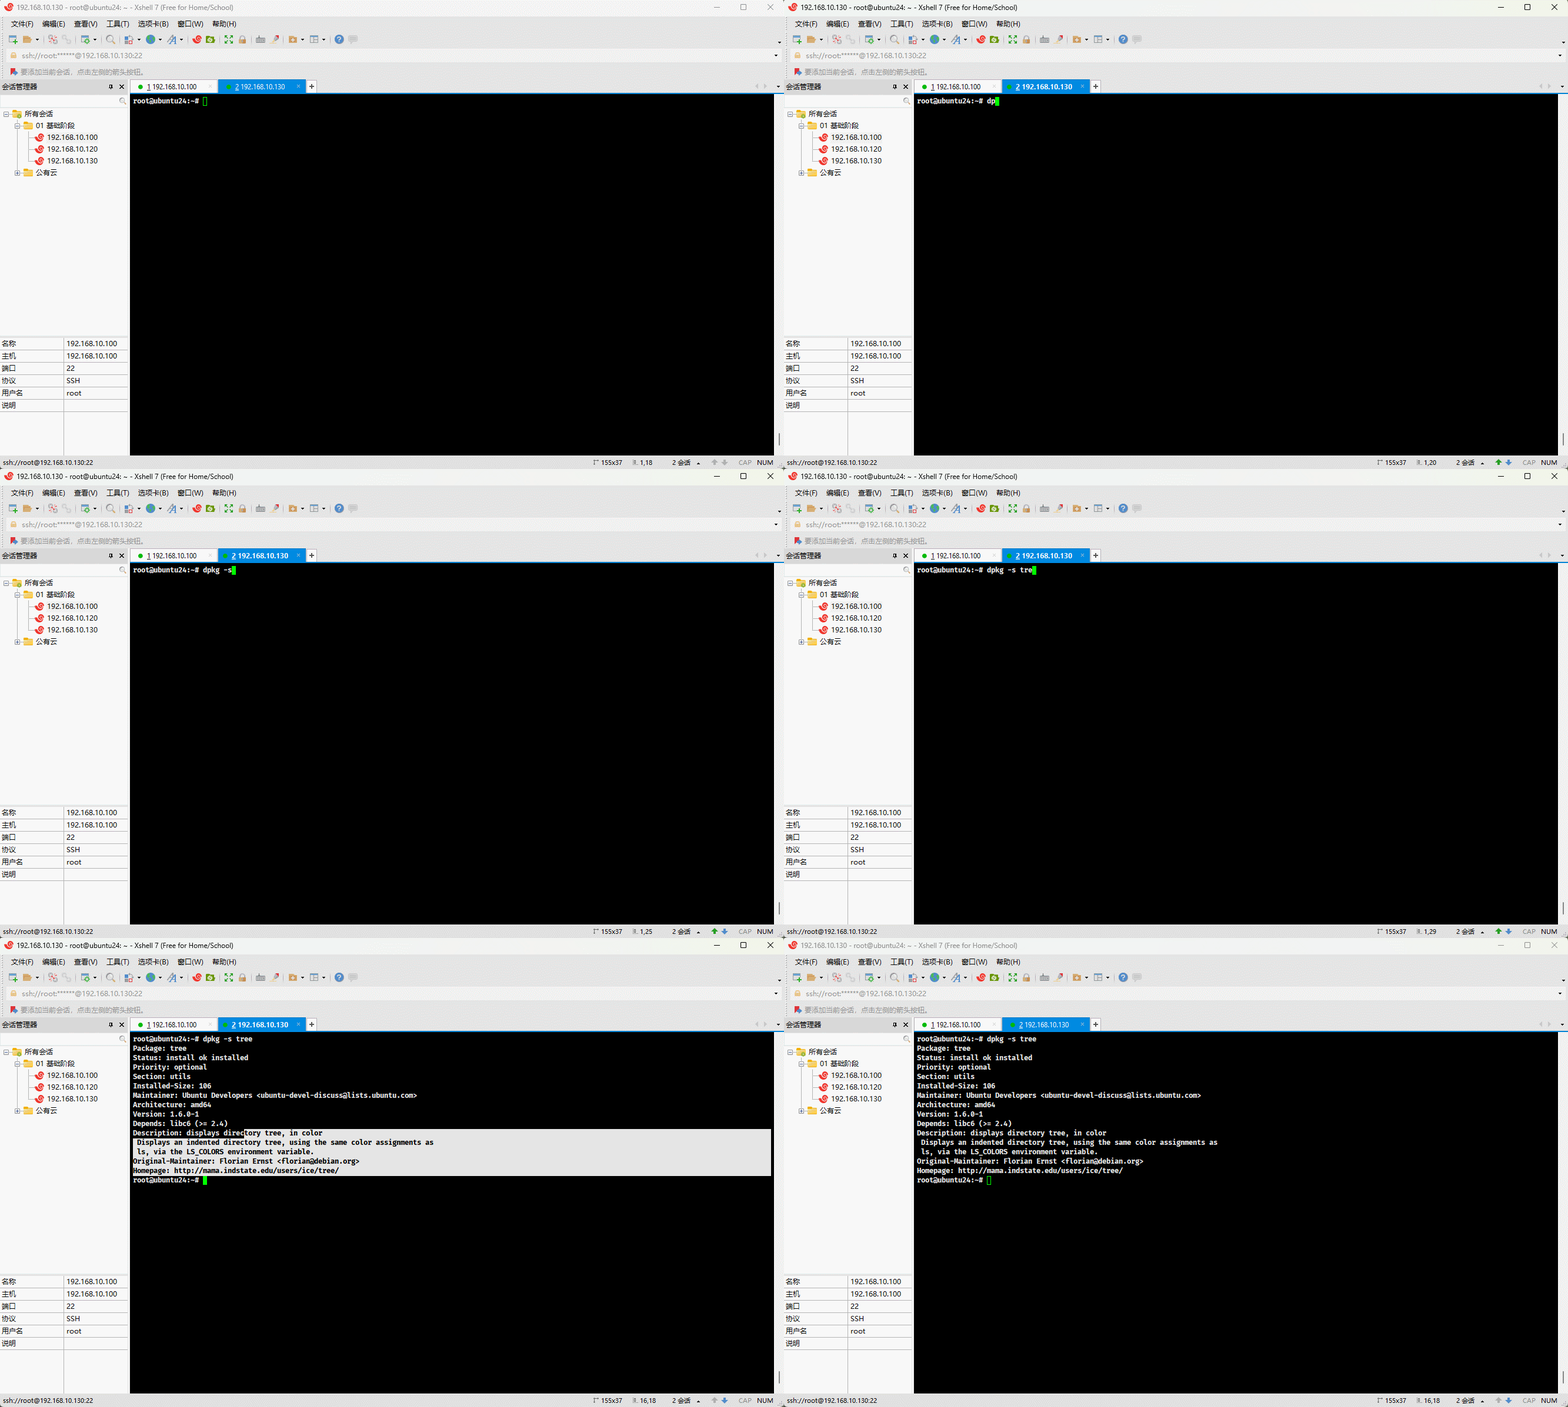
- 示例:查询已安装软件包中中所包含的文件
shell
dpkg -L tree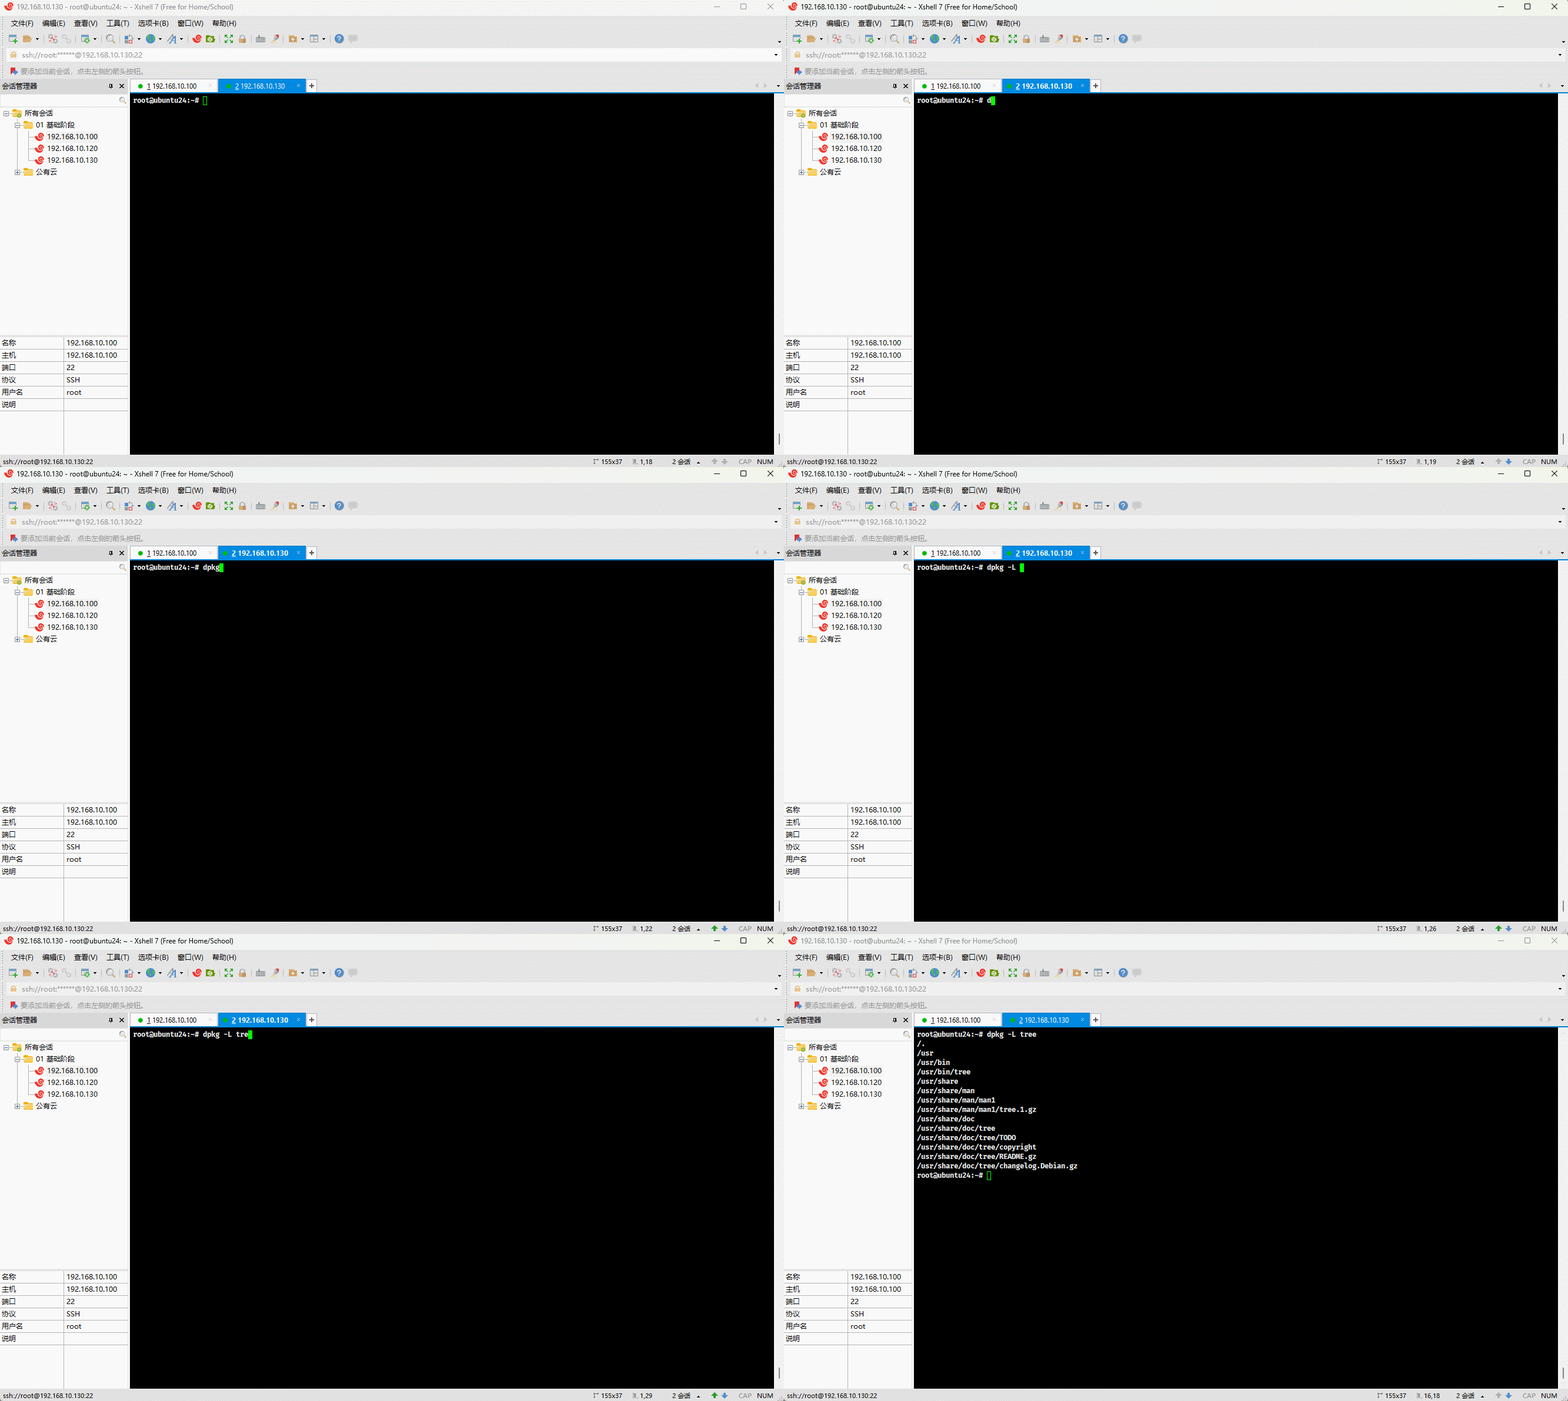
- 示例:根据指定的命令或文件的绝对路径查询对应的软件包
shell
dpkg -S $(which tree)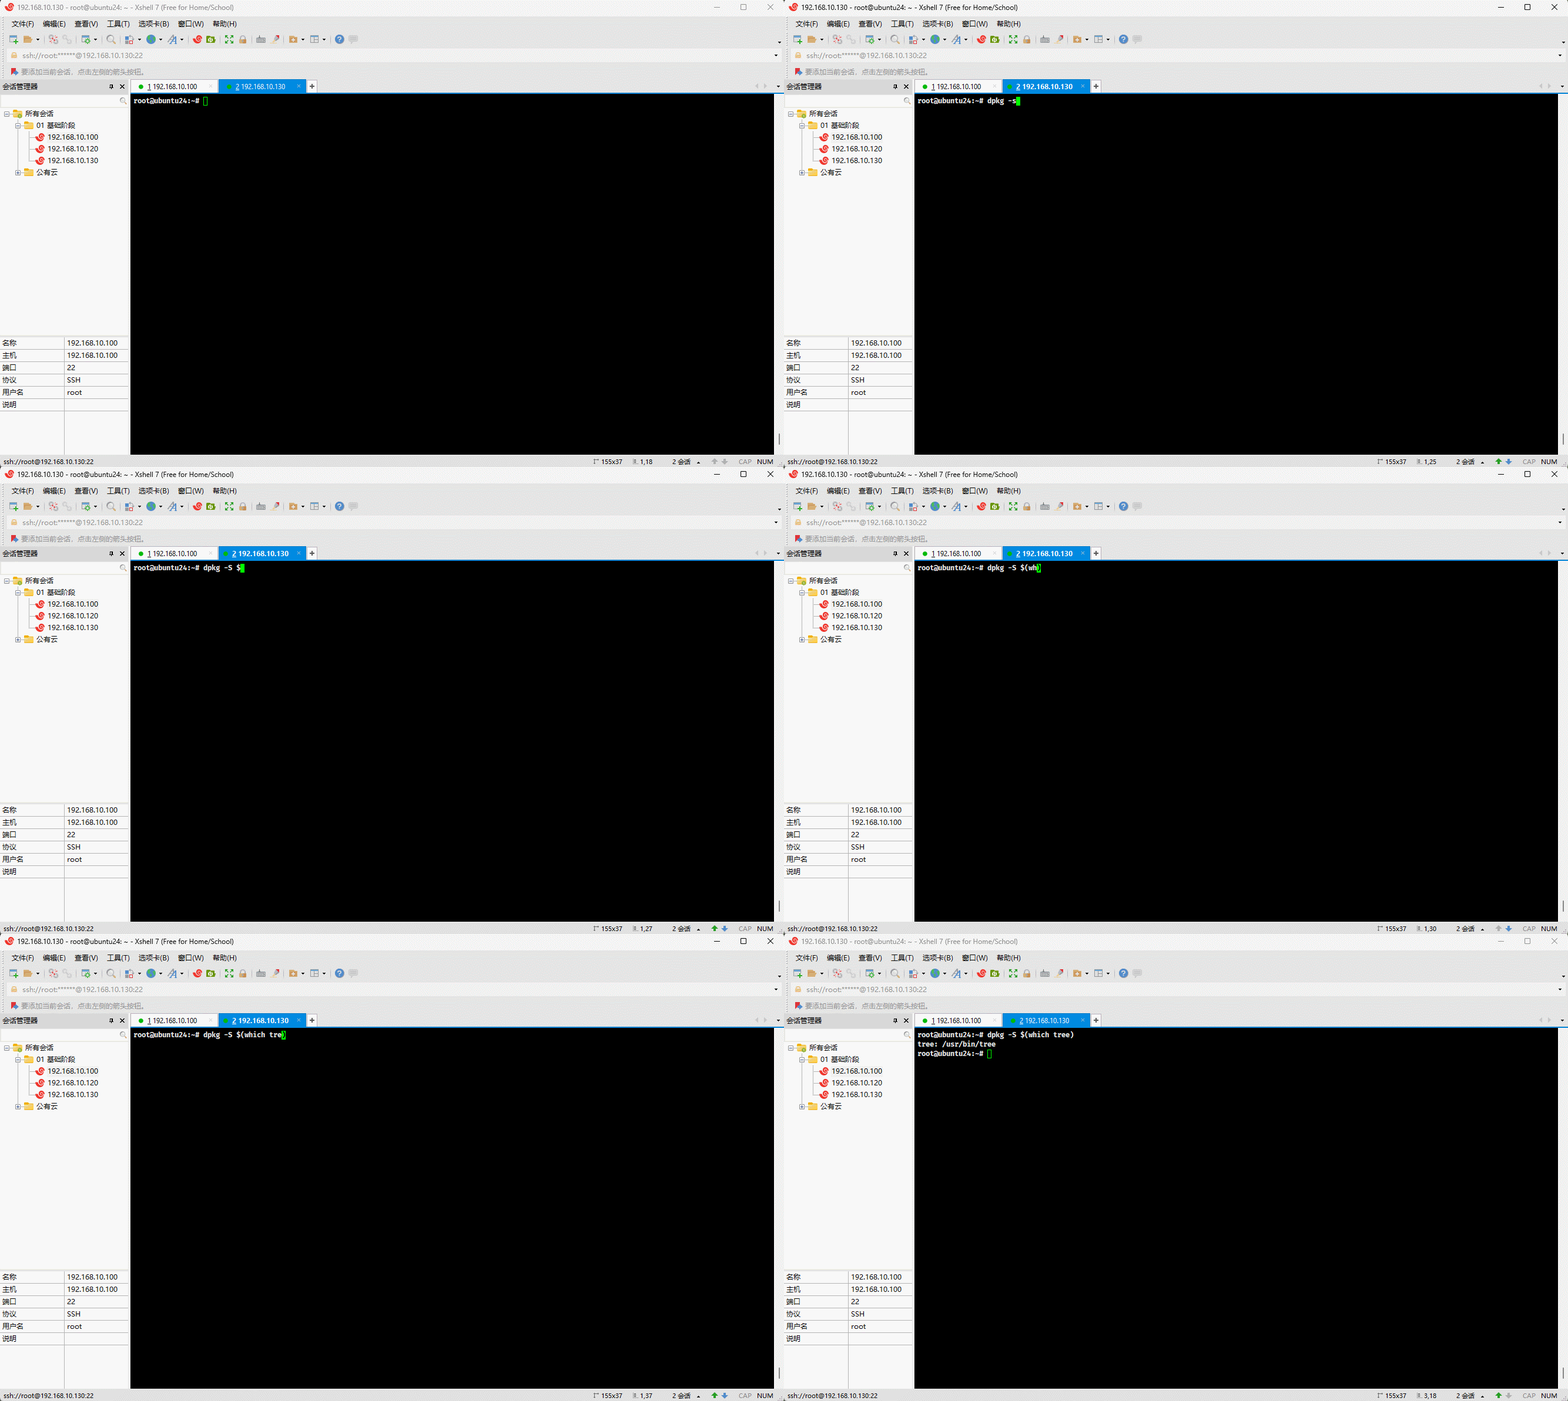
- 示例:查询软件包中的所有内容
shell
dpkg -c tree_1.6.0-1_amd64.deb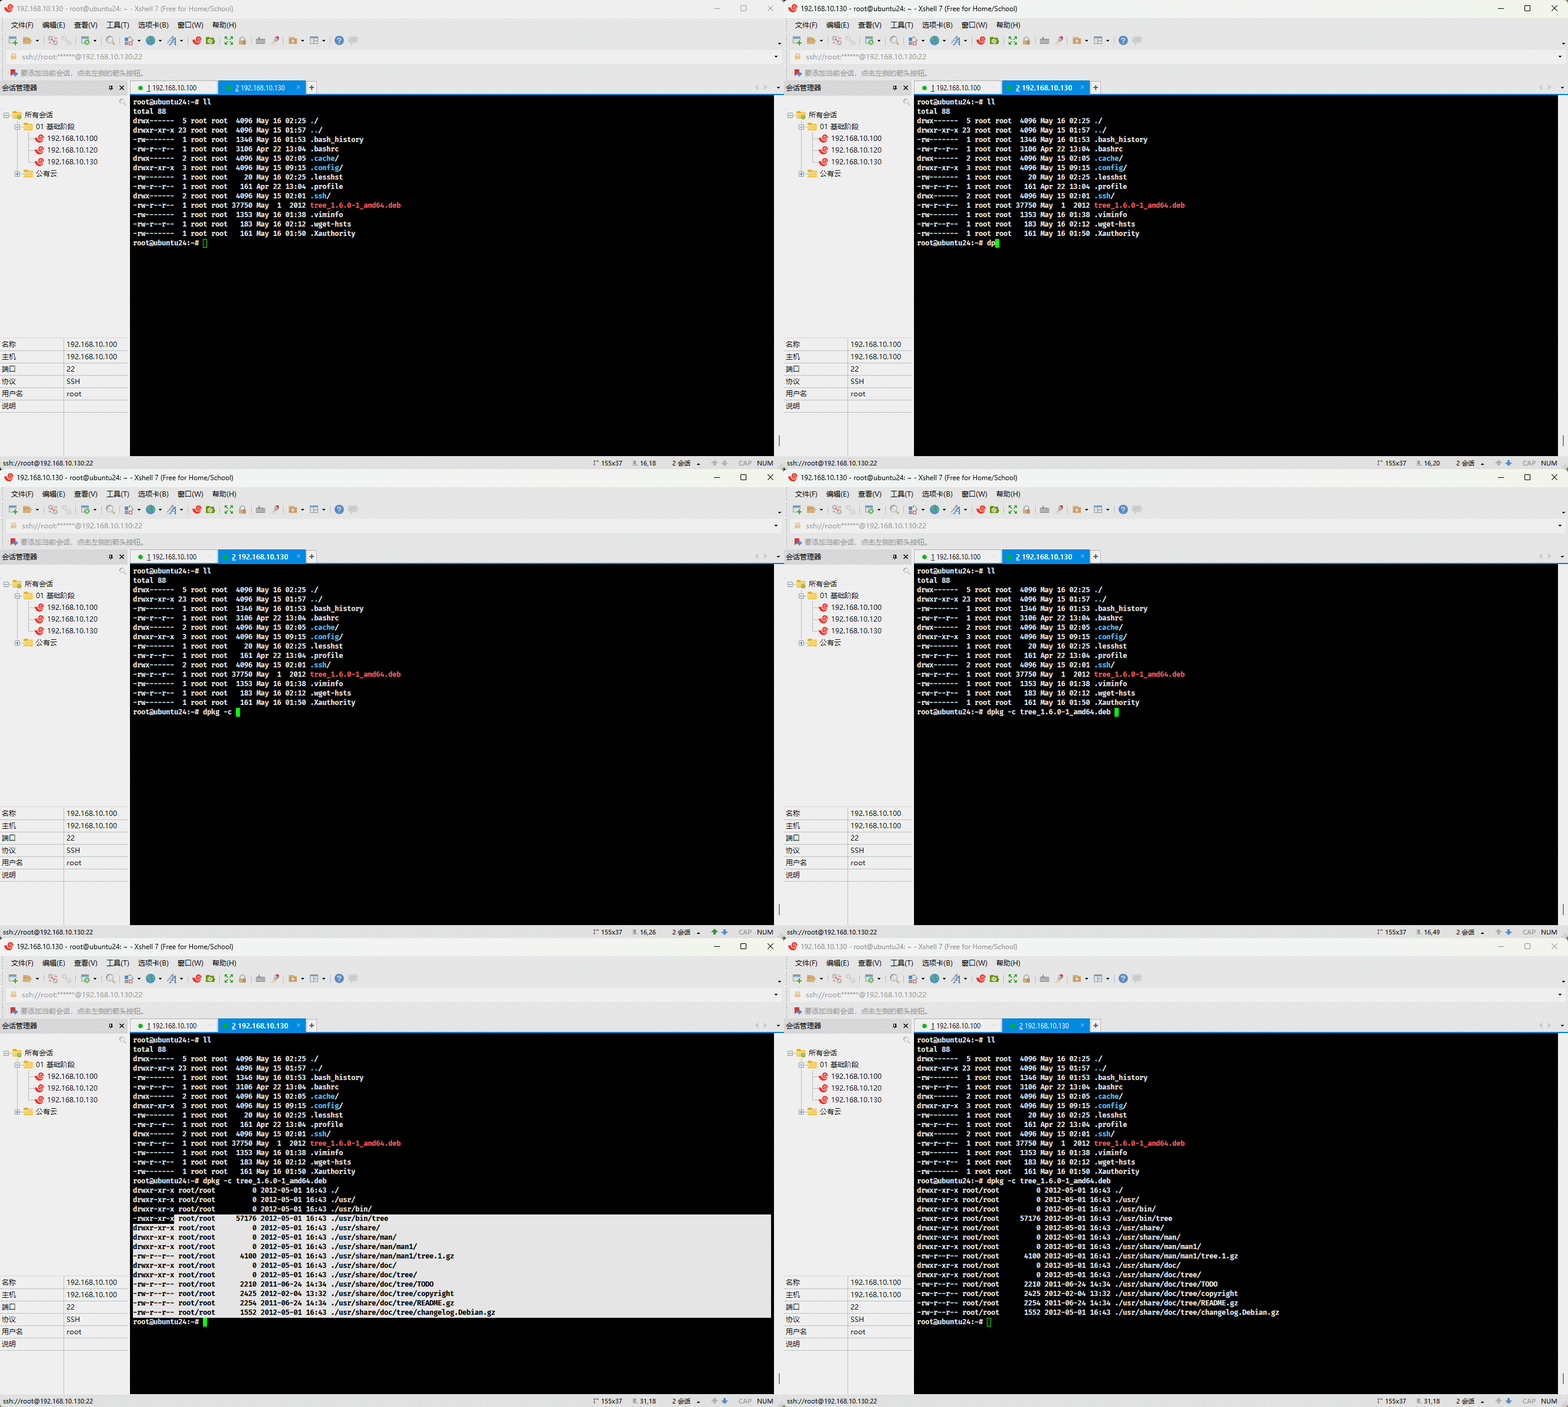
3.1.2.4 改(升级)
- 命令:
shell
dpkg -i xxx.deb提醒
在实际工作的时候,升级需要经过严格的测试(找一台裸机模拟环境进行升级)。
- 示例:
shell
wget https://mirrors.tuna.tsinghua.edu.cn/ubuntu/ubuntu/ubuntu/ubuntu/ubuntu/pool/universe/t/tree/tree_2.1.1-1_amd64.debshell
dpkg -i tree_2.1.1-1_amd64.deb3.1.2.5 删(卸载)
- 命令:
shell
dpkg -r xxx # 删除软件包,但是保留配置文件shell
dpkg -P xxx # 删除软件包以及配置文件- 准备工作:
shell
wget https://mirrors.tuna.tsinghua.edu.cn/ubuntu/ubuntu/ubuntu/ubuntu/ubuntu/pool/universe/z/zabbix/zabbix-agent2_6.0.13%2Bdfsg-1_amd64.debshell
dpkg -i zabbix-agent2_6.0.13+dfsg-1_amd64.deb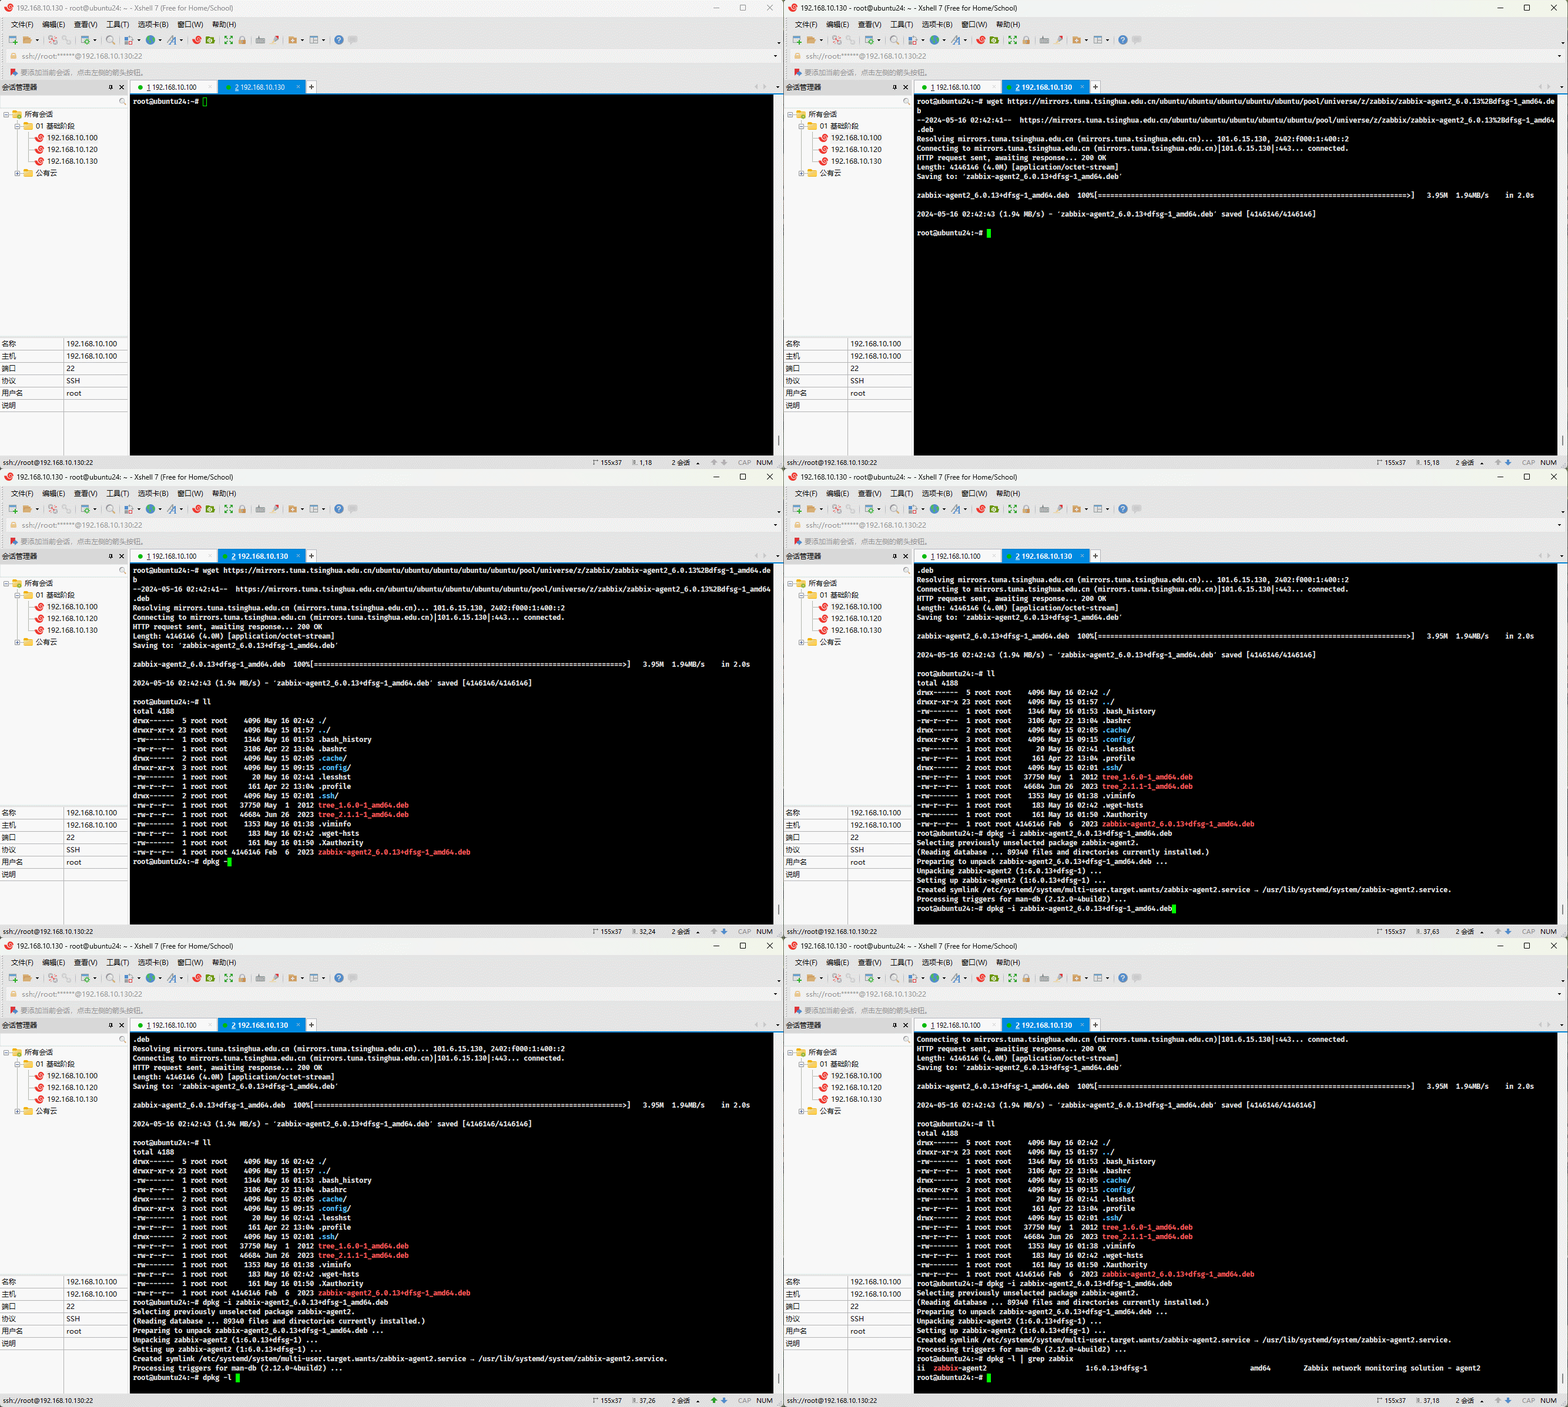
- 示例:删除软件包,但是保留配置文件
shell
dpkg -r zabbix-agent2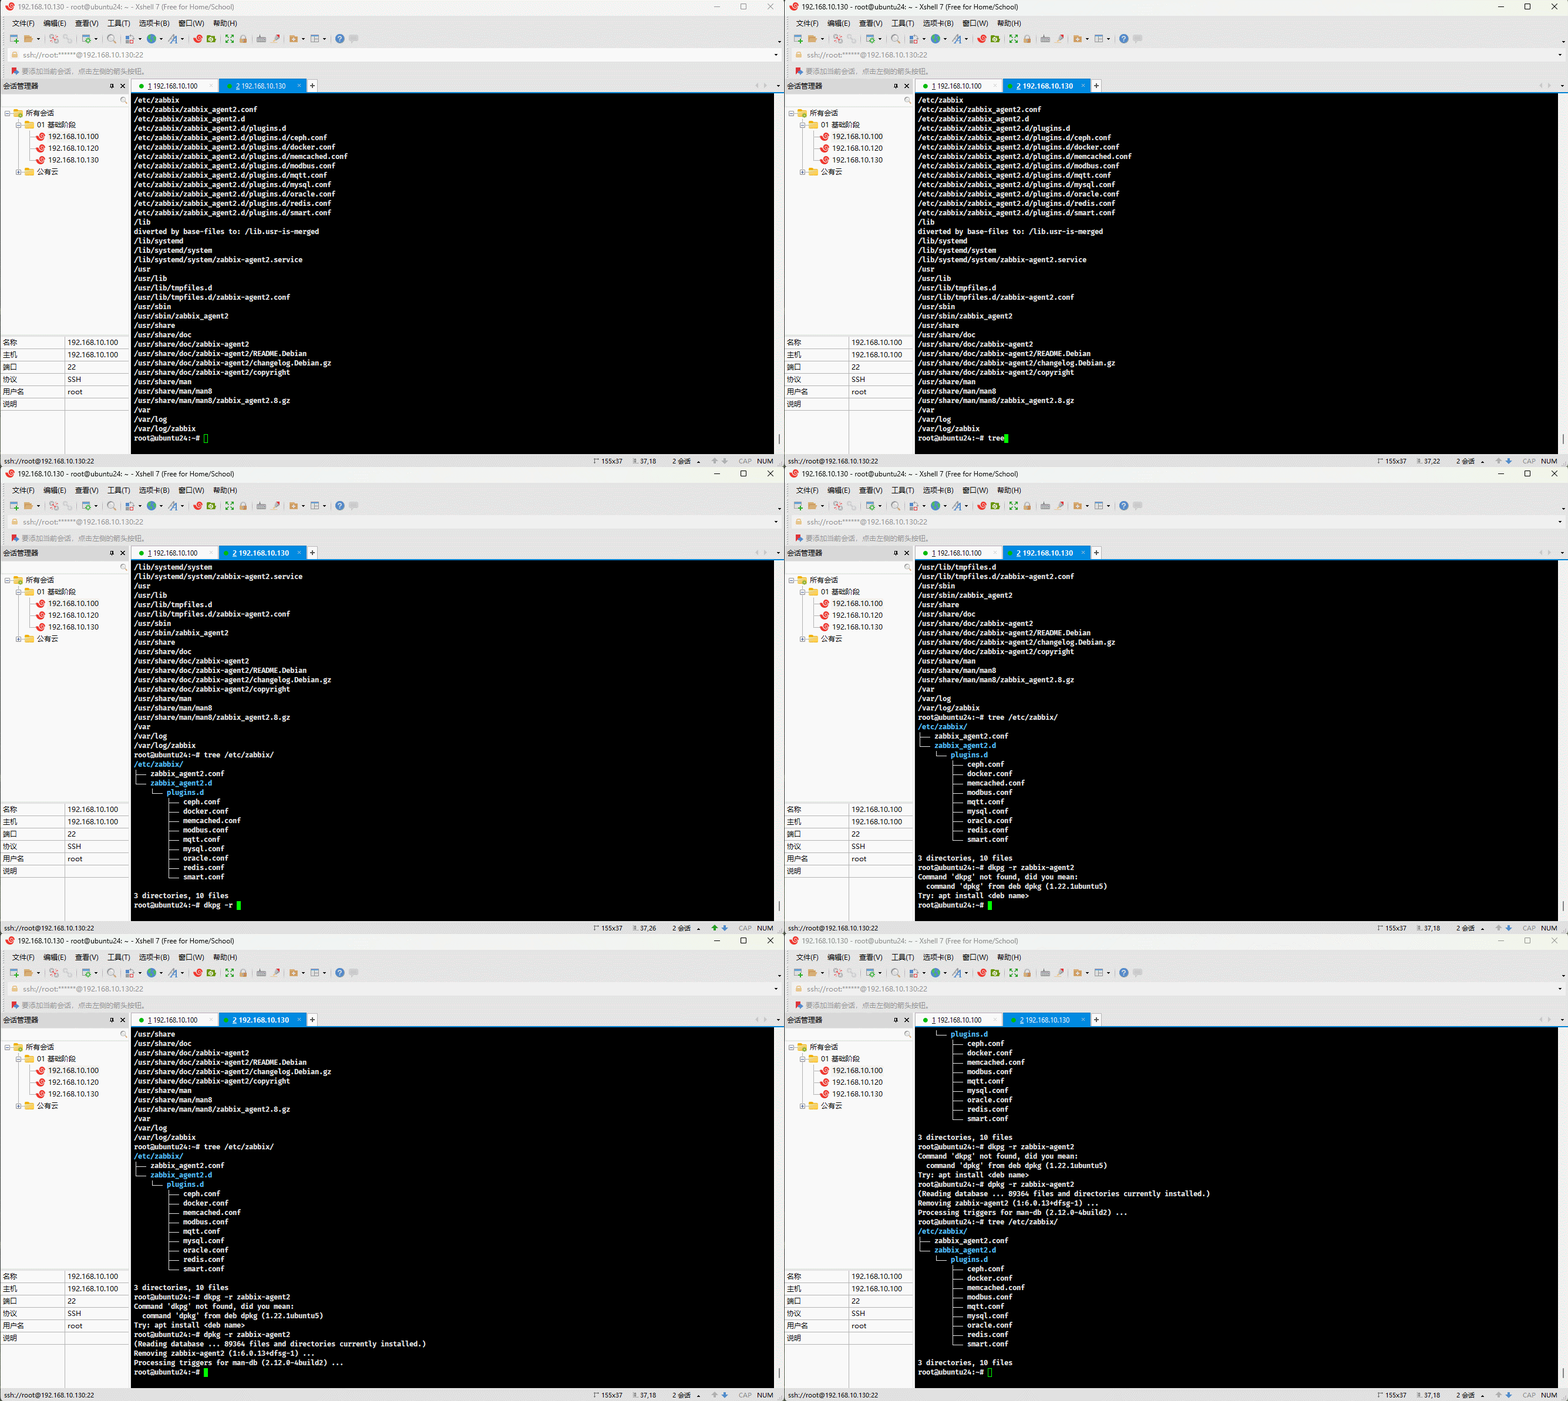
- 示例:删除软件包以及配置文件
shell
dpkg -P zabbix-agent2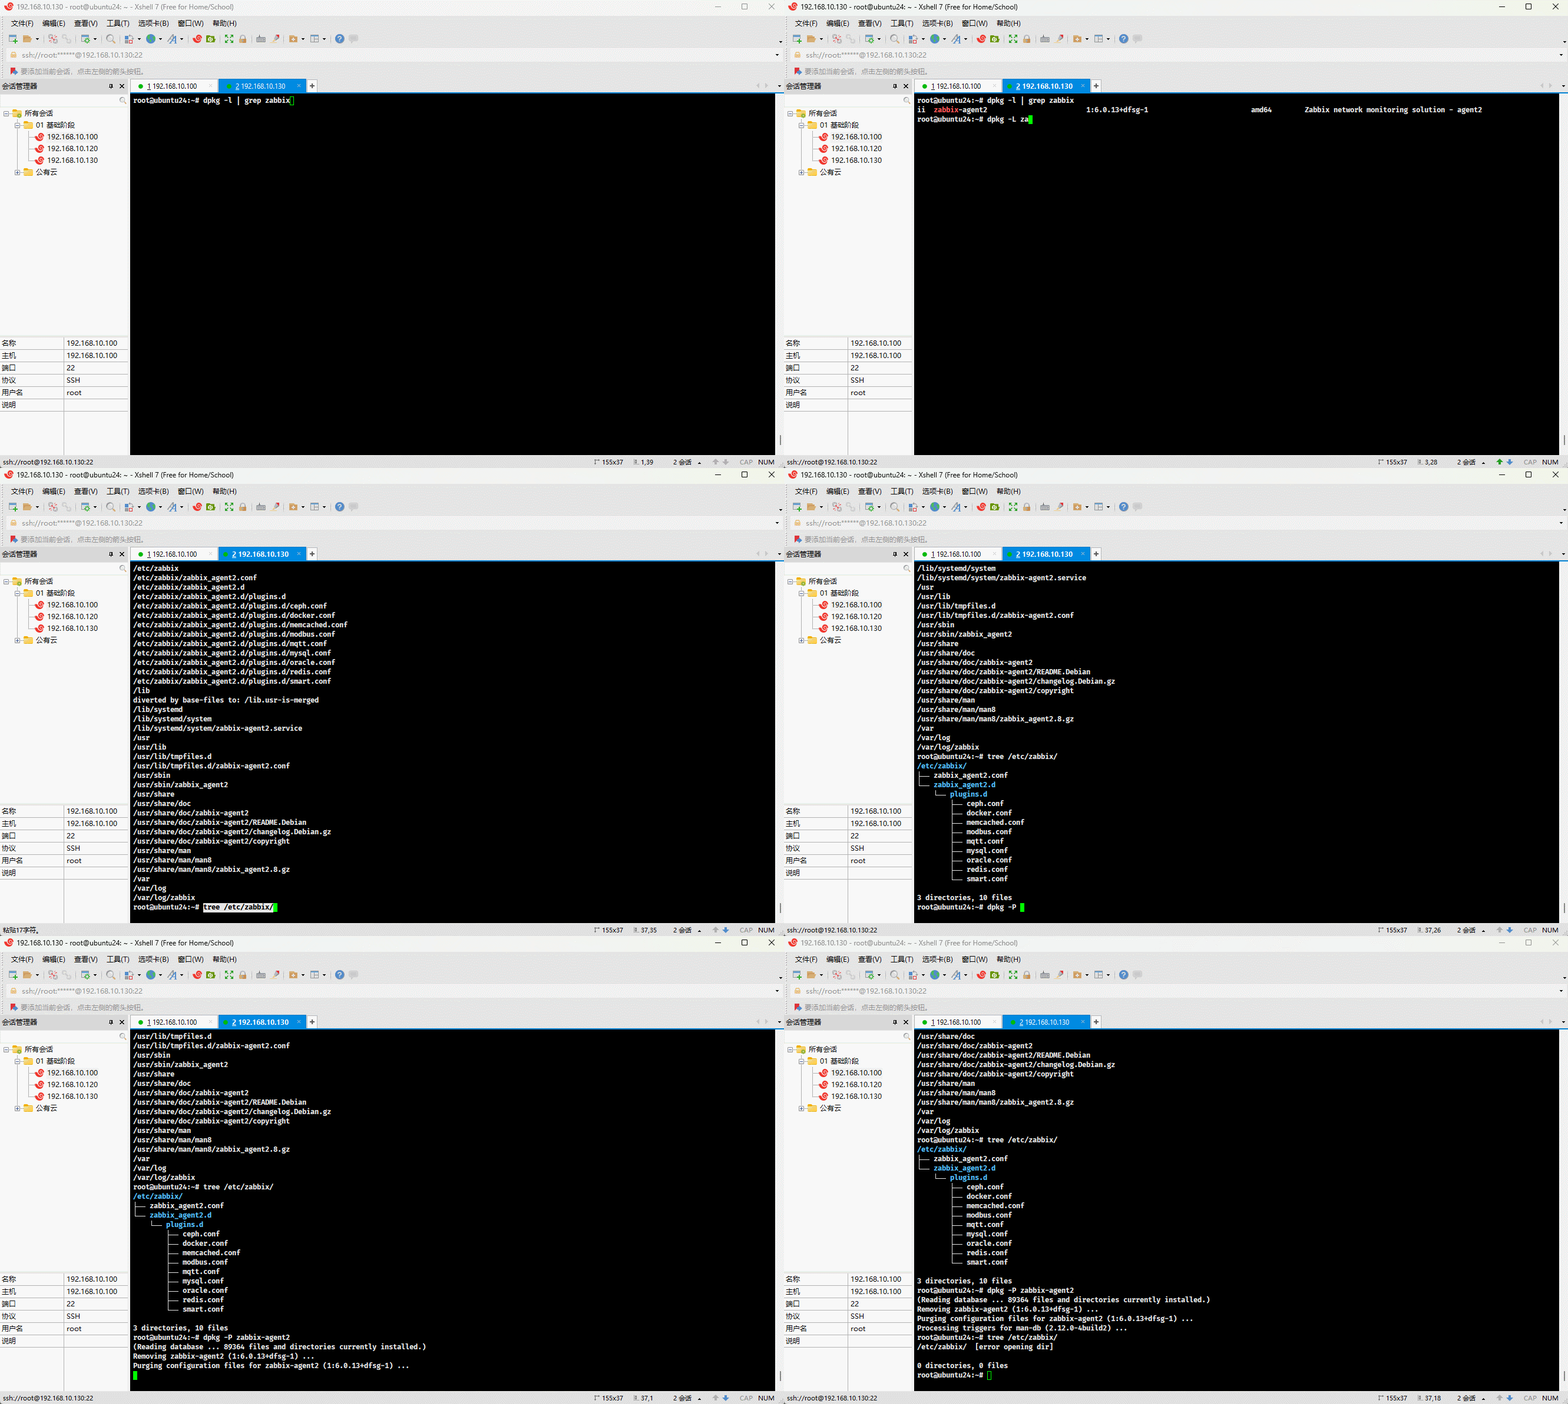
3.2 apt
3.2.1 概述
apt是 Debian 和基于 Debian 的发行版(如: Ubuntu)中的高级包管理工具。它提供了一个更简单、更一致的界面来管理软件包,包括安装、更新、升级和删除软件包。apt是apt-get和apt-cache工具的简化和改进版本,集成了它们的主要功能。
3.2.2 apt 管理软件包
3.2.2.1 概述
- apt 管理软件包,无非增(安装)删(卸载)改(升级)查(查询),即:
| 功能 | 命令 | 备注 |
|---|---|---|
| 增(安装) | apt install xxx | |
| 删(卸载) | apt remove xxx | 删除软件包,但是保留配置文件。 |
apt purge xxx | 删除软件包以及配置文件。 | |
apt autoremove | 自动删除不需要的软件包。 | |
| 改(升级) | apt update | 更新存储库索引,类似于 dnf clean all && dnf makecache。 |
apt upgrade | 更新所有可升级的软件包。 | |
apt full-upgrade | 在升级软件包的同时自动处理依赖关系。 | |
| 查(查询) | apt search xxx | 搜索软件包。 |
apt show xxx | 显示软件包的详细信息。 | |
apt list --installed | --upgradable | 列出包含条件的包(已安装,可升级等) | |
| 编辑镜像源 | apt edit-sources |
- 查看仓库中的软件包的所有版本:
shell
apt-cache madison nginx- 安装指定版本的软件包:
shell
apt install nginx=1.14.0-0ubuntu1.6 -y3.2.2.2 增(安装)
- 命令:
shell
apt install xxx- 示例:
shell
apt install tree zip -y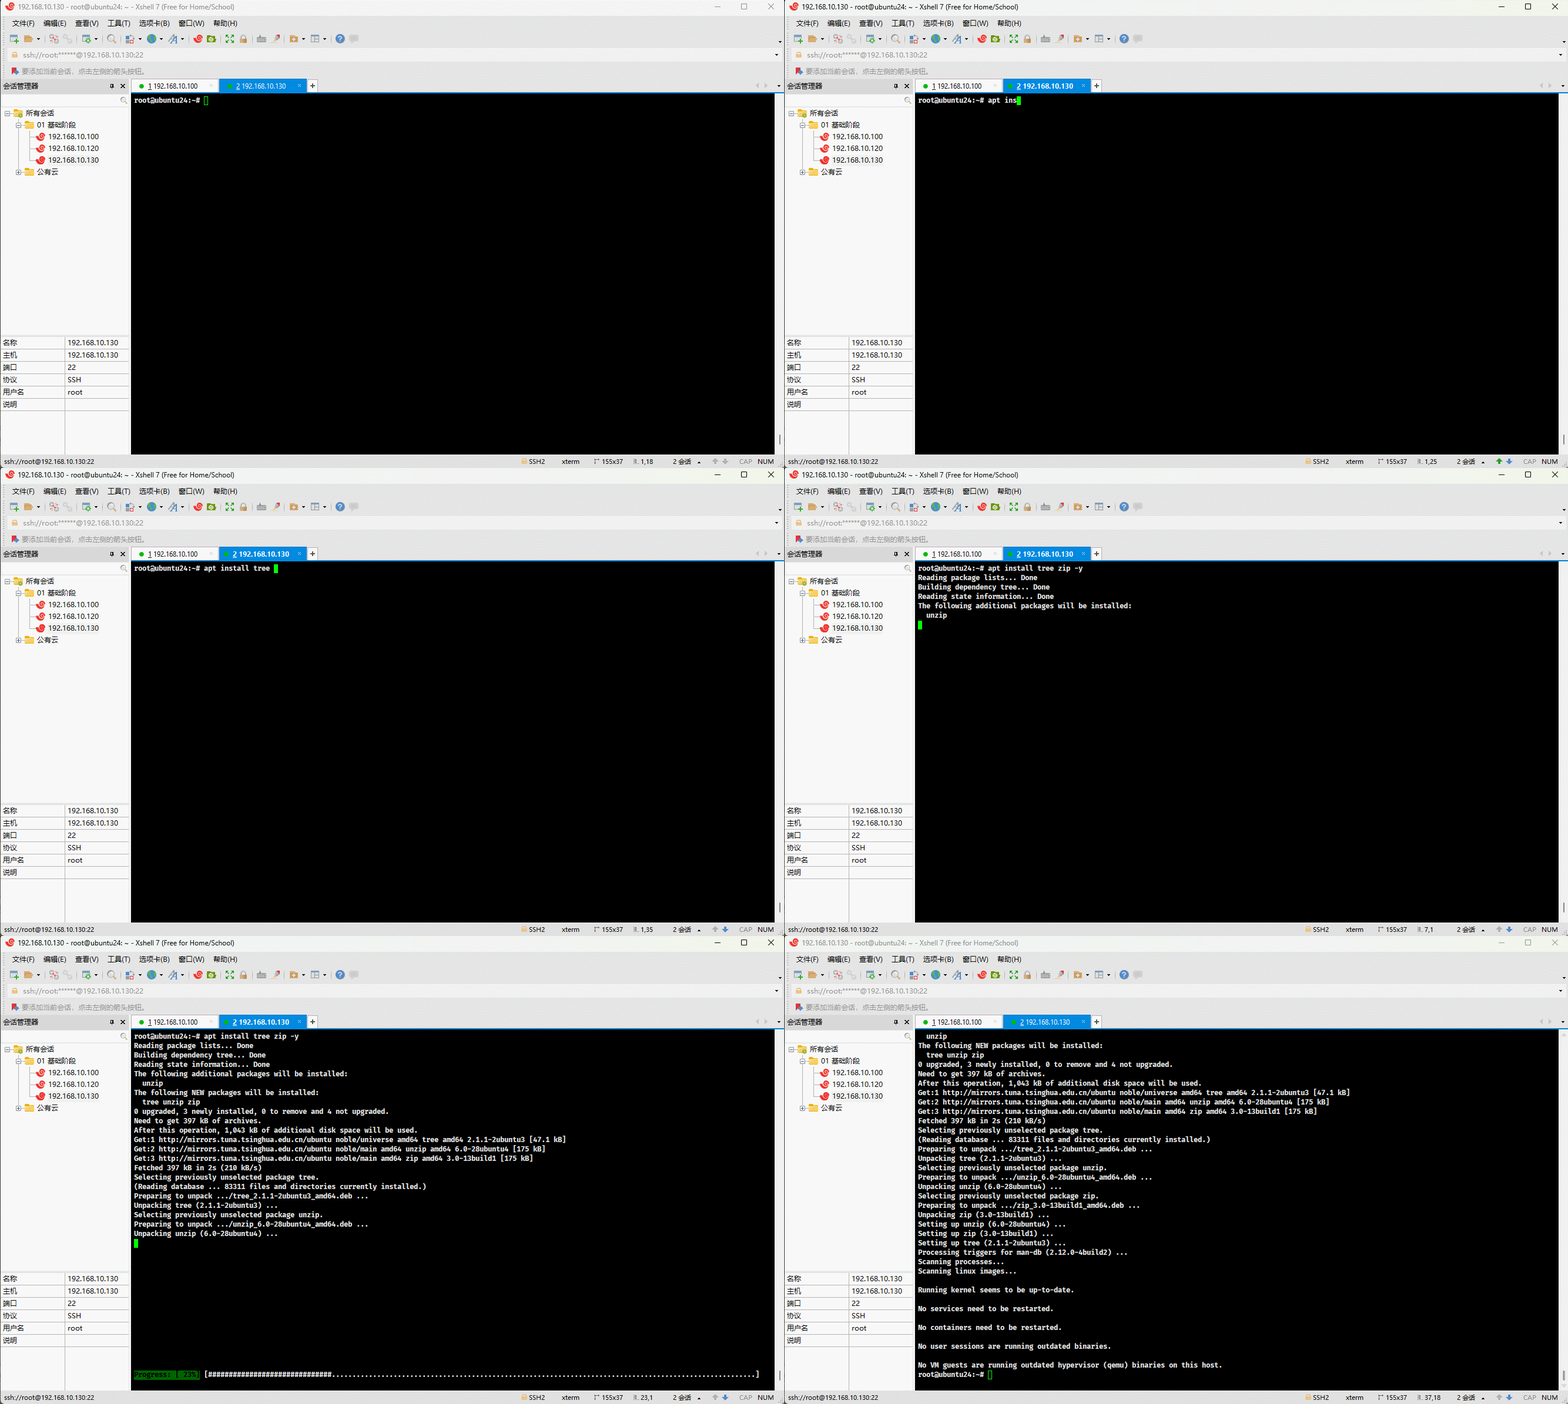
- 示例:
shell
apt install ubuntu-desktop -y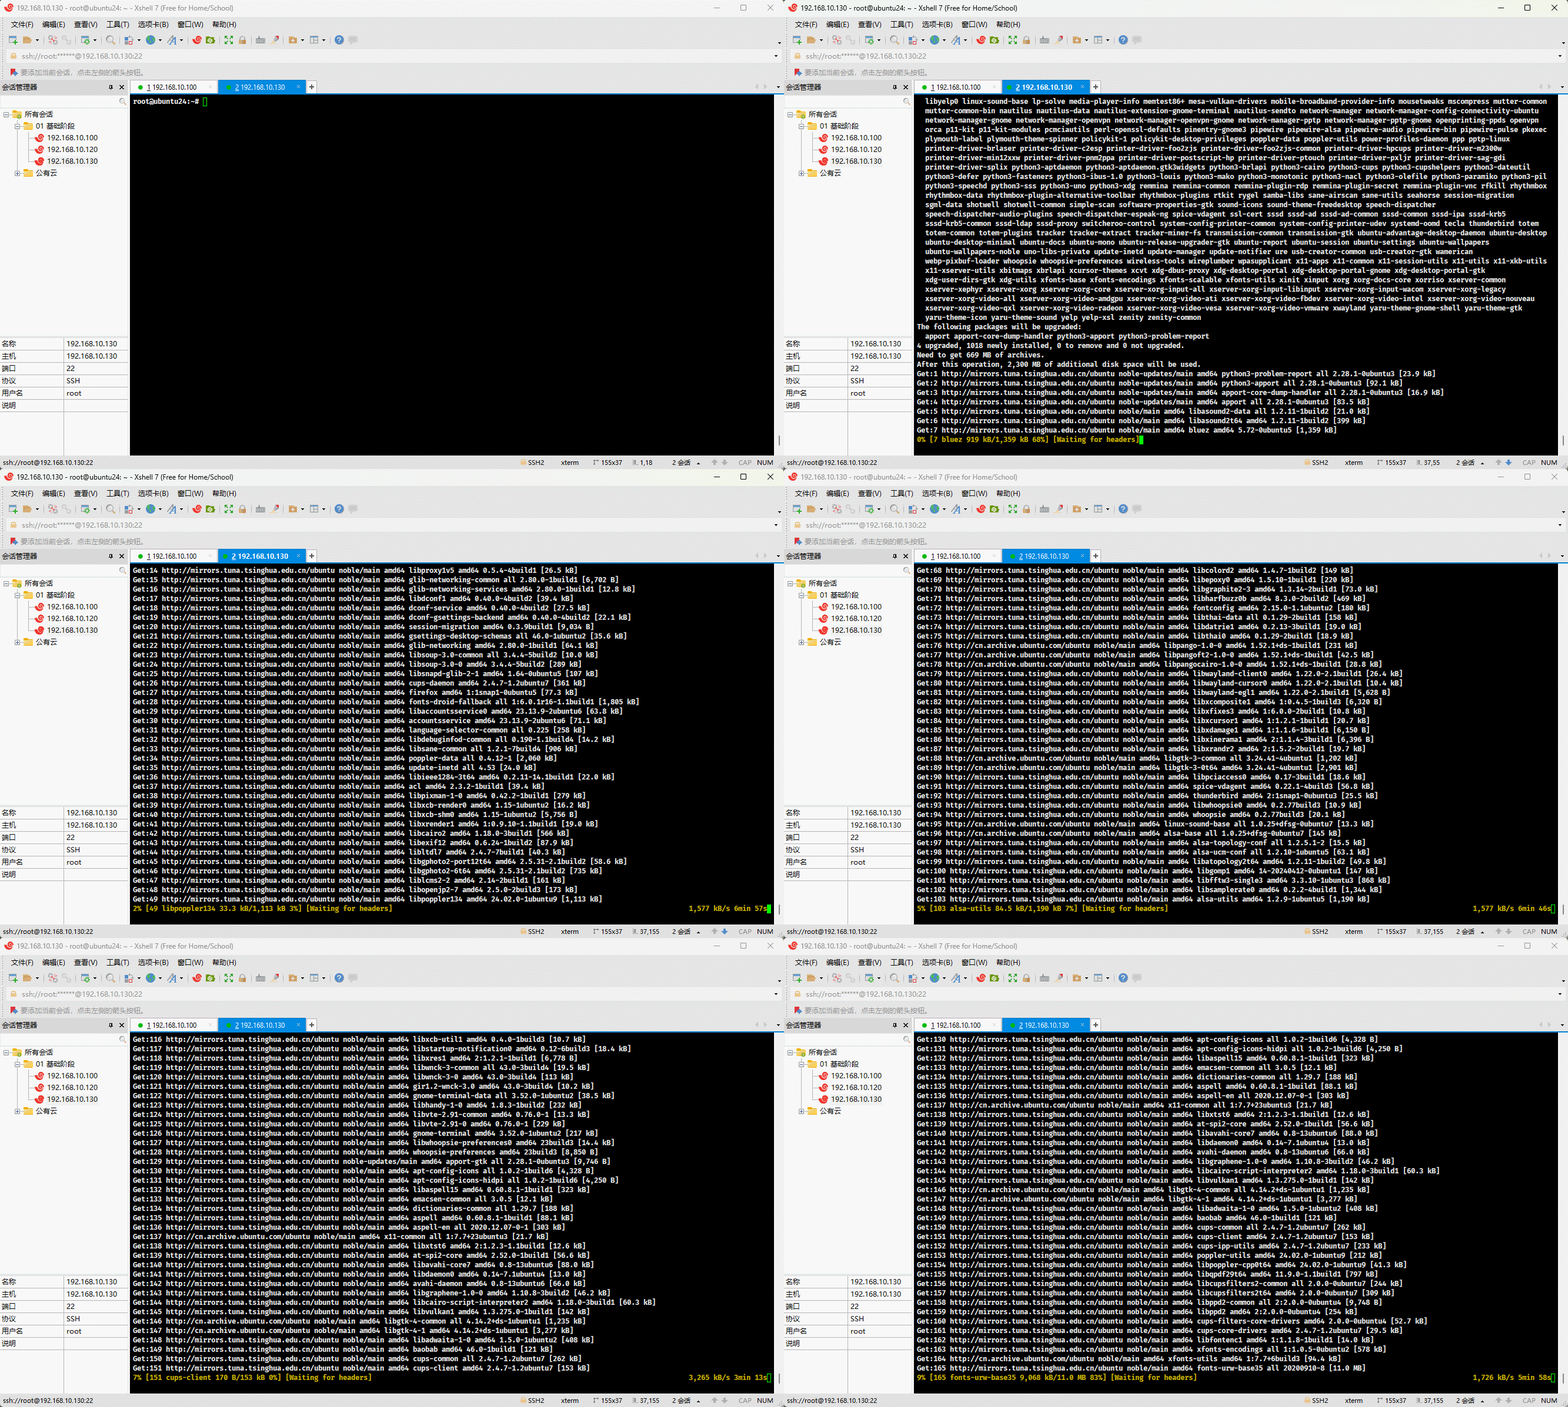
3.2.2.3 删(卸载)
- 命令:
shell
apt remove xxx # 删除软件包,但是保留配置文件shell
apt purge xxx # 删除软件包以及配置文件- 示例:
shell
apt remove tree zip -y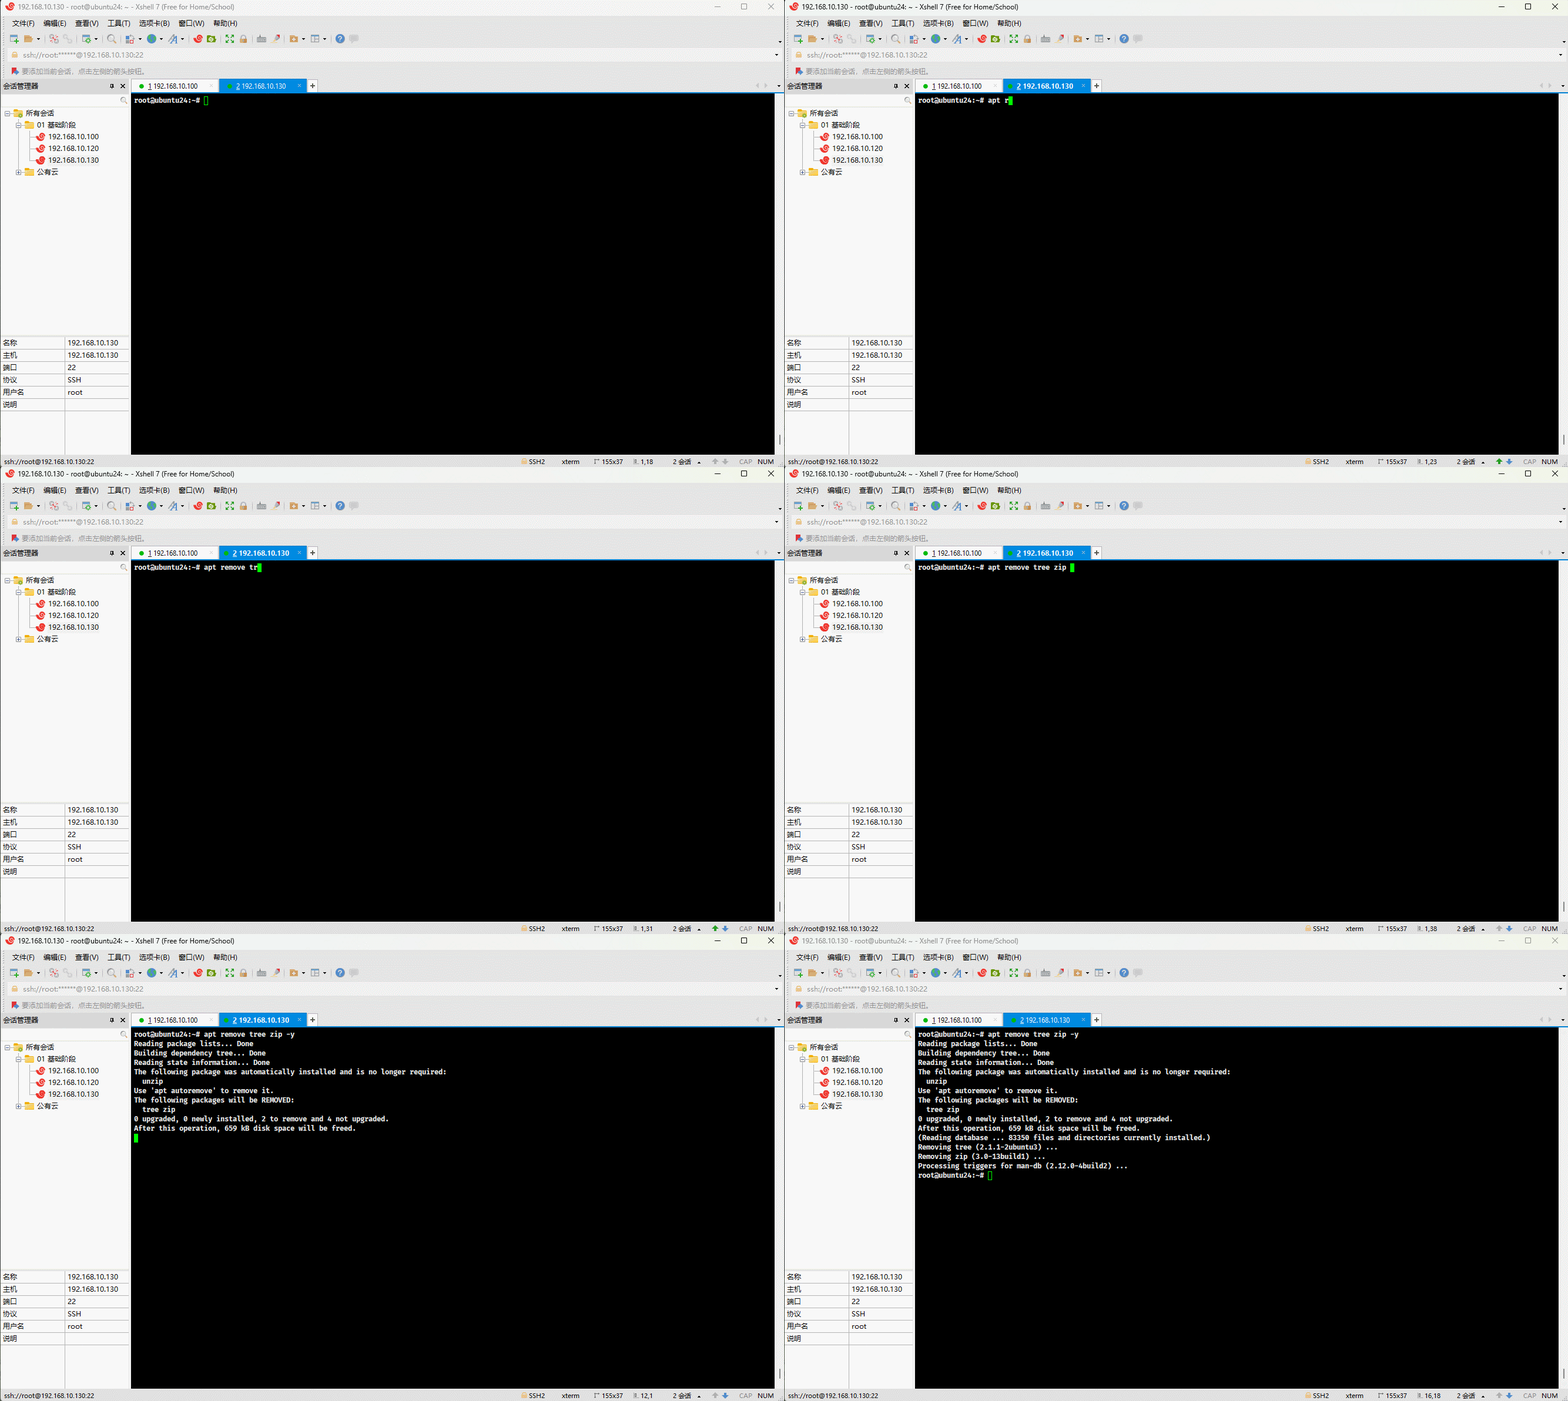
- 示例:
shell
apt purge tree zip -y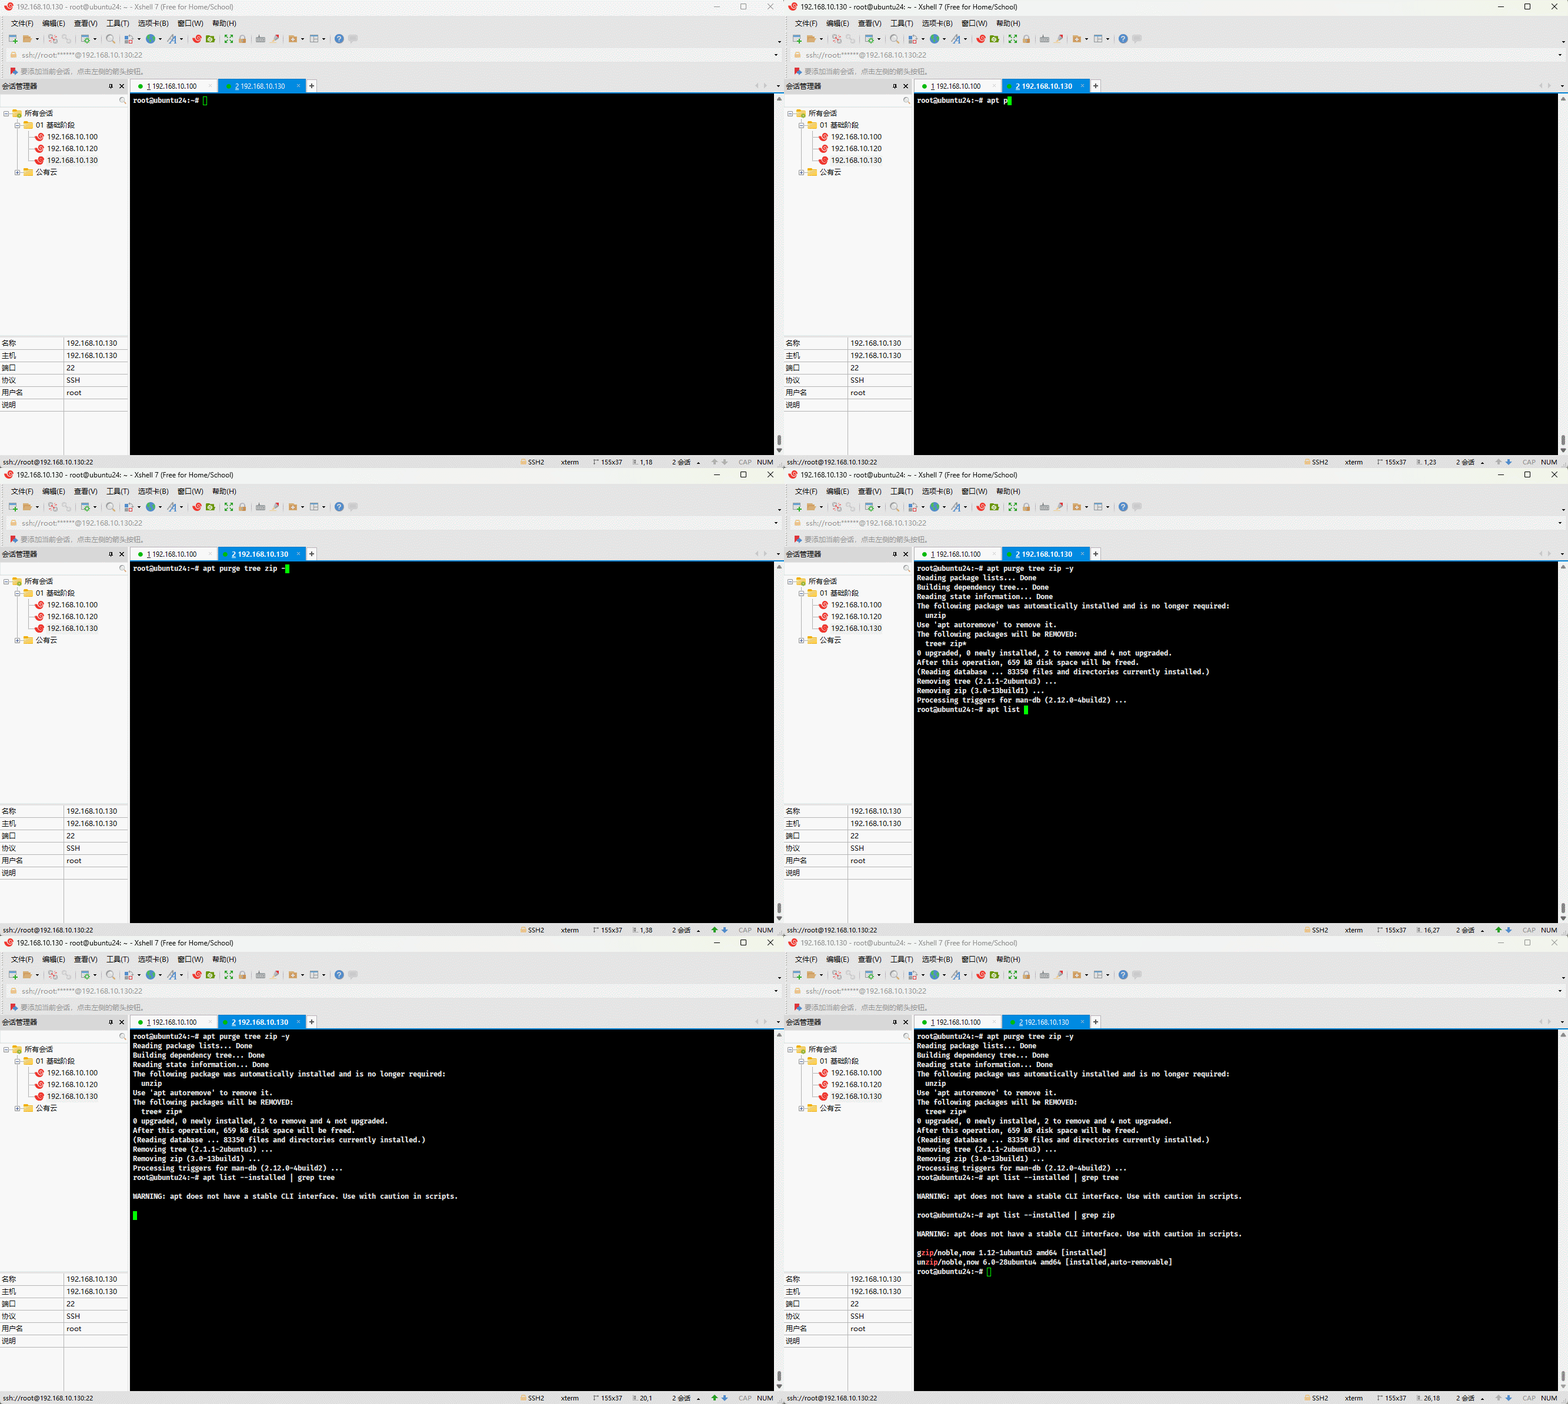
3.2.2.4 改(升级)
- 命令:
shell
apt update # 更新存储库索引shell
apt upgrade # 更新所有可升级的软件包,前提是需要更新存储库索引- 示例:更新存储库索引
shell
apt update -y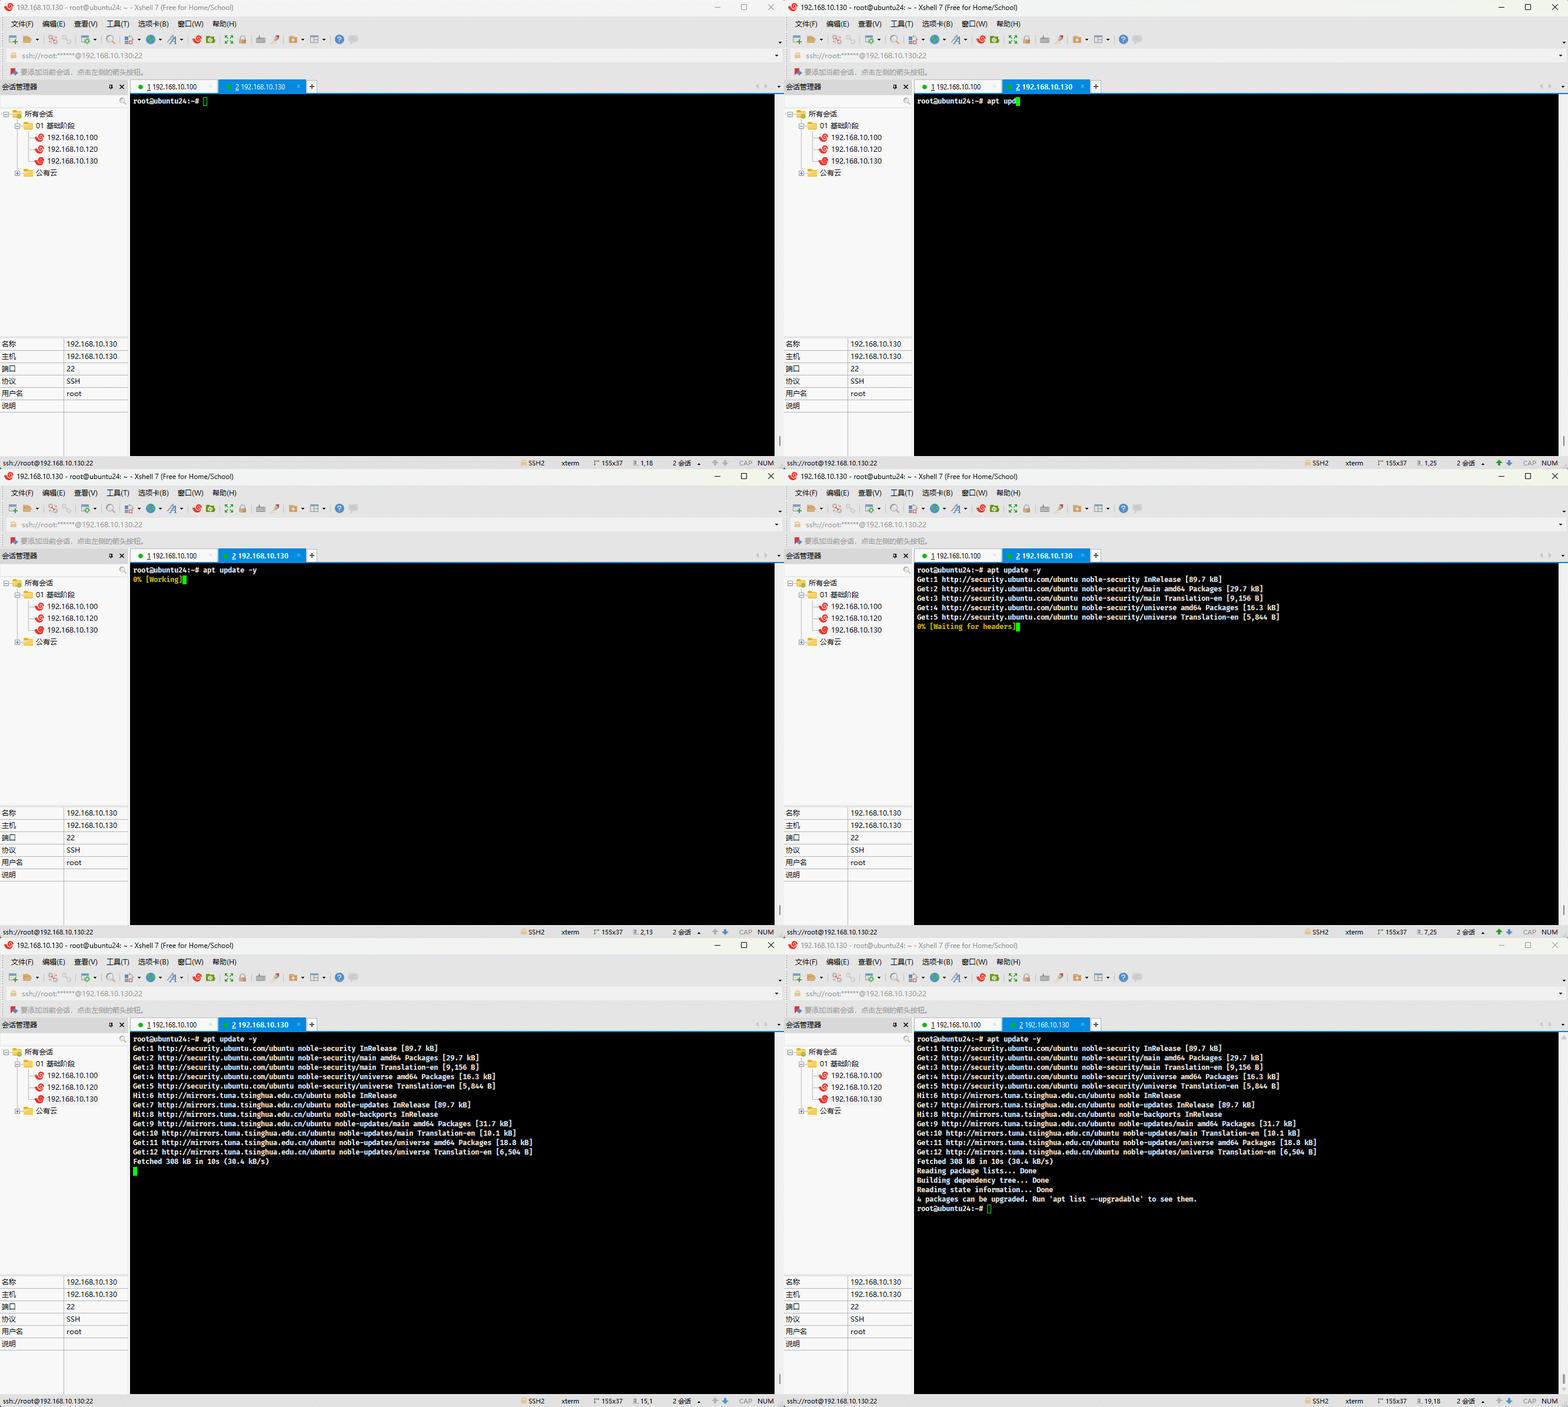
- 示例:
shell
apt upgrade -y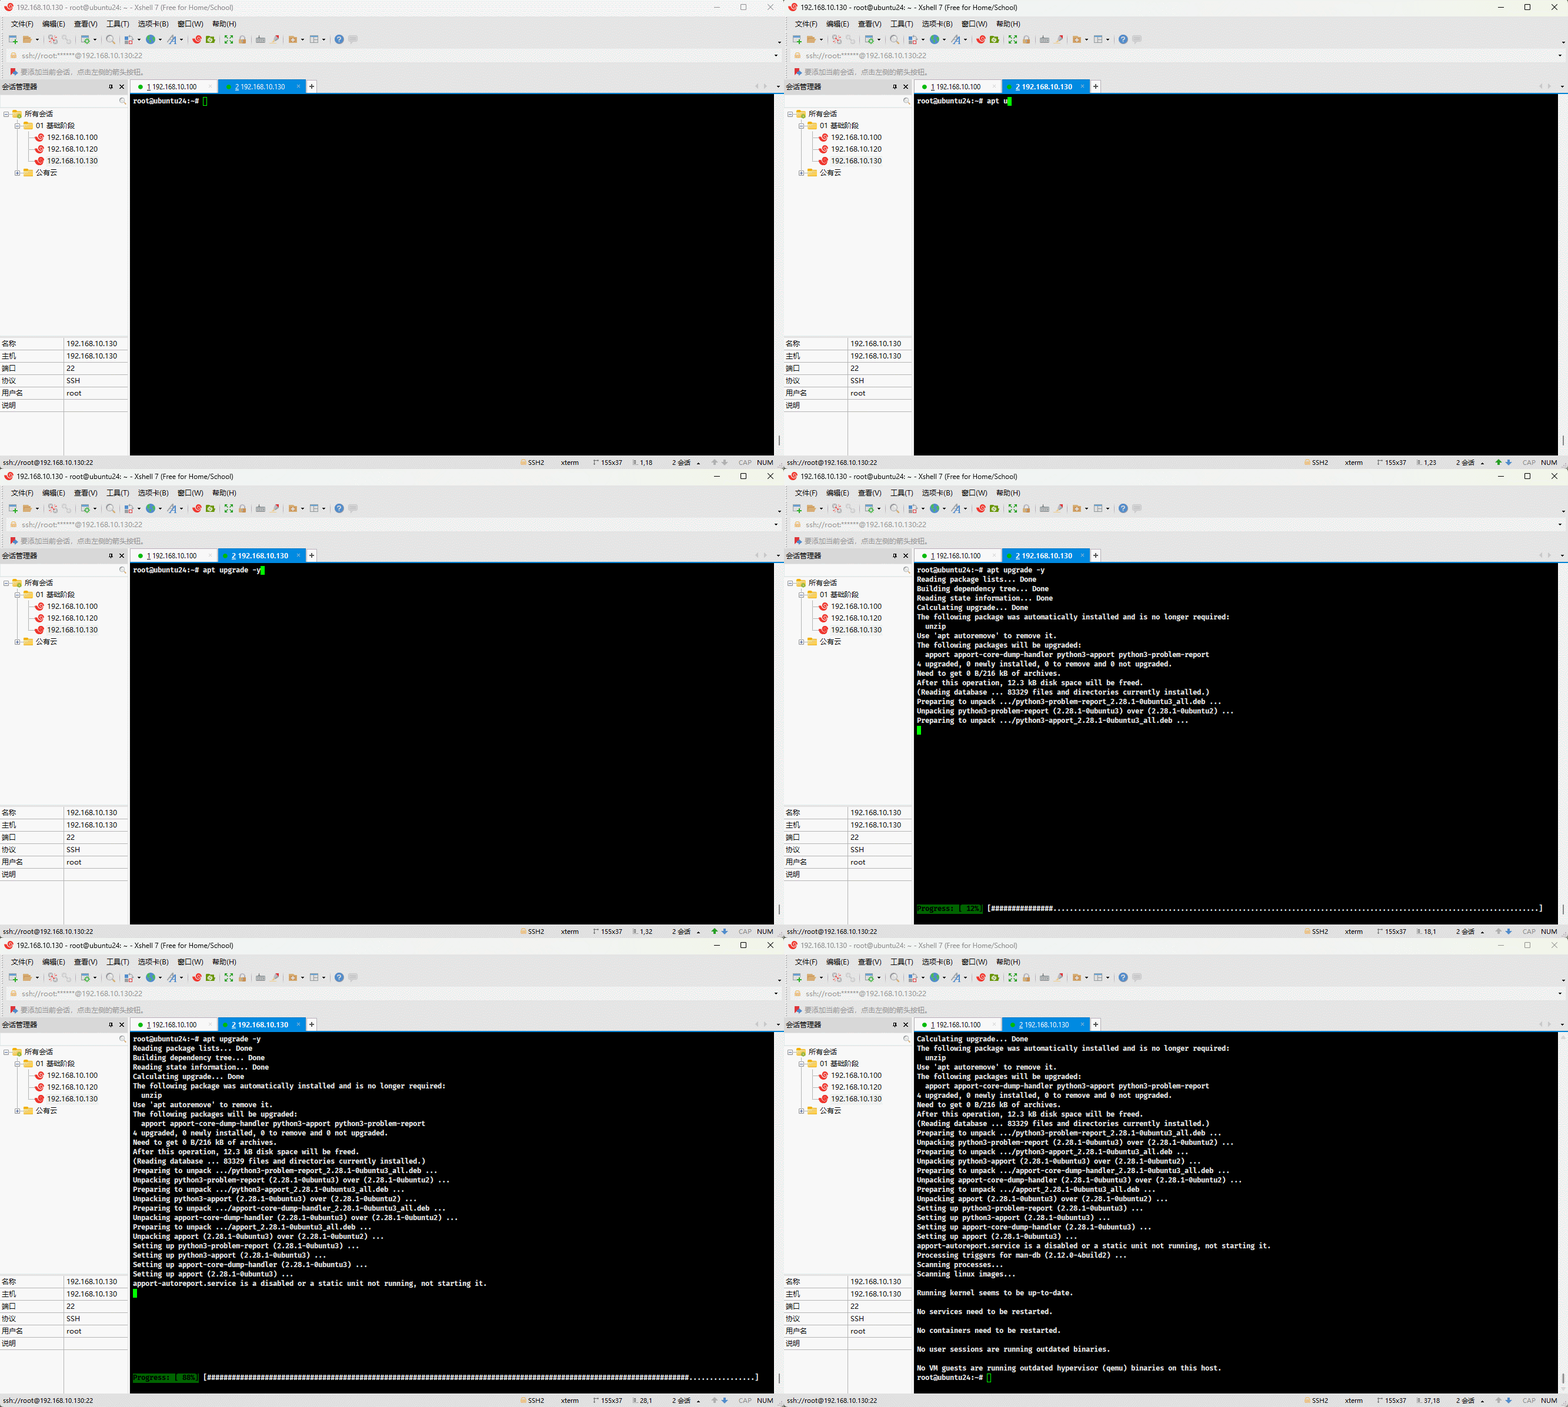
3.2.2.5 查(查询)
- 命令:
shell
apt search xxx # 搜索软件包shell
apt show xxx # 显示软件包的详细信息shell
apt list # 列出包含条件的包(已安装,可升级等)shell
apt list --installed # 列出所有已安装的软件包shell
apt list --upgradable # 列出所有可升级的软件包- 示例: 搜索软件包
shell
apt search nginx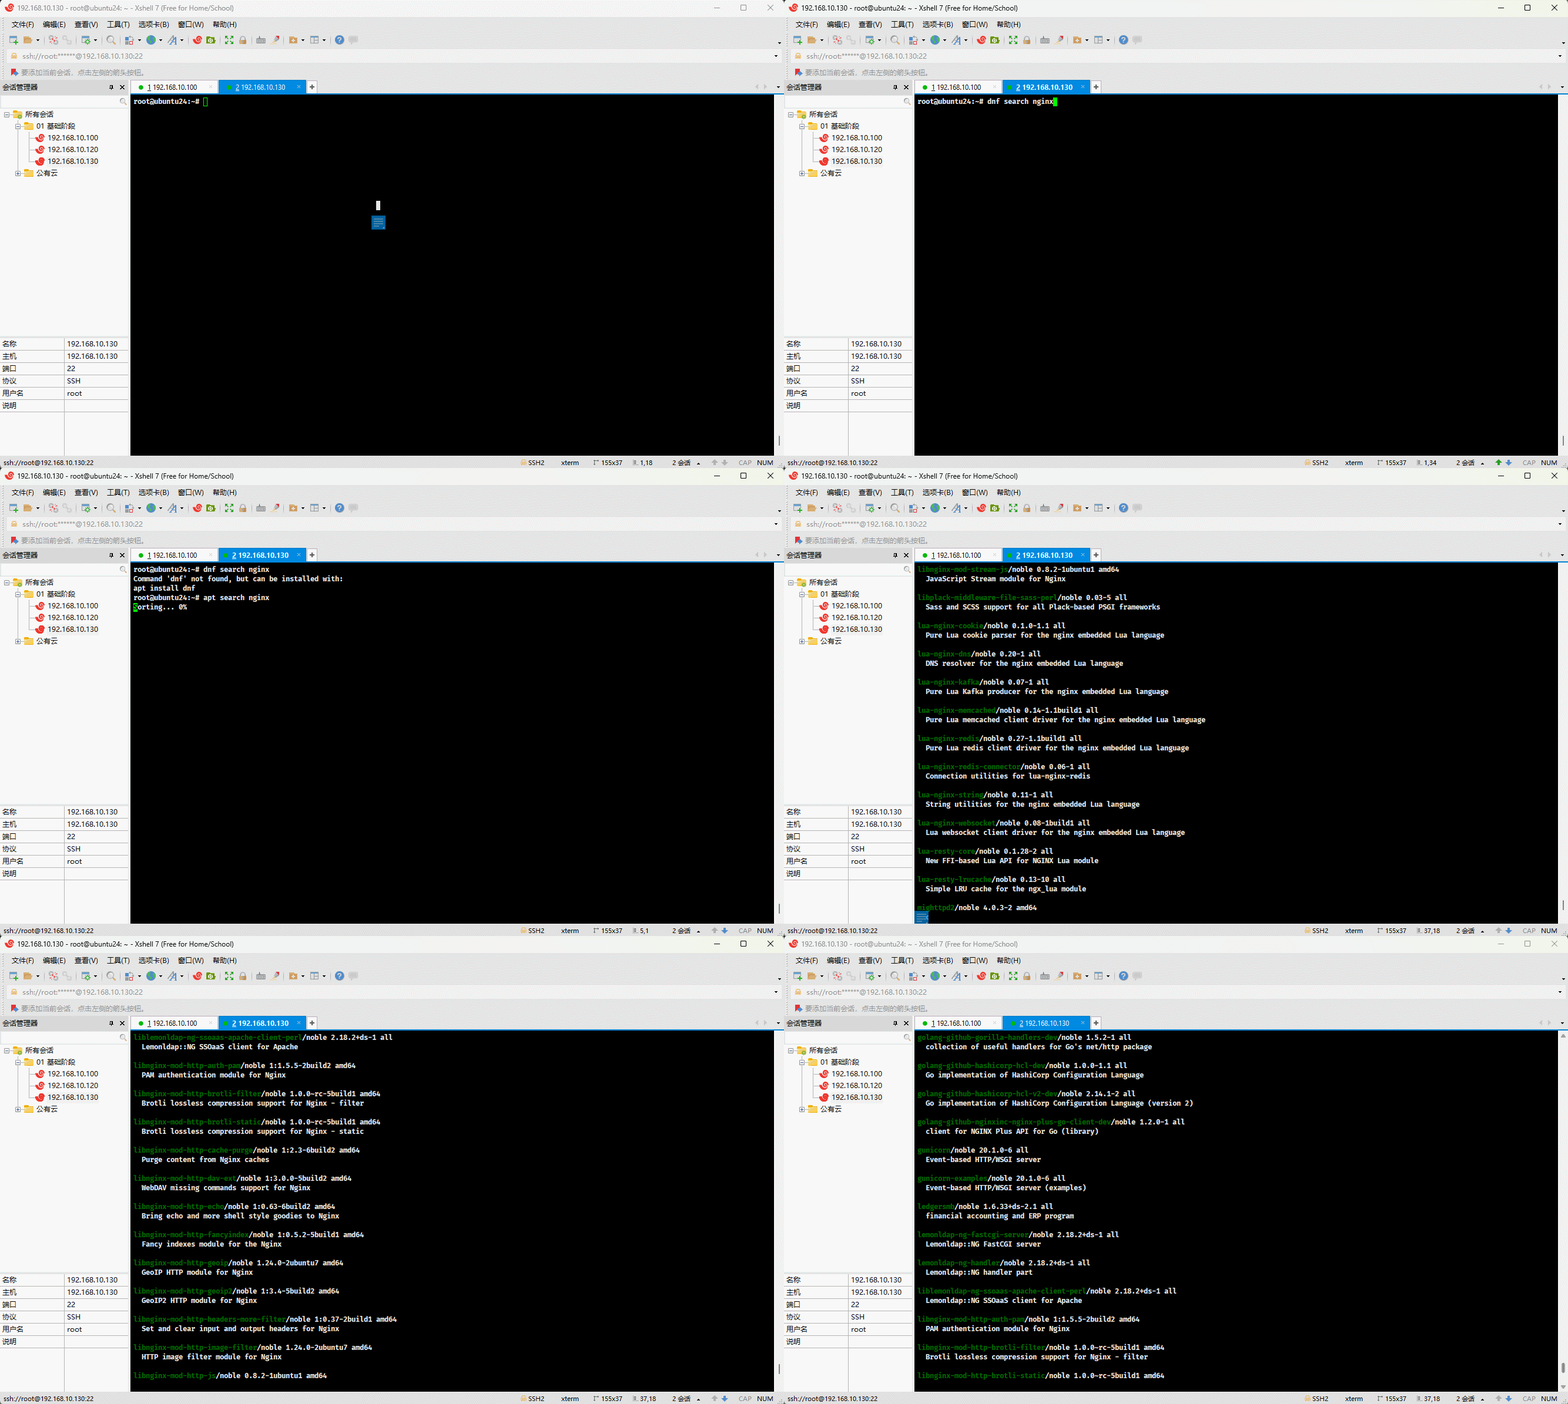
- 示例:显示软件包的详细信息
shell
apt show apache2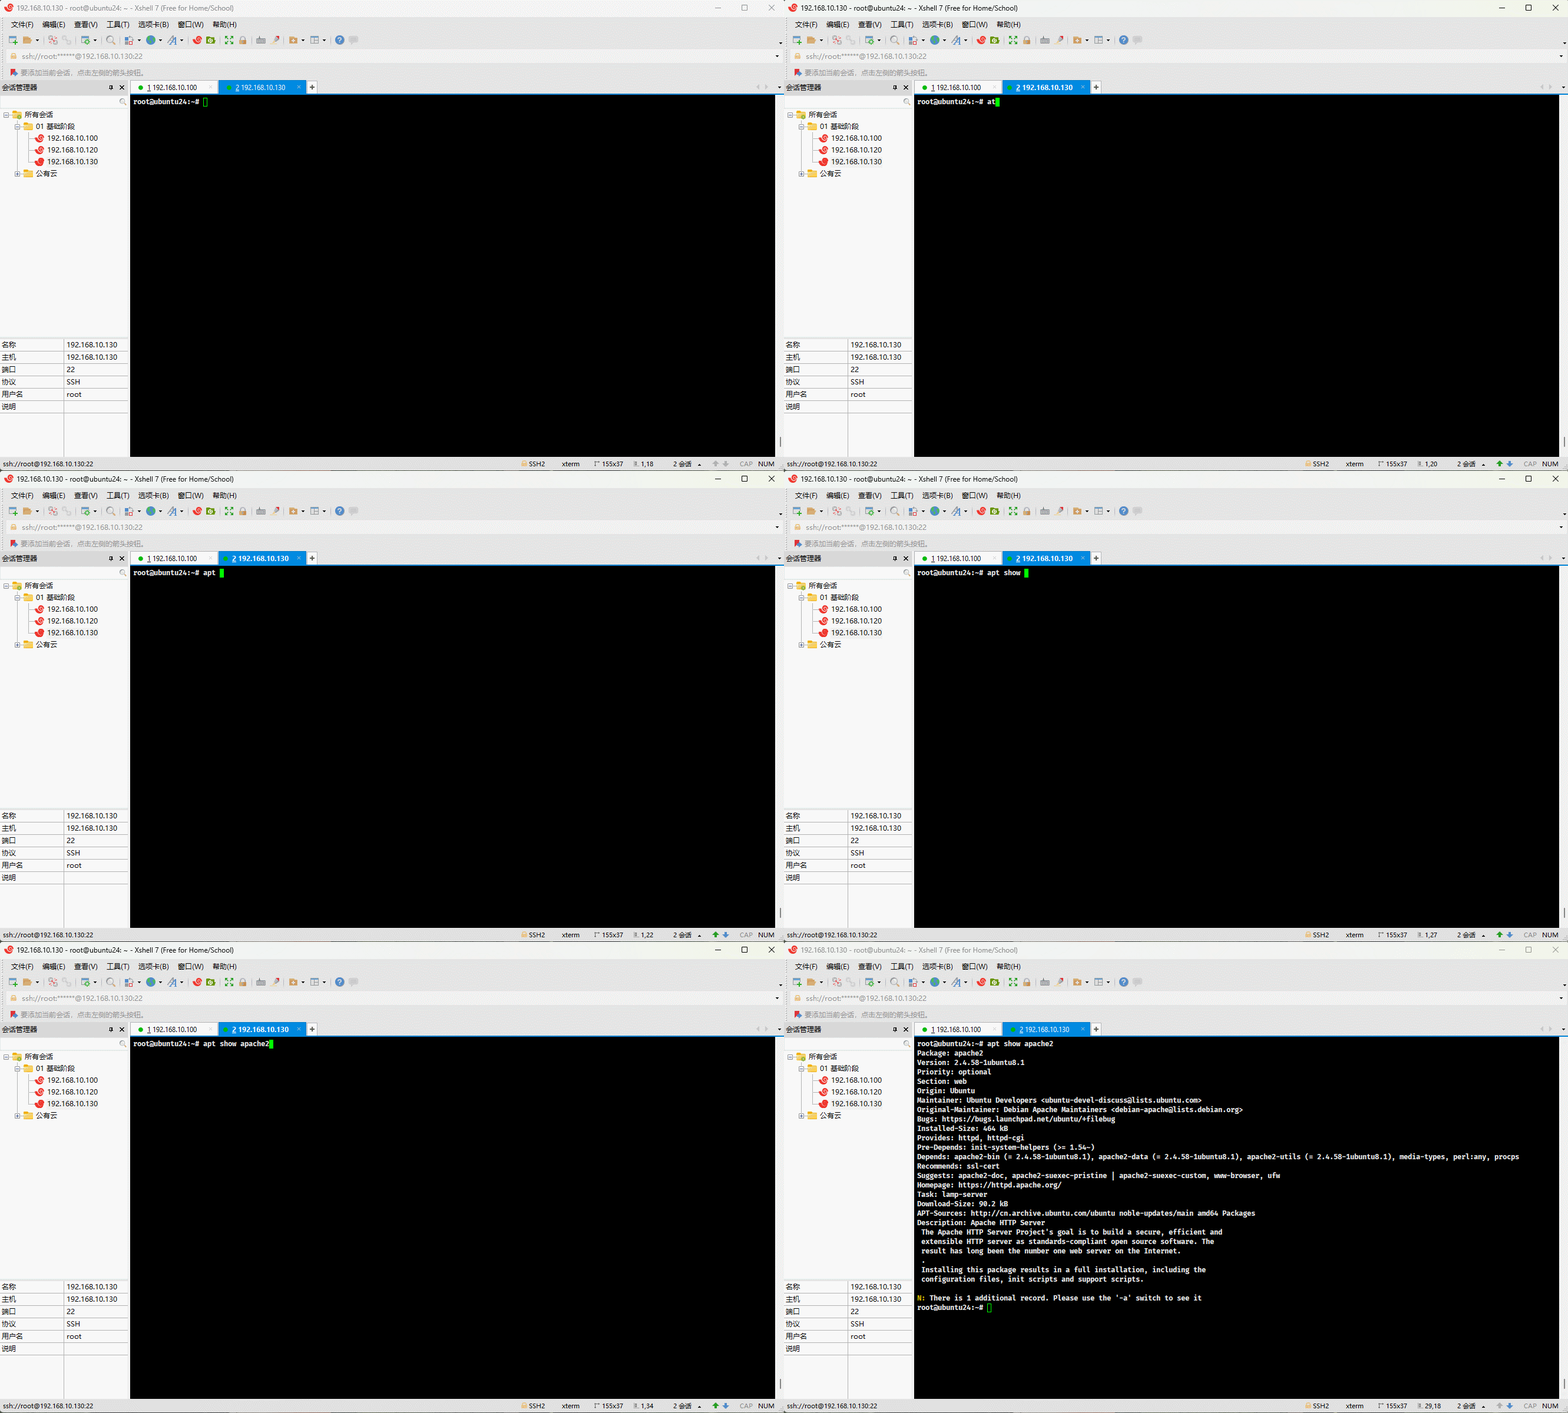
- 示例:列出包含条件的包(已安装,可升级等)
shell
apt list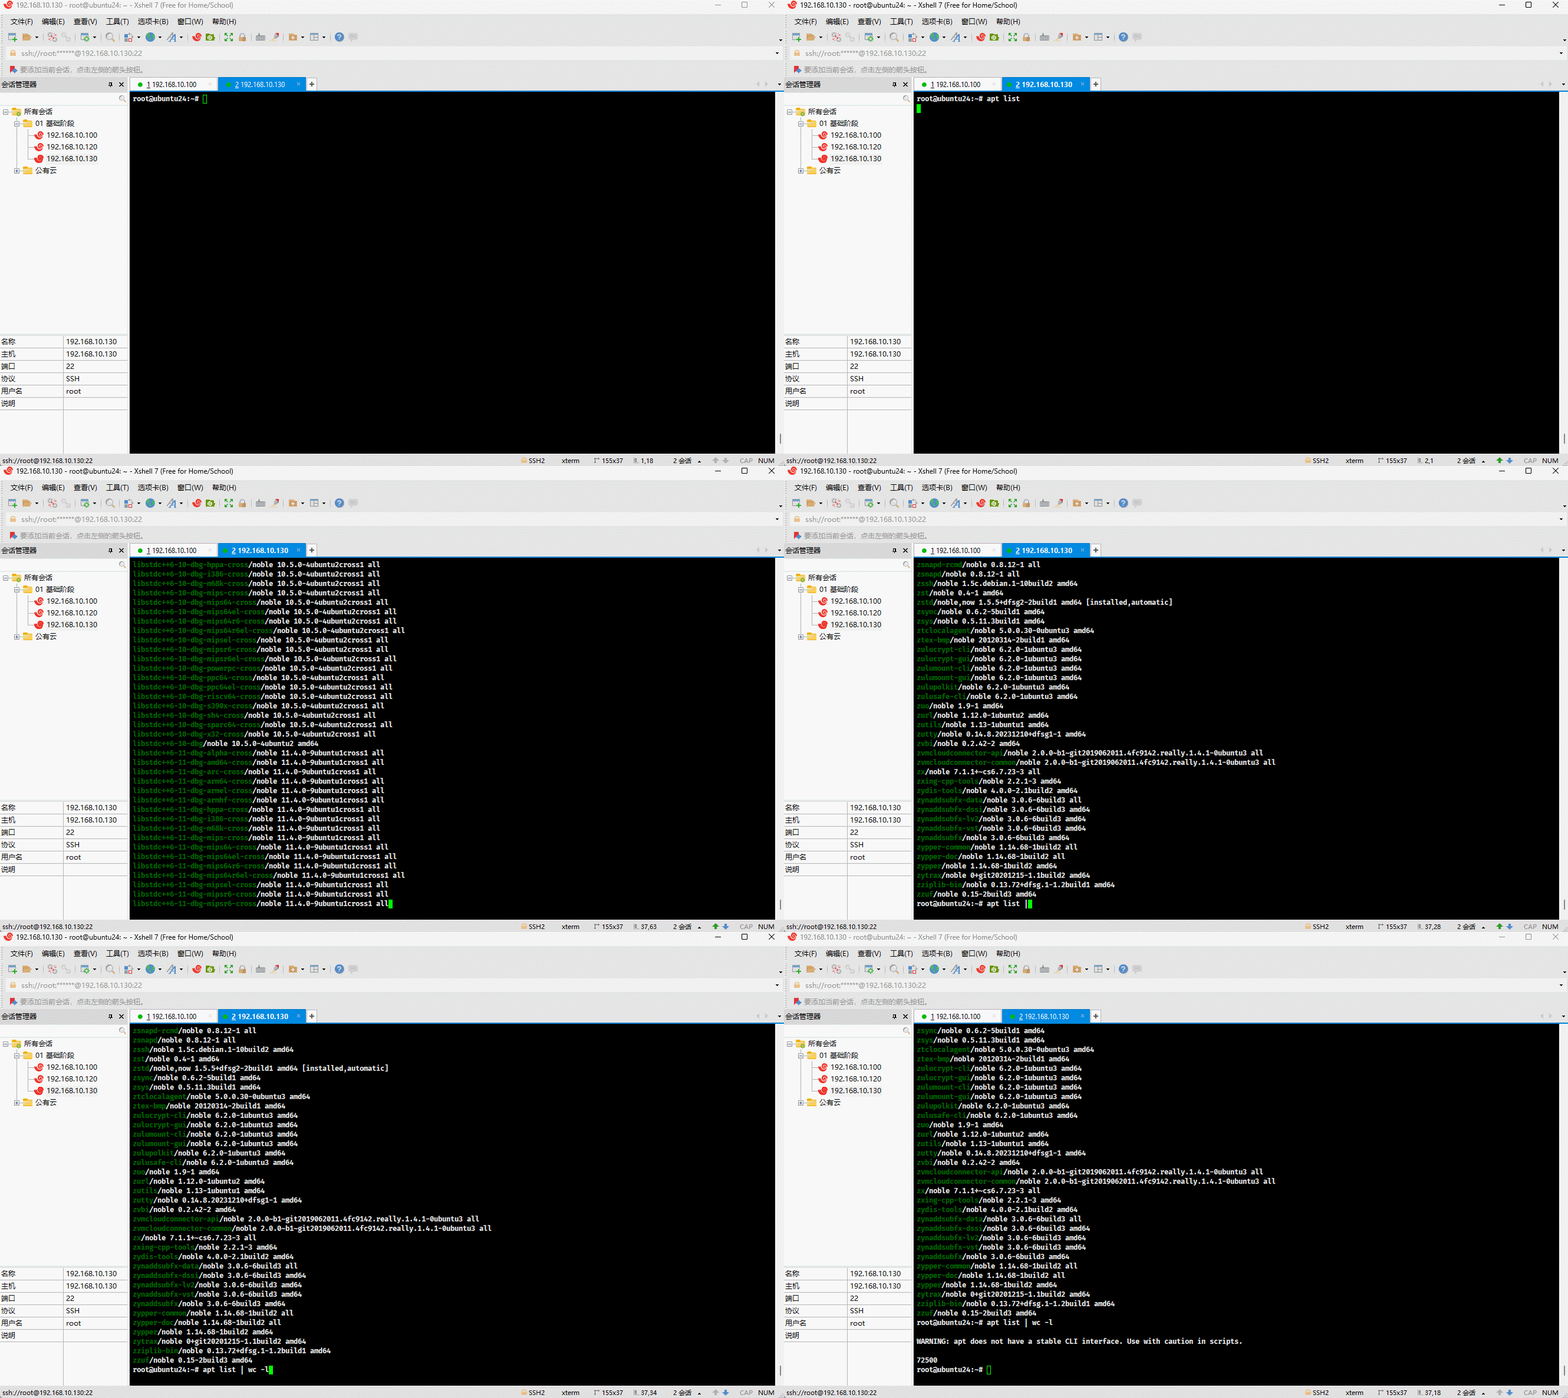
- 示例:列出所有已安装的软件包
shell
apt list --installed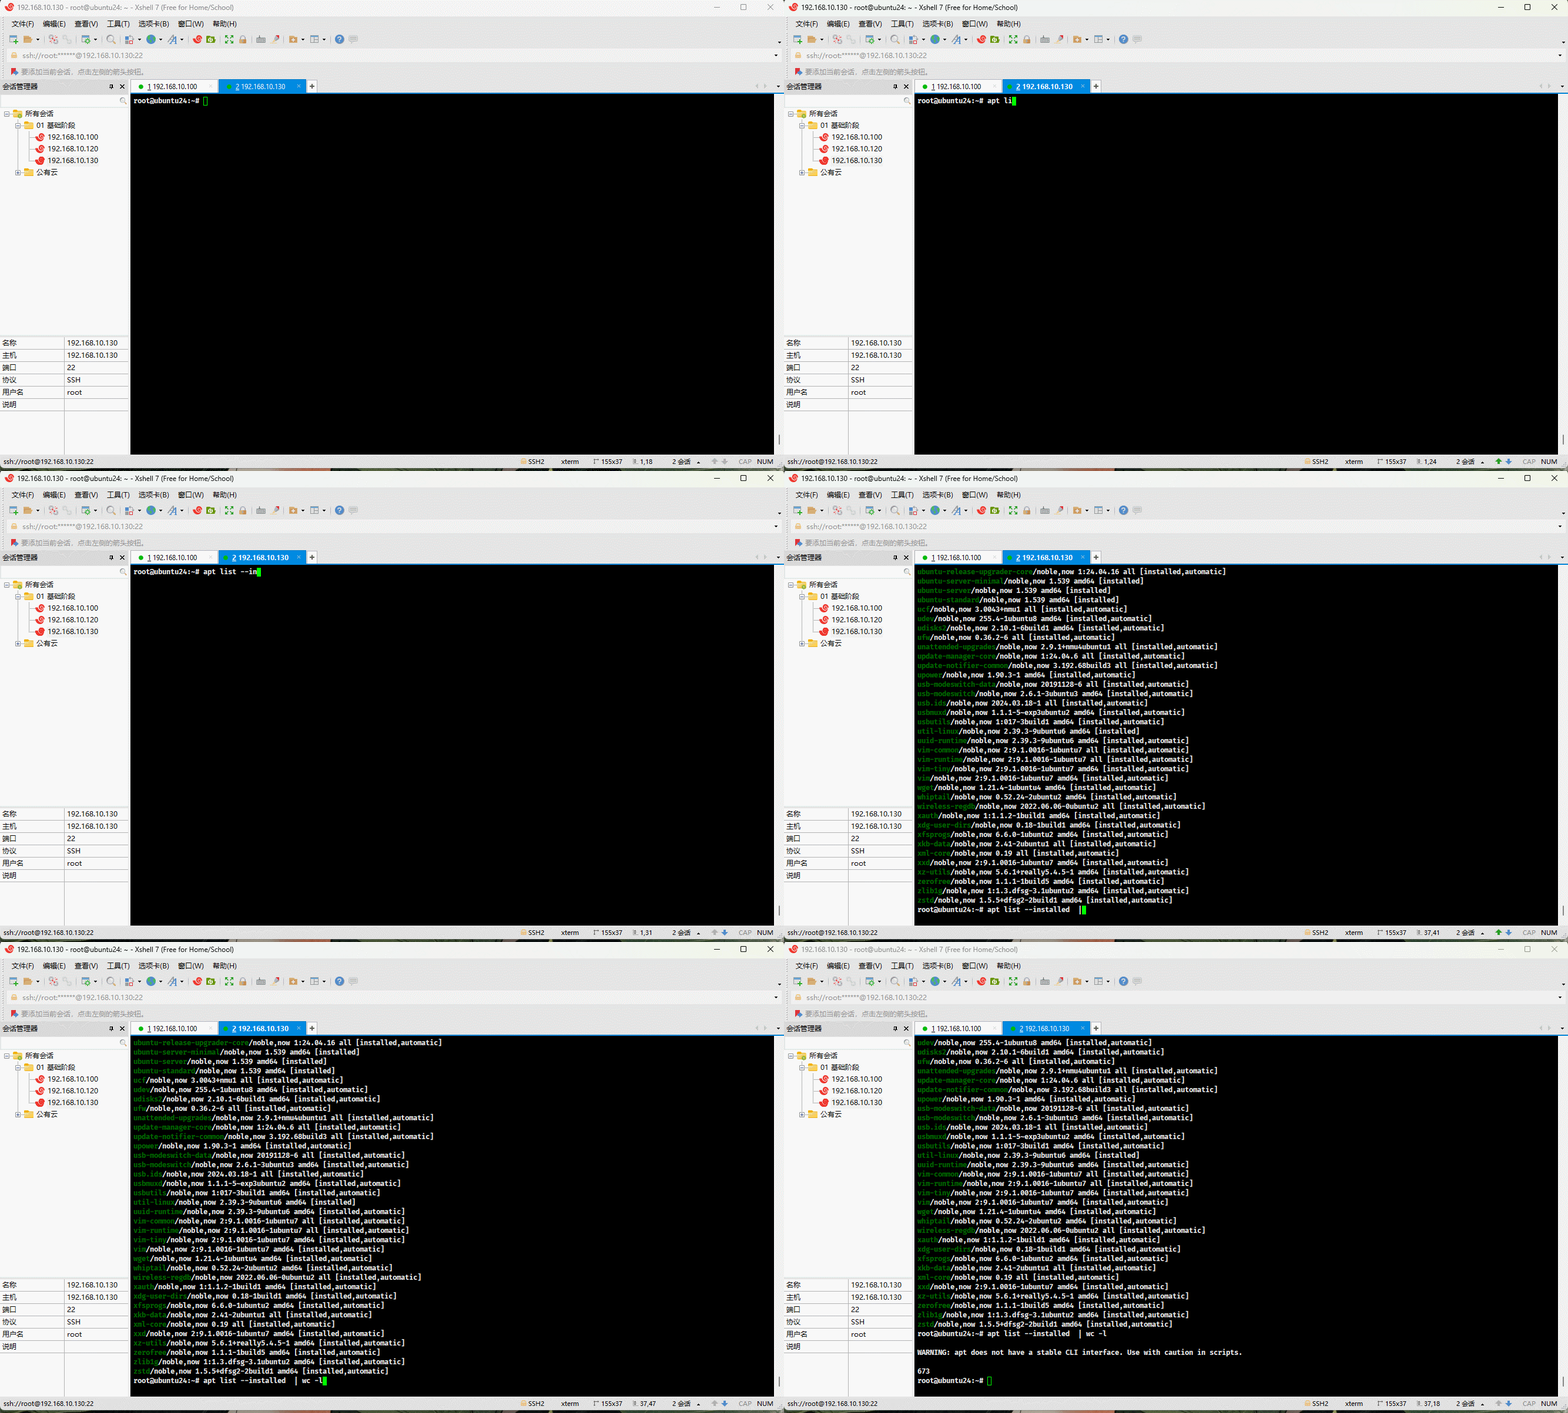
- 示例:列出所有可升级的软件包
shell
apt list --upgradable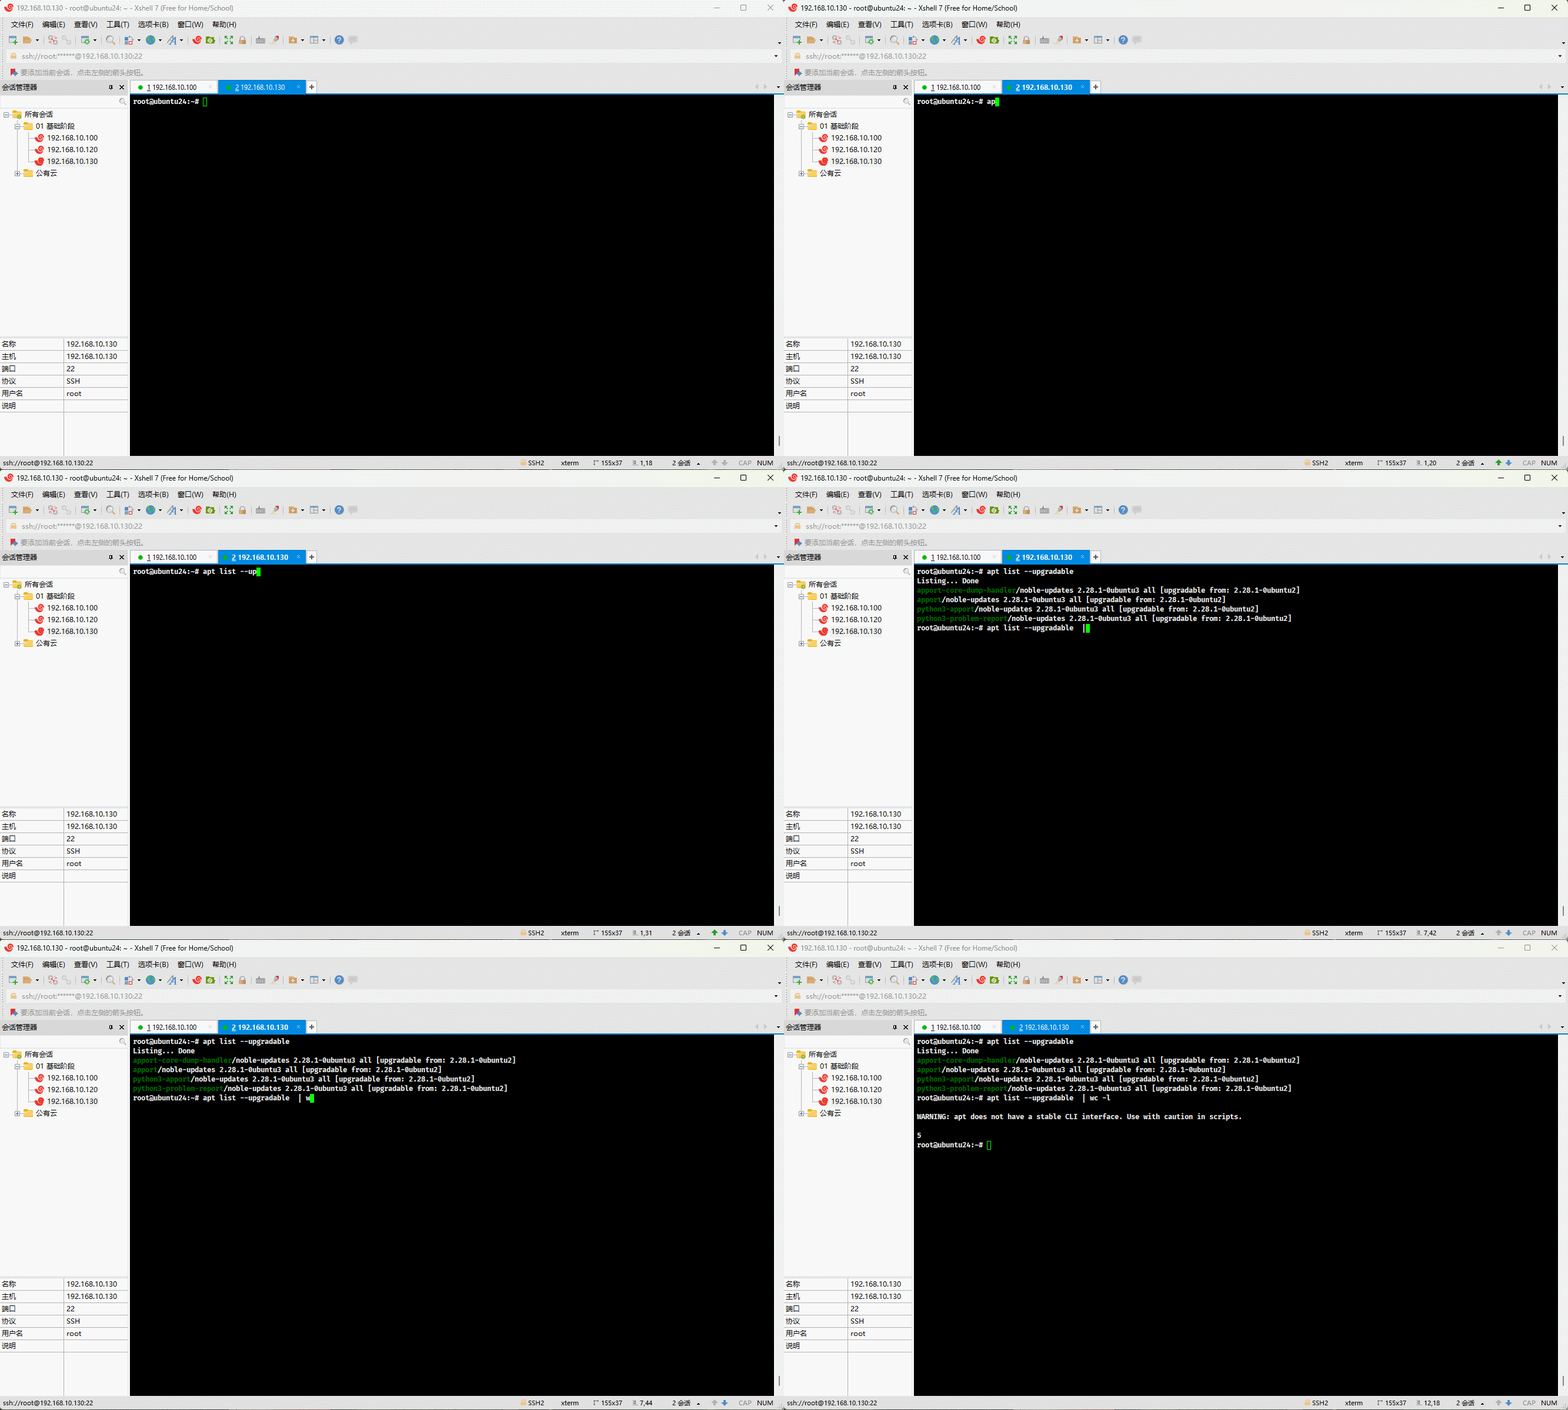
3.2.3 apt 锁定软件包版本
3.2.3.1 概述
- 在生产环境中,我们有时会将软件包进行锁定,防止升级到更高的版本,避免出现一些问题。
警告
滴滴之前出现过生产事故,就是运维通过 apt -y update && apt -y upgrade 命令进行整个 Linux 系统的软件包升级,包括: Linux 内核,导致生产环境的 kubernetes 在升级过程中挂掉,进而导致滴滴打车服务的不可用,影响非常恶劣!!!
- apt 的子命令 apt-mark 就可以实现软件包锁定:
shell
apt-mark hold xxx # 锁定软件包,防止它在系统升级时被升级shell
apt-mark unhold xxx # 解除锁定软件包,可以允许它在系统升级时被升级shell
apt-mark showhold # 显示当前系统中所有被锁定的软件包3.2.3.2 生产实践(锁定内核版本)
- 查询当前的内核版本:
shell
uname -sr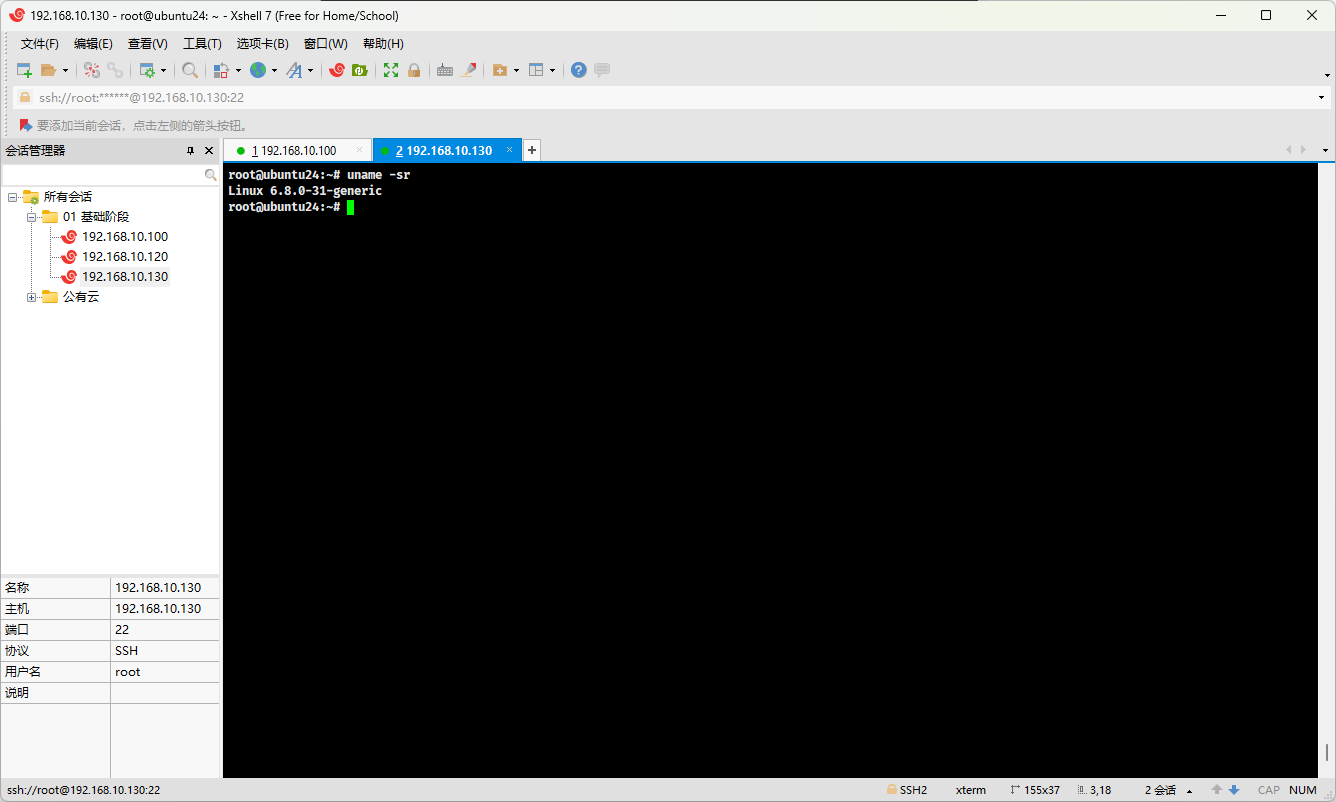
- 查询已安装的内核包:
shell
dpkg --list | grep linux-image # 和下面的命令等同shell
apt list --installed | grep linux-image # 和上面的命令等同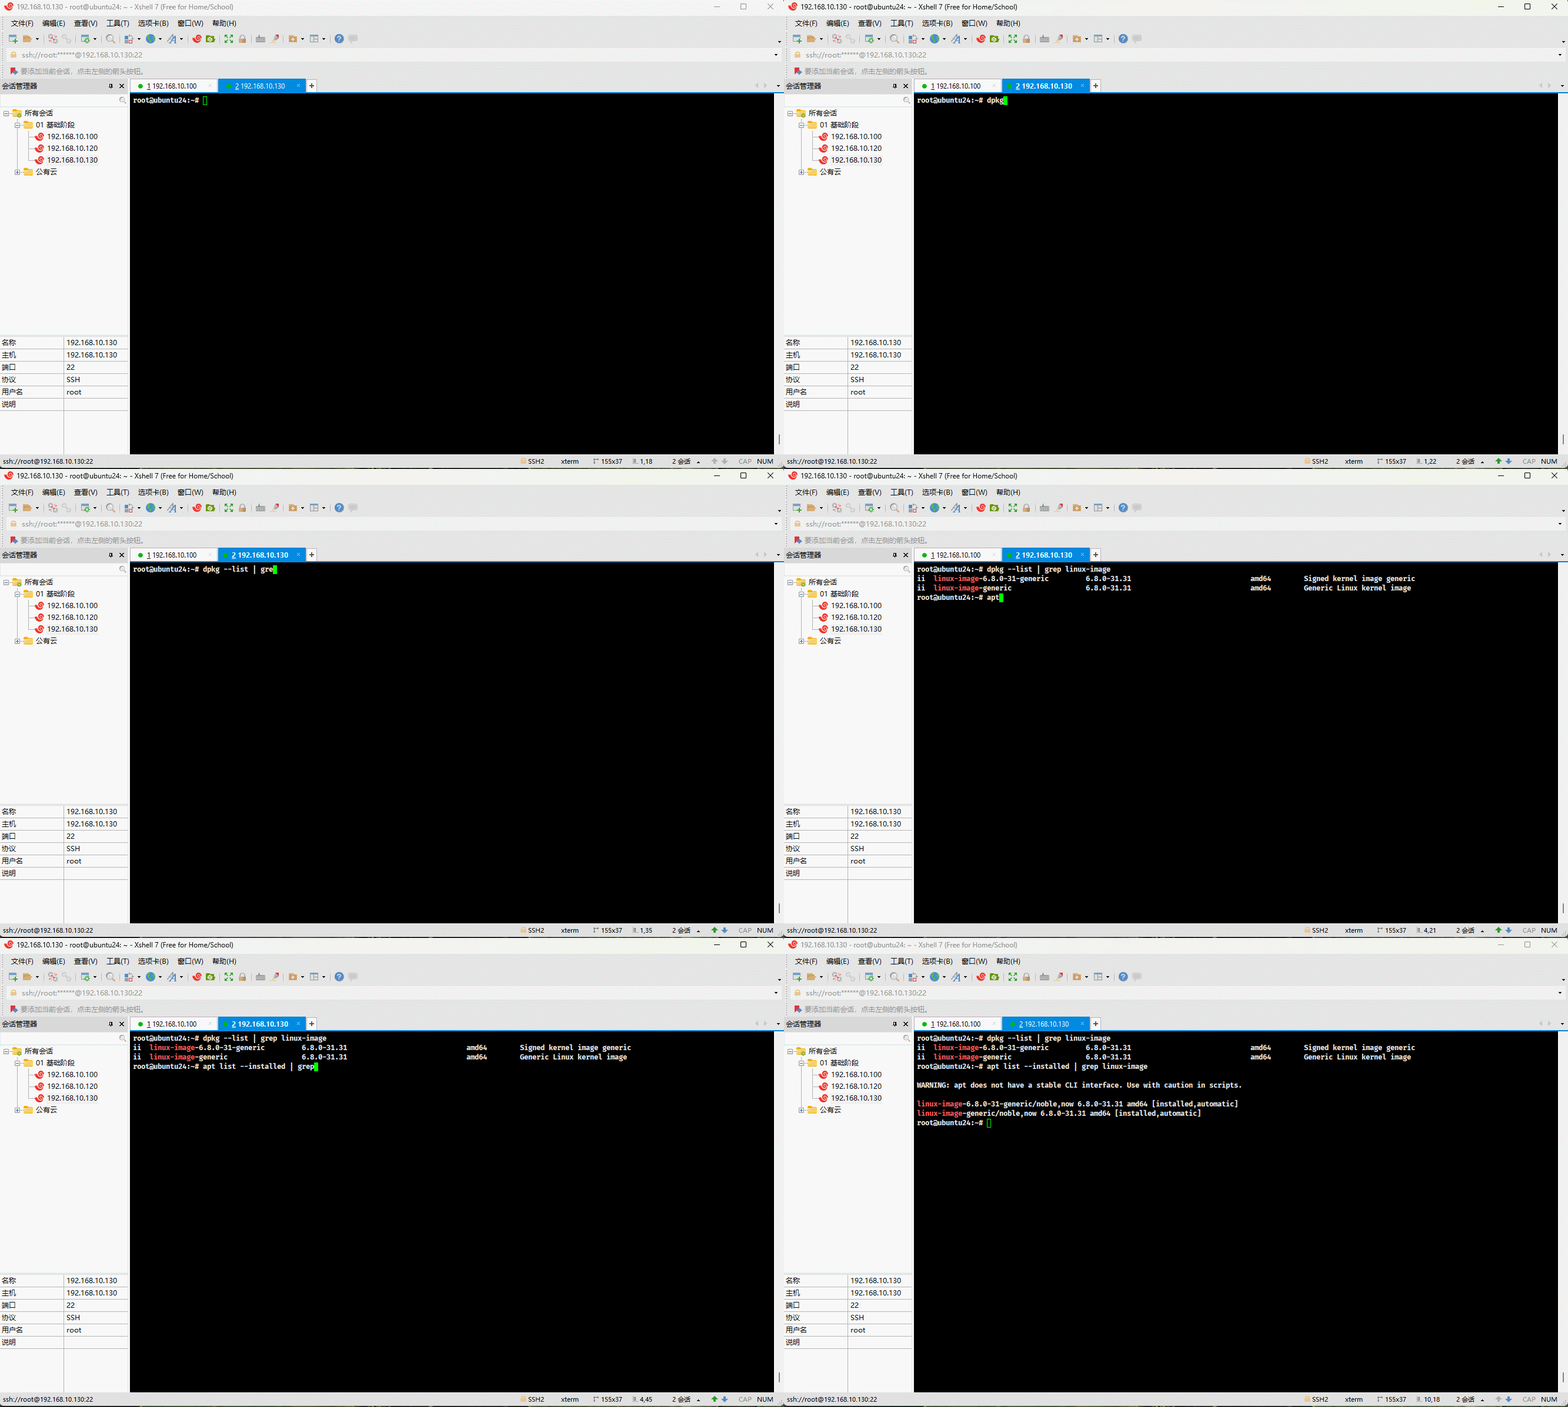
- 锁定内核包:
shell
apt-mark hold linux-image-6.8.0-31-genericshell
apt-mark hold linux-image-generic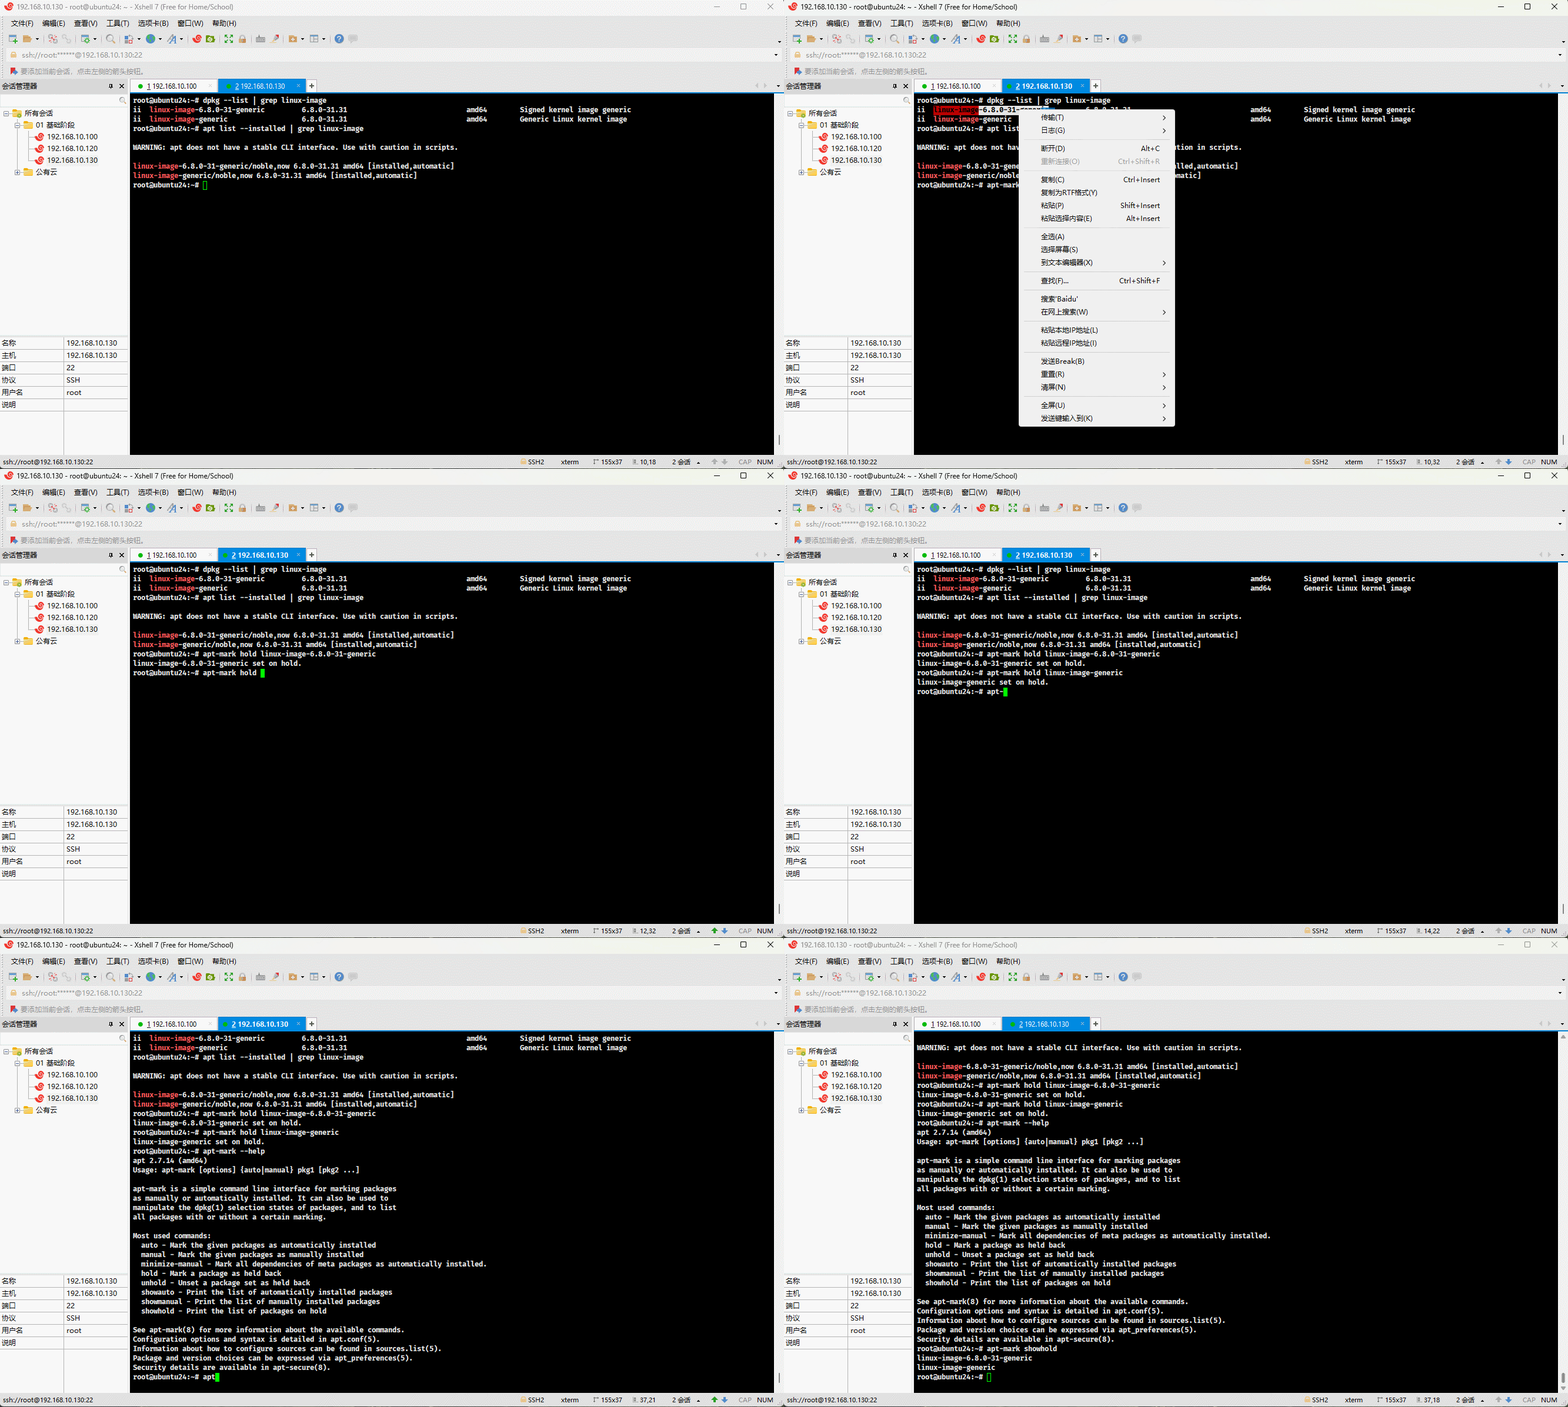
3.2.3.3 生产实践(锁定 Docker 版本)
- 卸载旧版本 Docker :
shell
for pkg in docker.io docker-doc docker-compose docker-compose-v2 podman-docker containerd runc; do sudo apt remove $pkg -y; done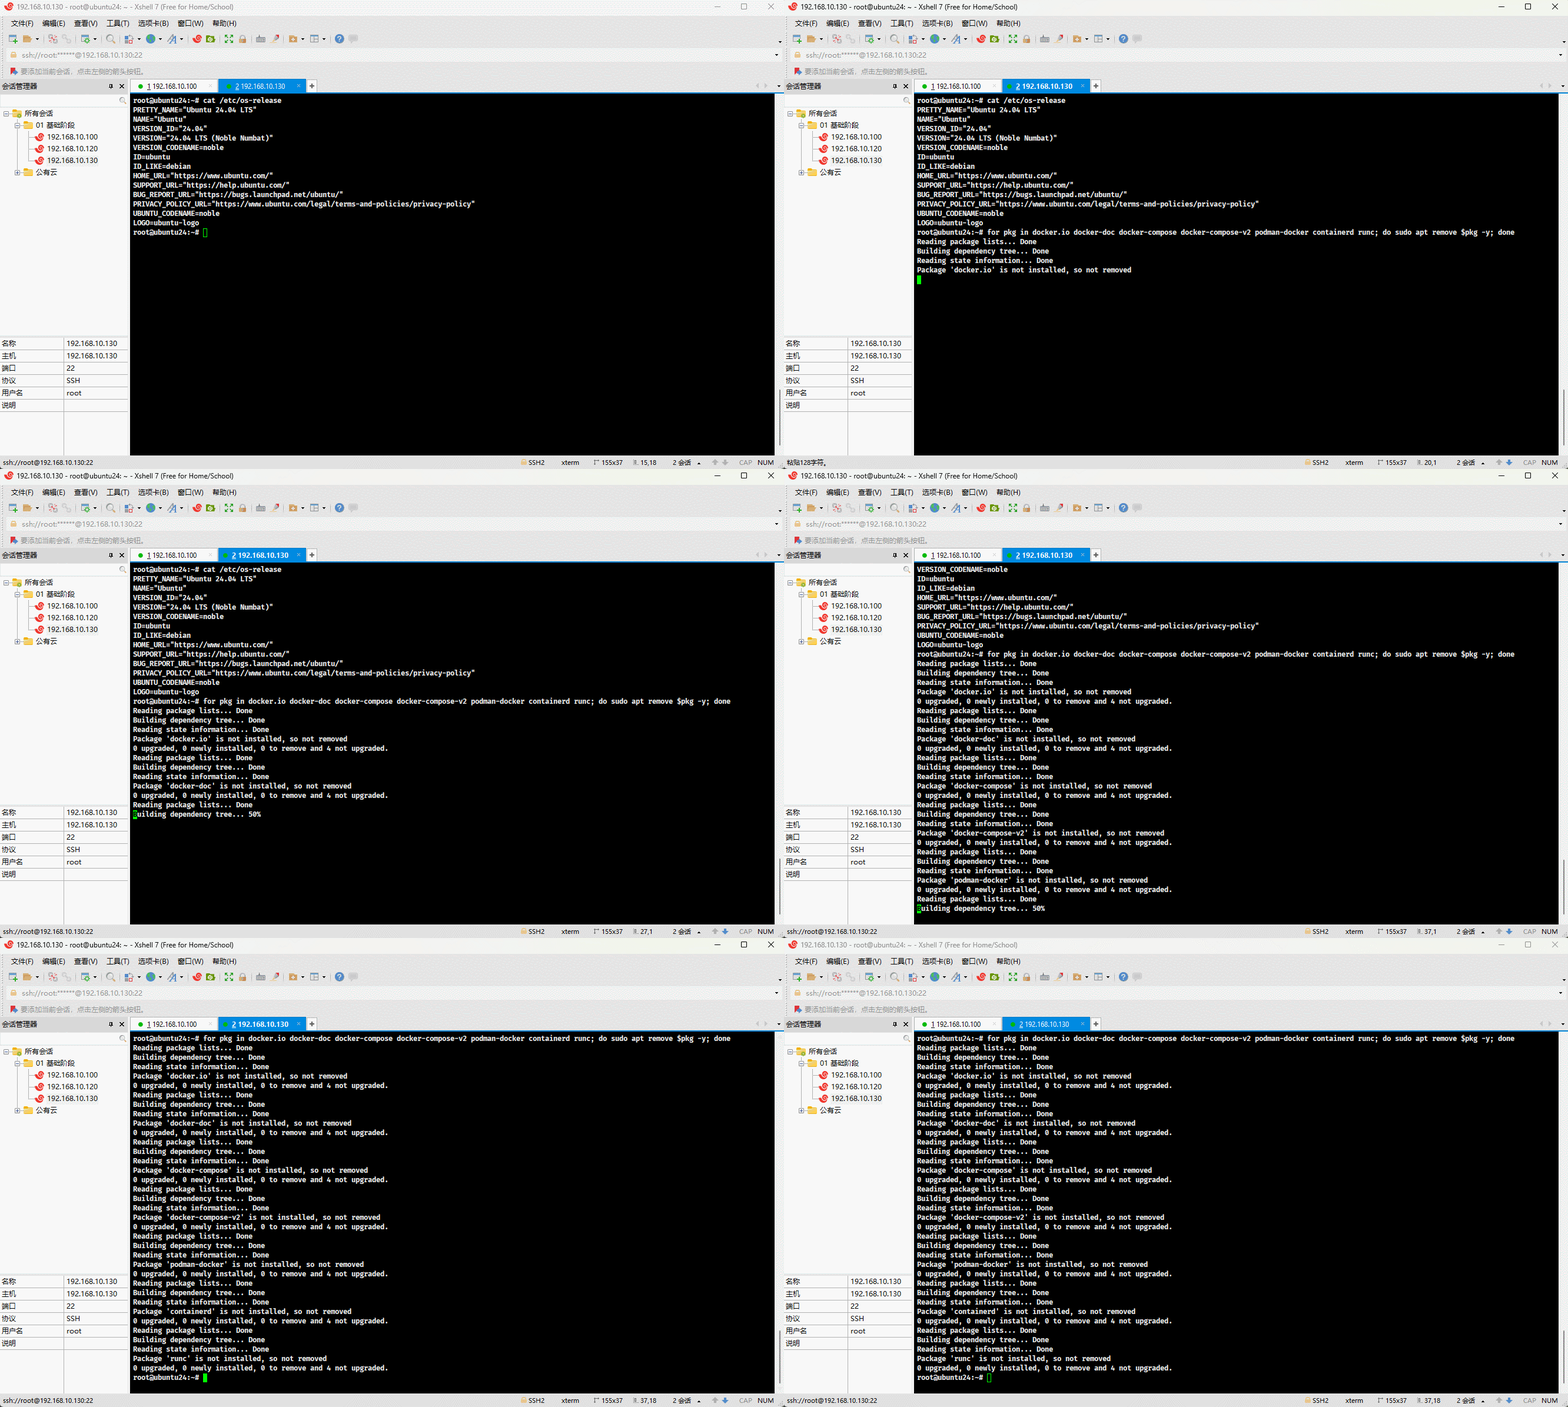
- 安装 Docker 的 apt 仓库:
shell
sudo apt update -y
sudo apt install ca-certificates curl -y
sudo install -m 0755 -d /etc/apt/keyrings
sudo curl -fsSL https://download.docker.com/linux/ubuntu/gpg -o /etc/apt/keyrings/docker.asc
sudo chmod a+r /etc/apt/keyrings/docker.asc
echo \
  "deb [arch=$(dpkg --print-architecture) signed-by=/etc/apt/keyrings/docker.asc] https://download.docker.com/linux/ubuntu \
  $(. /etc/os-release && echo "$VERSION_CODENAME") stable" | \
  sudo tee /etc/apt/sources.list.d/docker.list > /dev/null
sudo apt update -y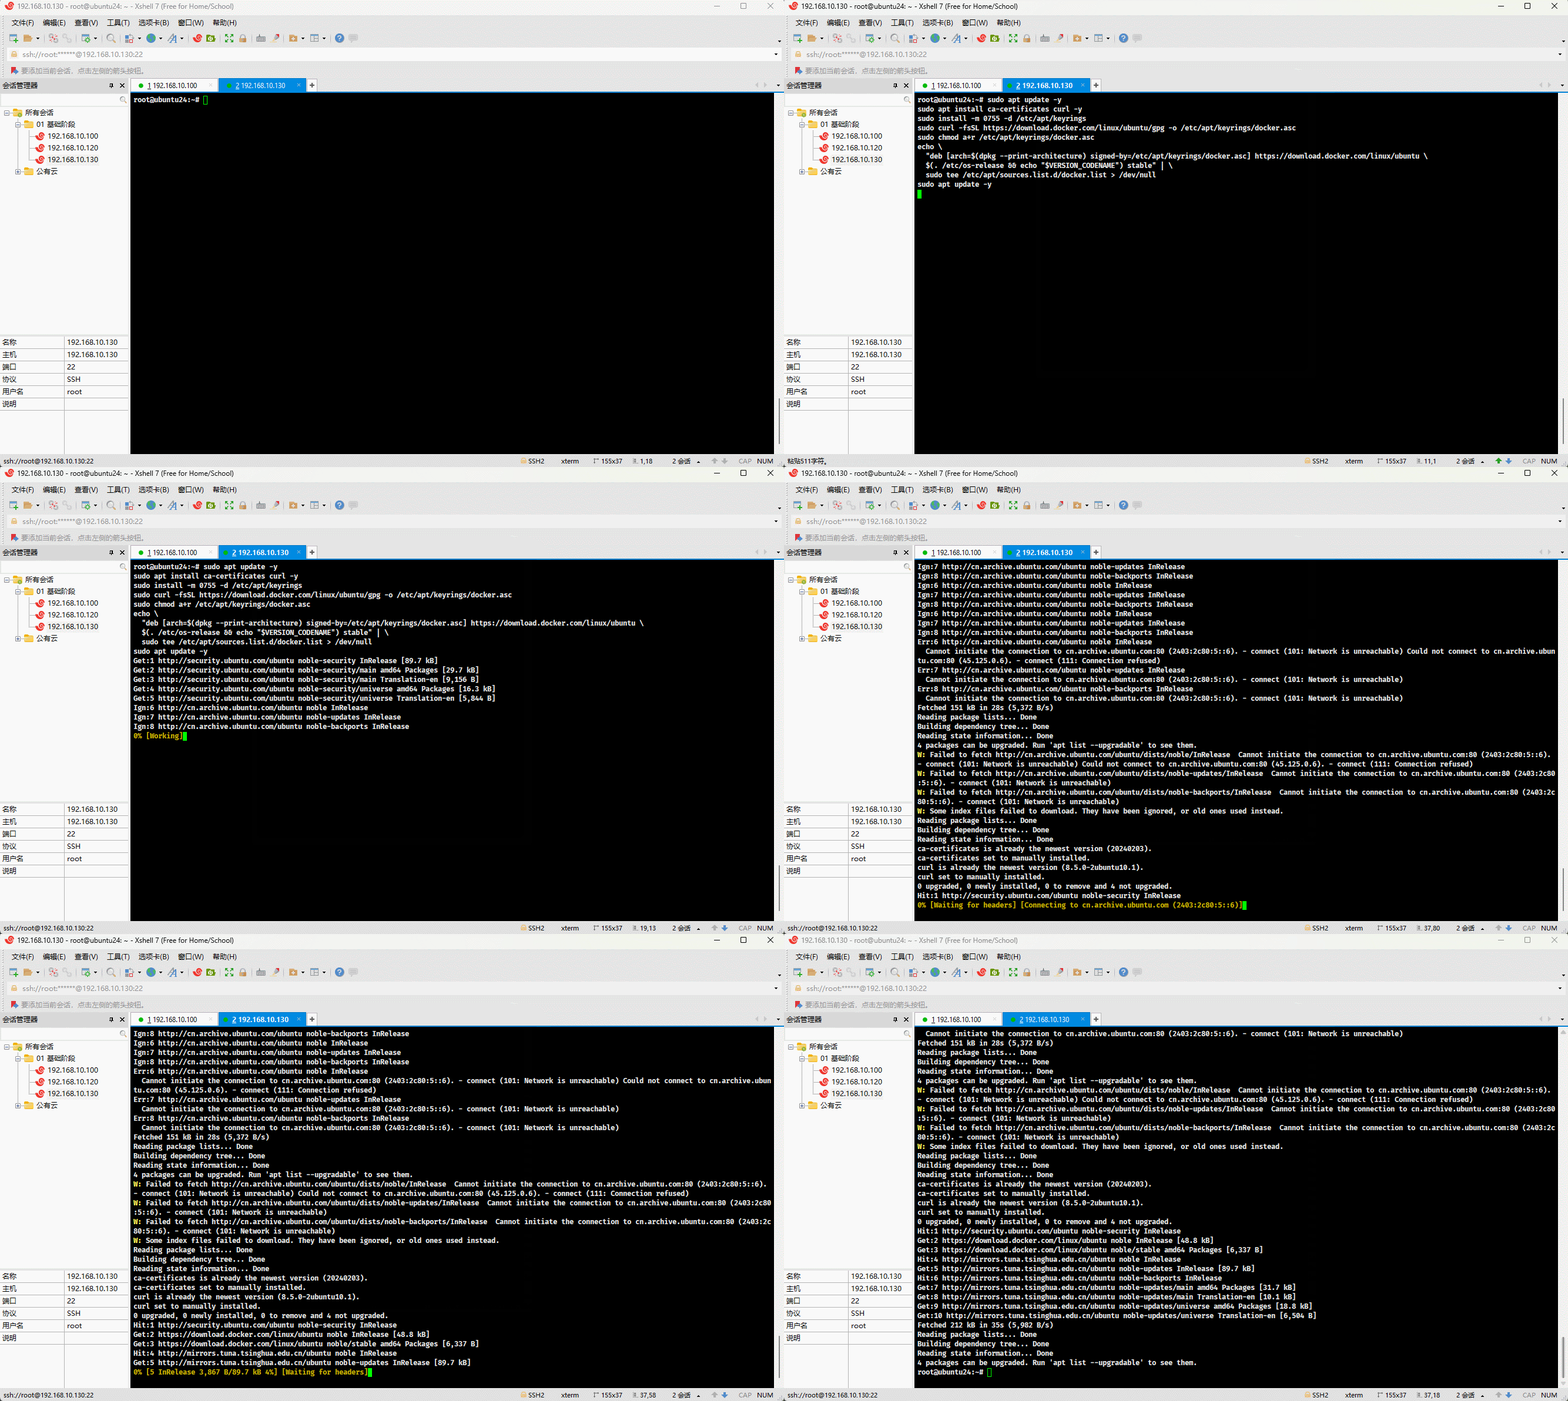
- 查看 Docker 的版本:
shell
apt-cache madison docker-ce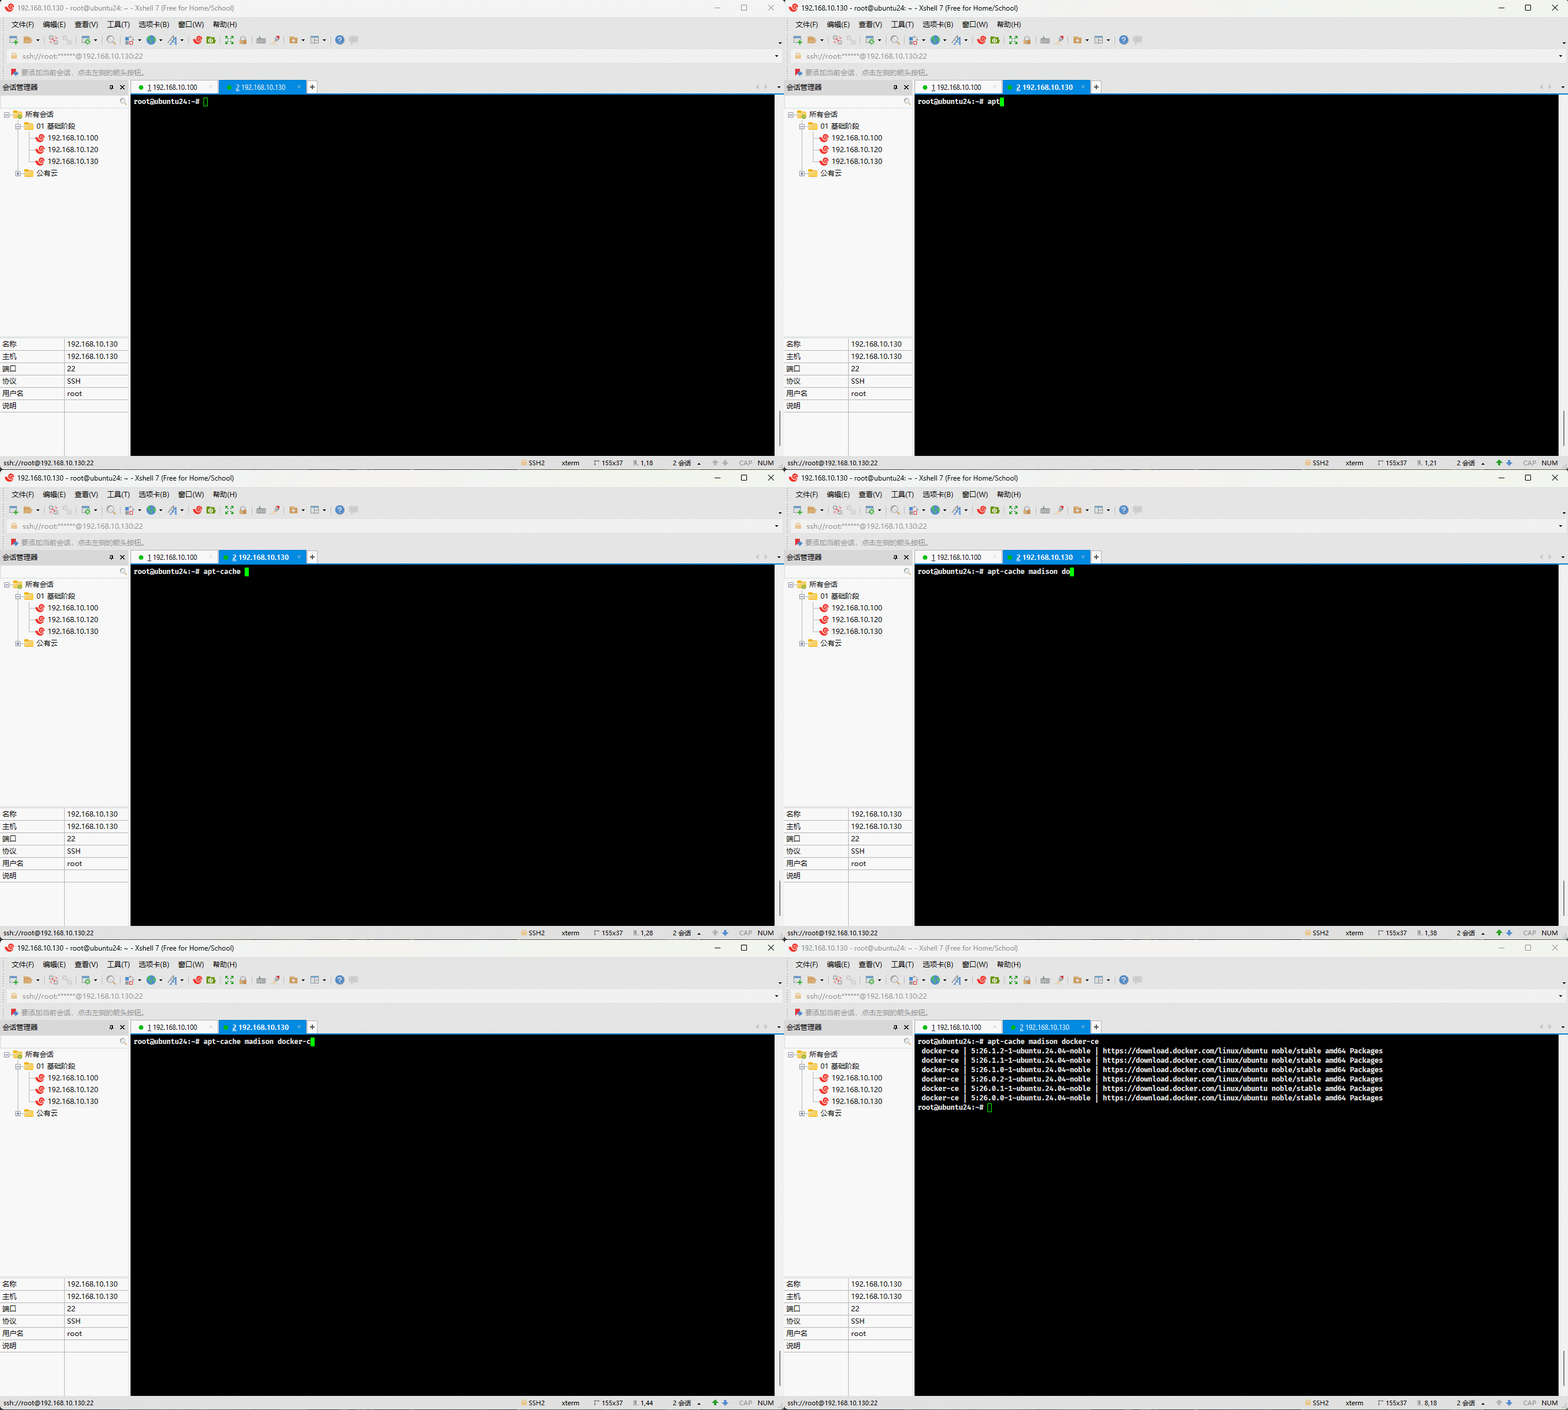
- 安装指定版本的 Docker :
shell
sudo apt install docker-ce=5:26.0.0-1~ubuntu.24.04~noble \
		docker-ce-cli=5:26.0.0-1~ubuntu.24.04~noble \
		containerd.io docker-buildx-plugin docker-compose-plugin -y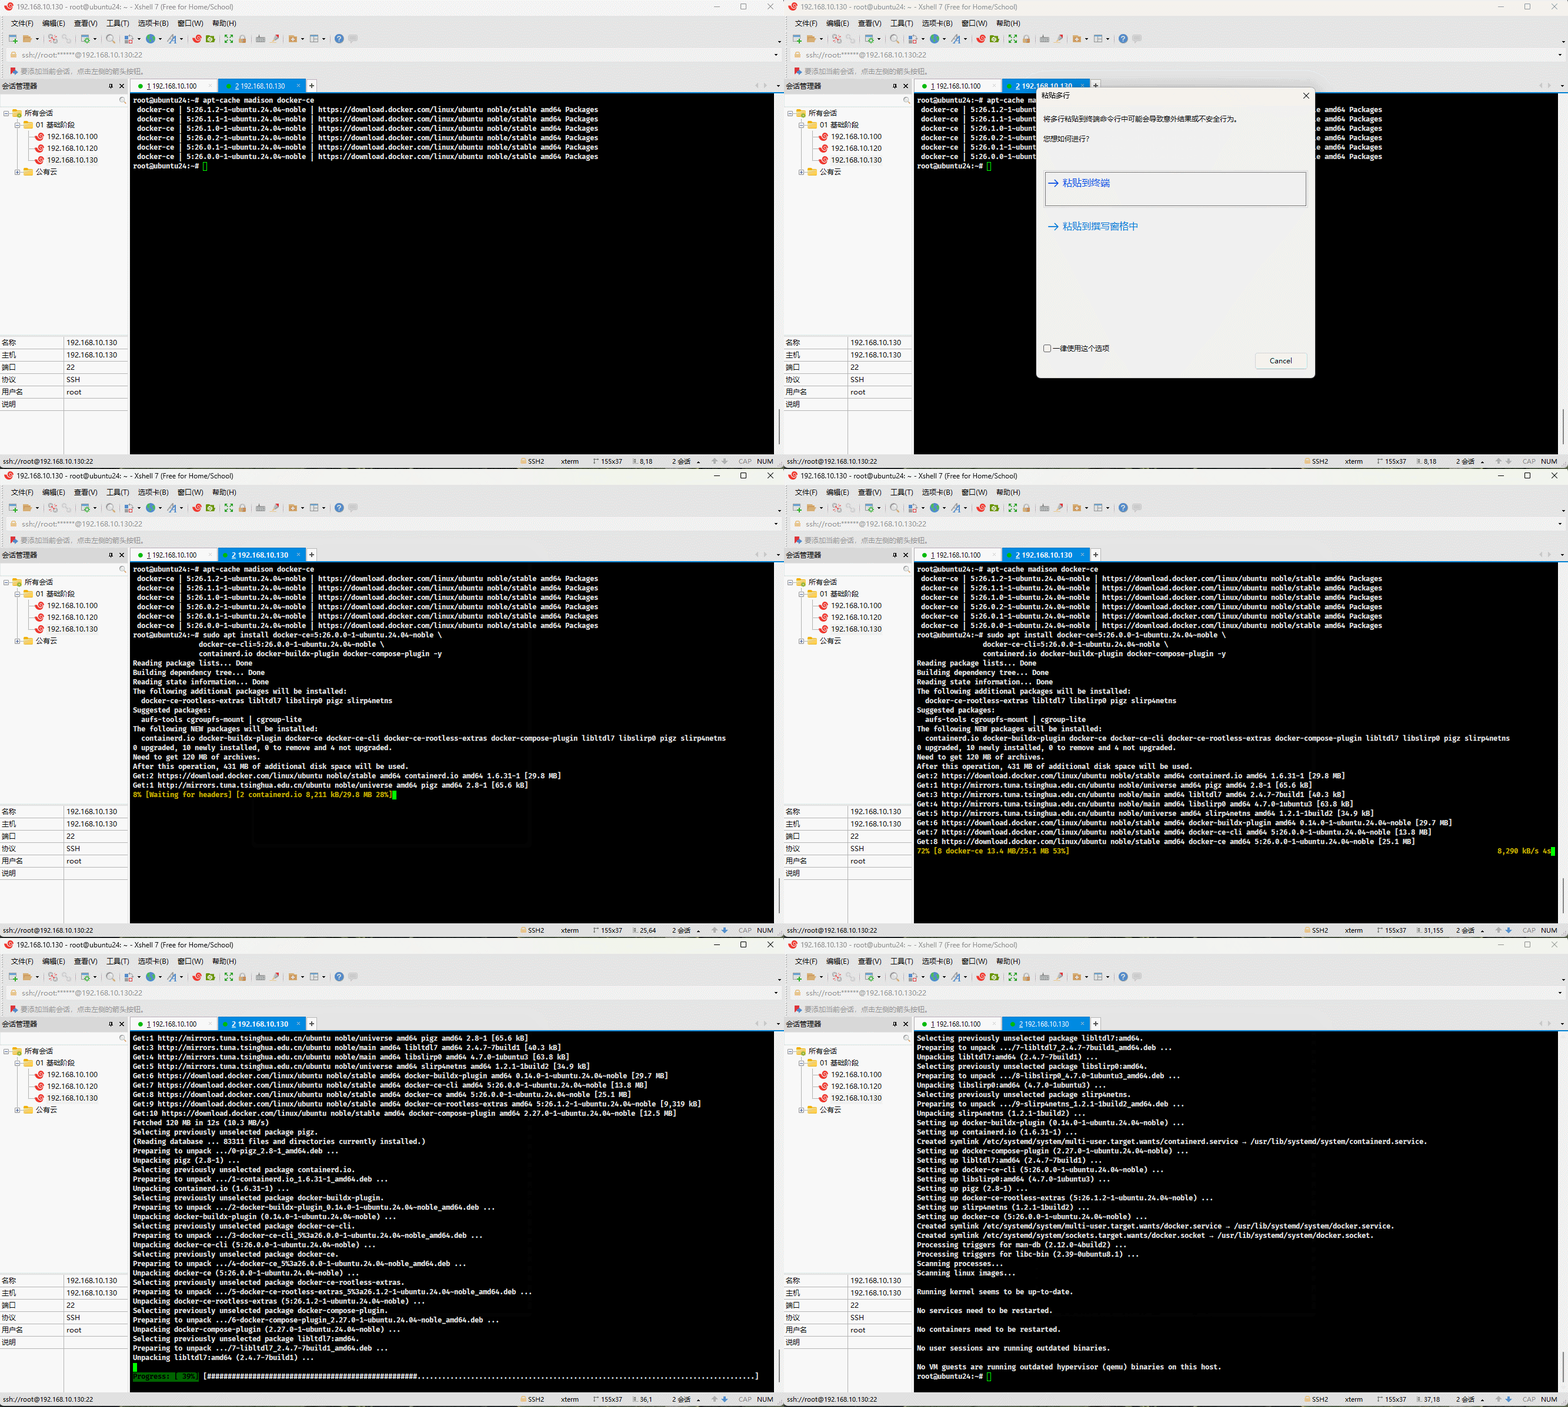
- 查看安装的 Docker 版本:
shell
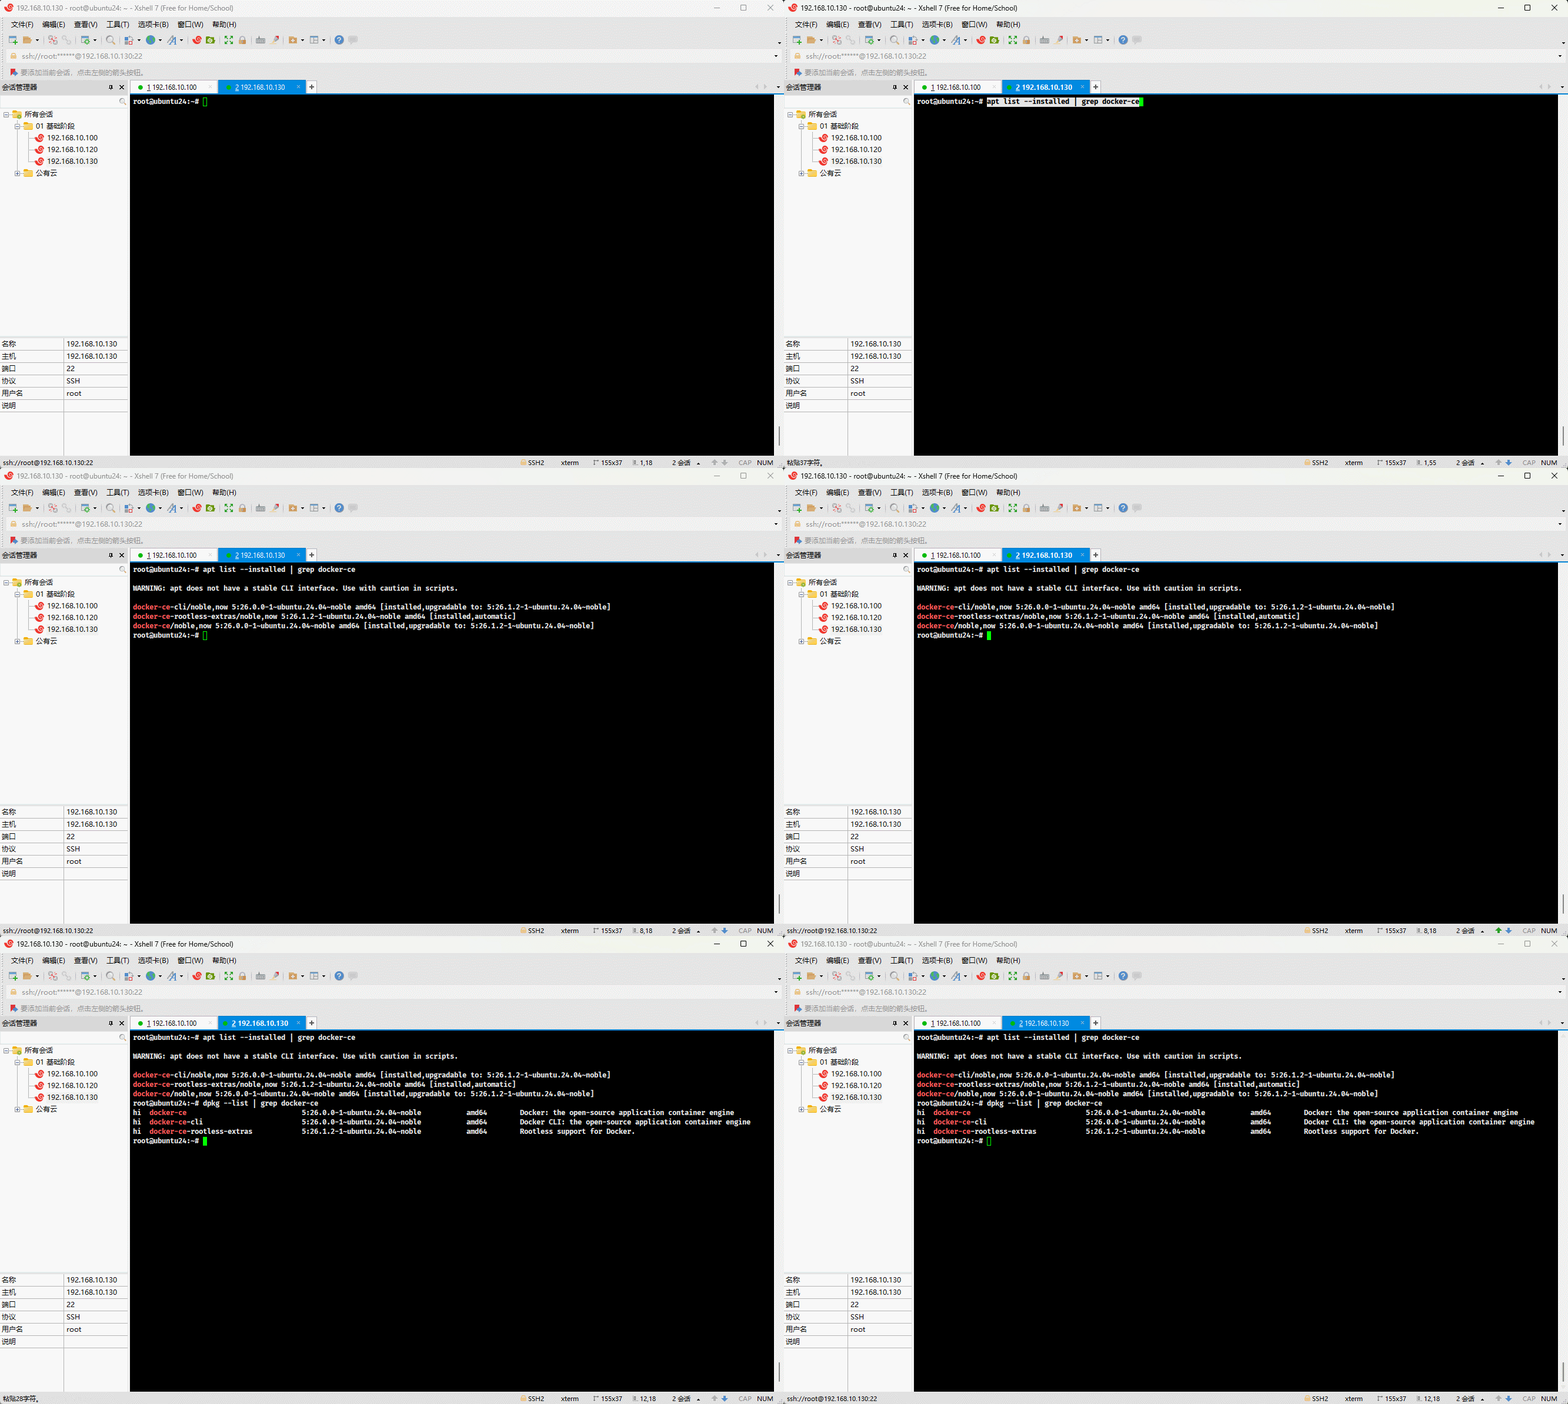
apt list --installed | grep docker-ceshell
dpkg --list | grep docker-ce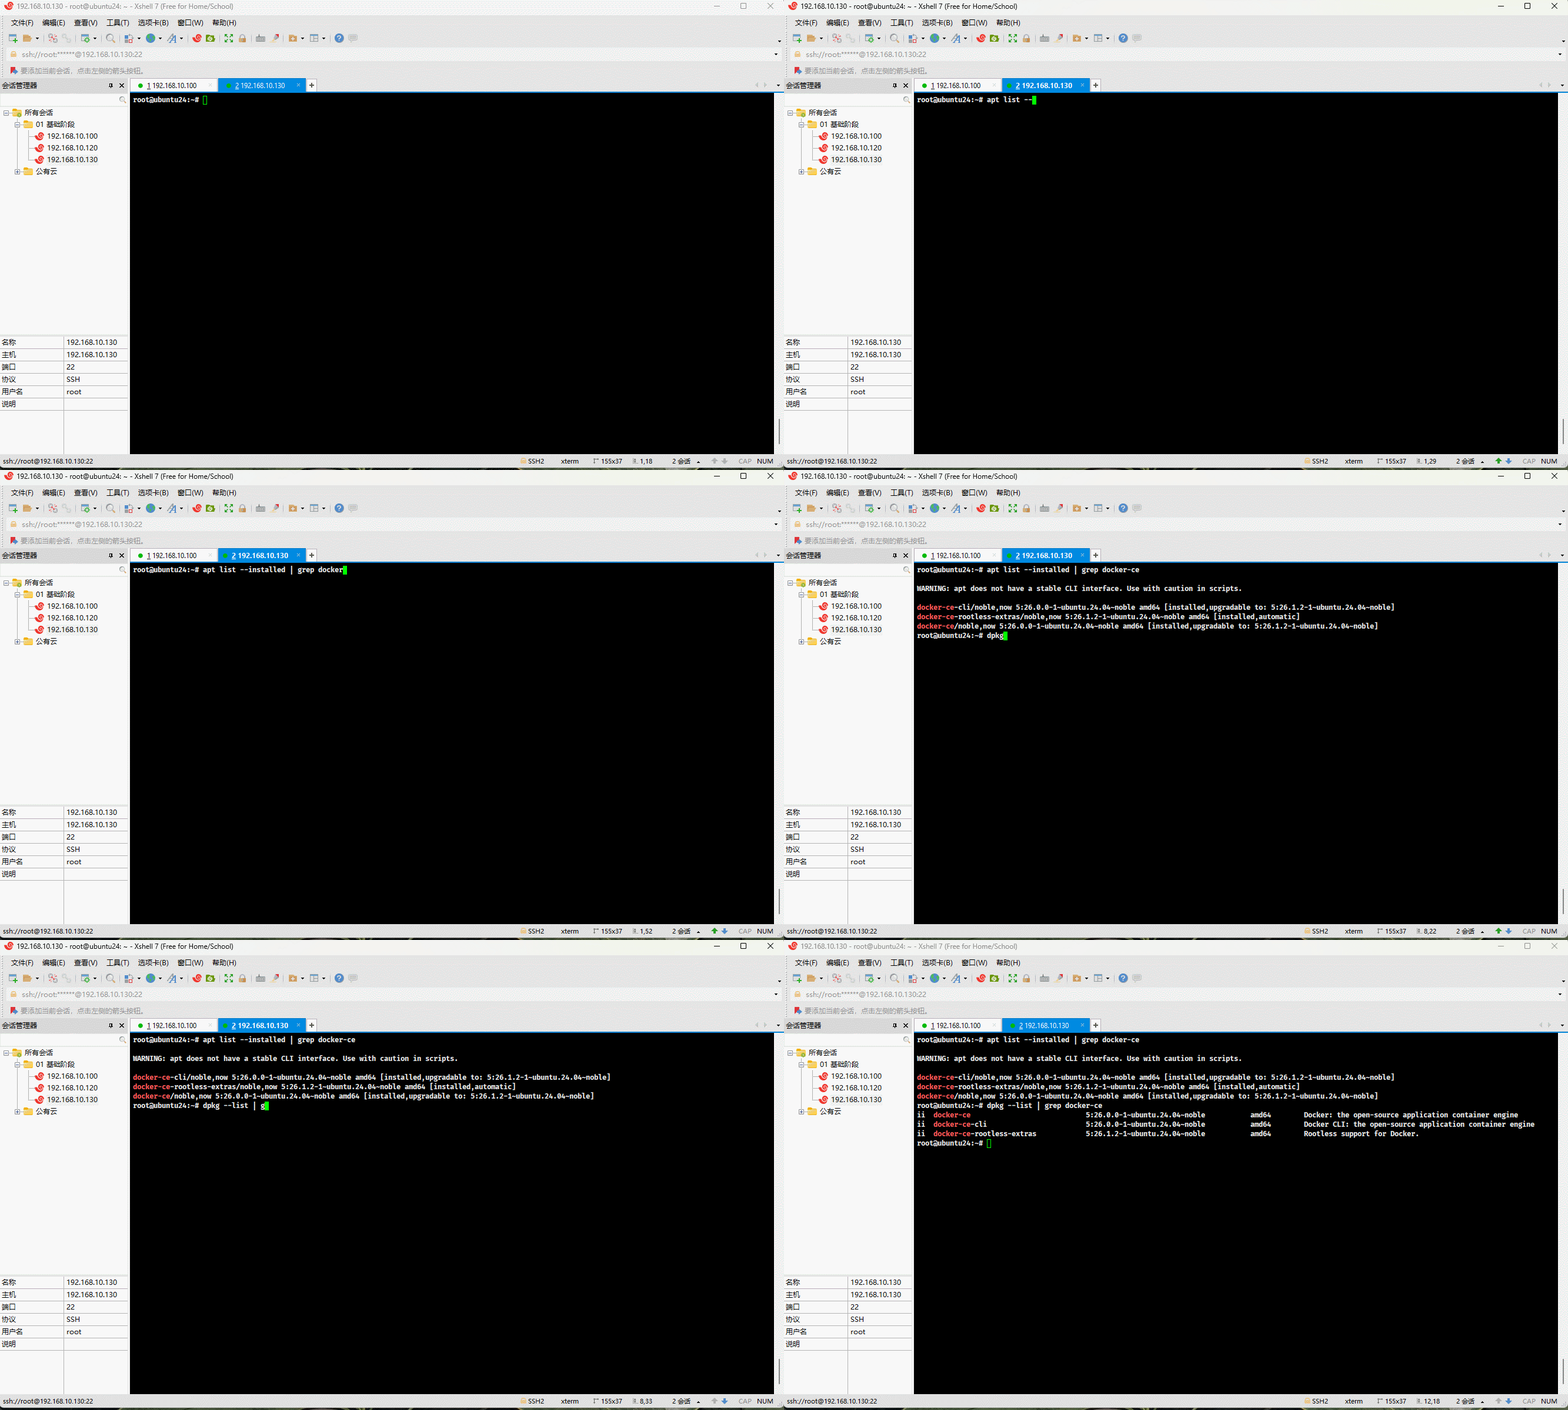
- 锁定 Docker 版本:
shell
apt-mark hold docker-ce
apt-mark hold docker-ce-cli
apt-mark hold docker-ce-rootless-extras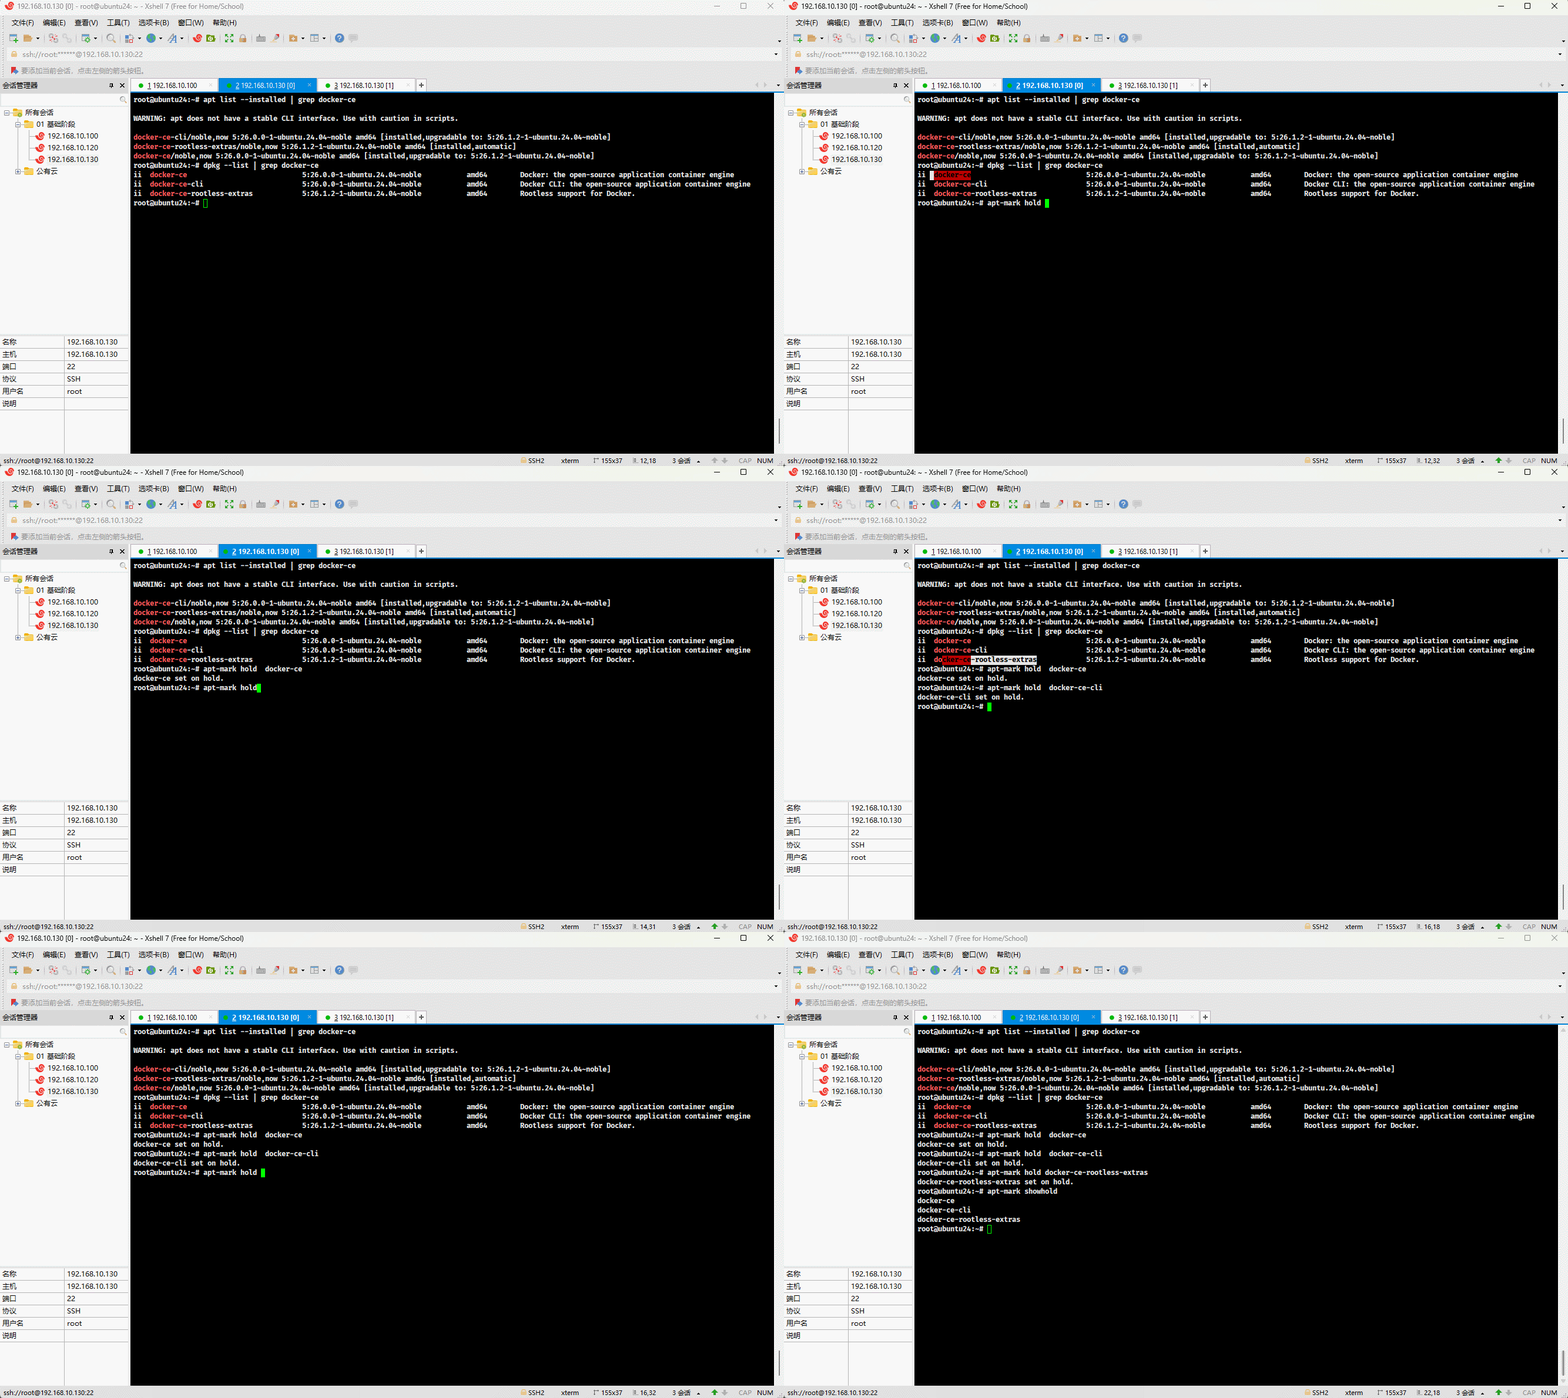
- 更新整个系统:
shell
apt update -y && apt upgrade -y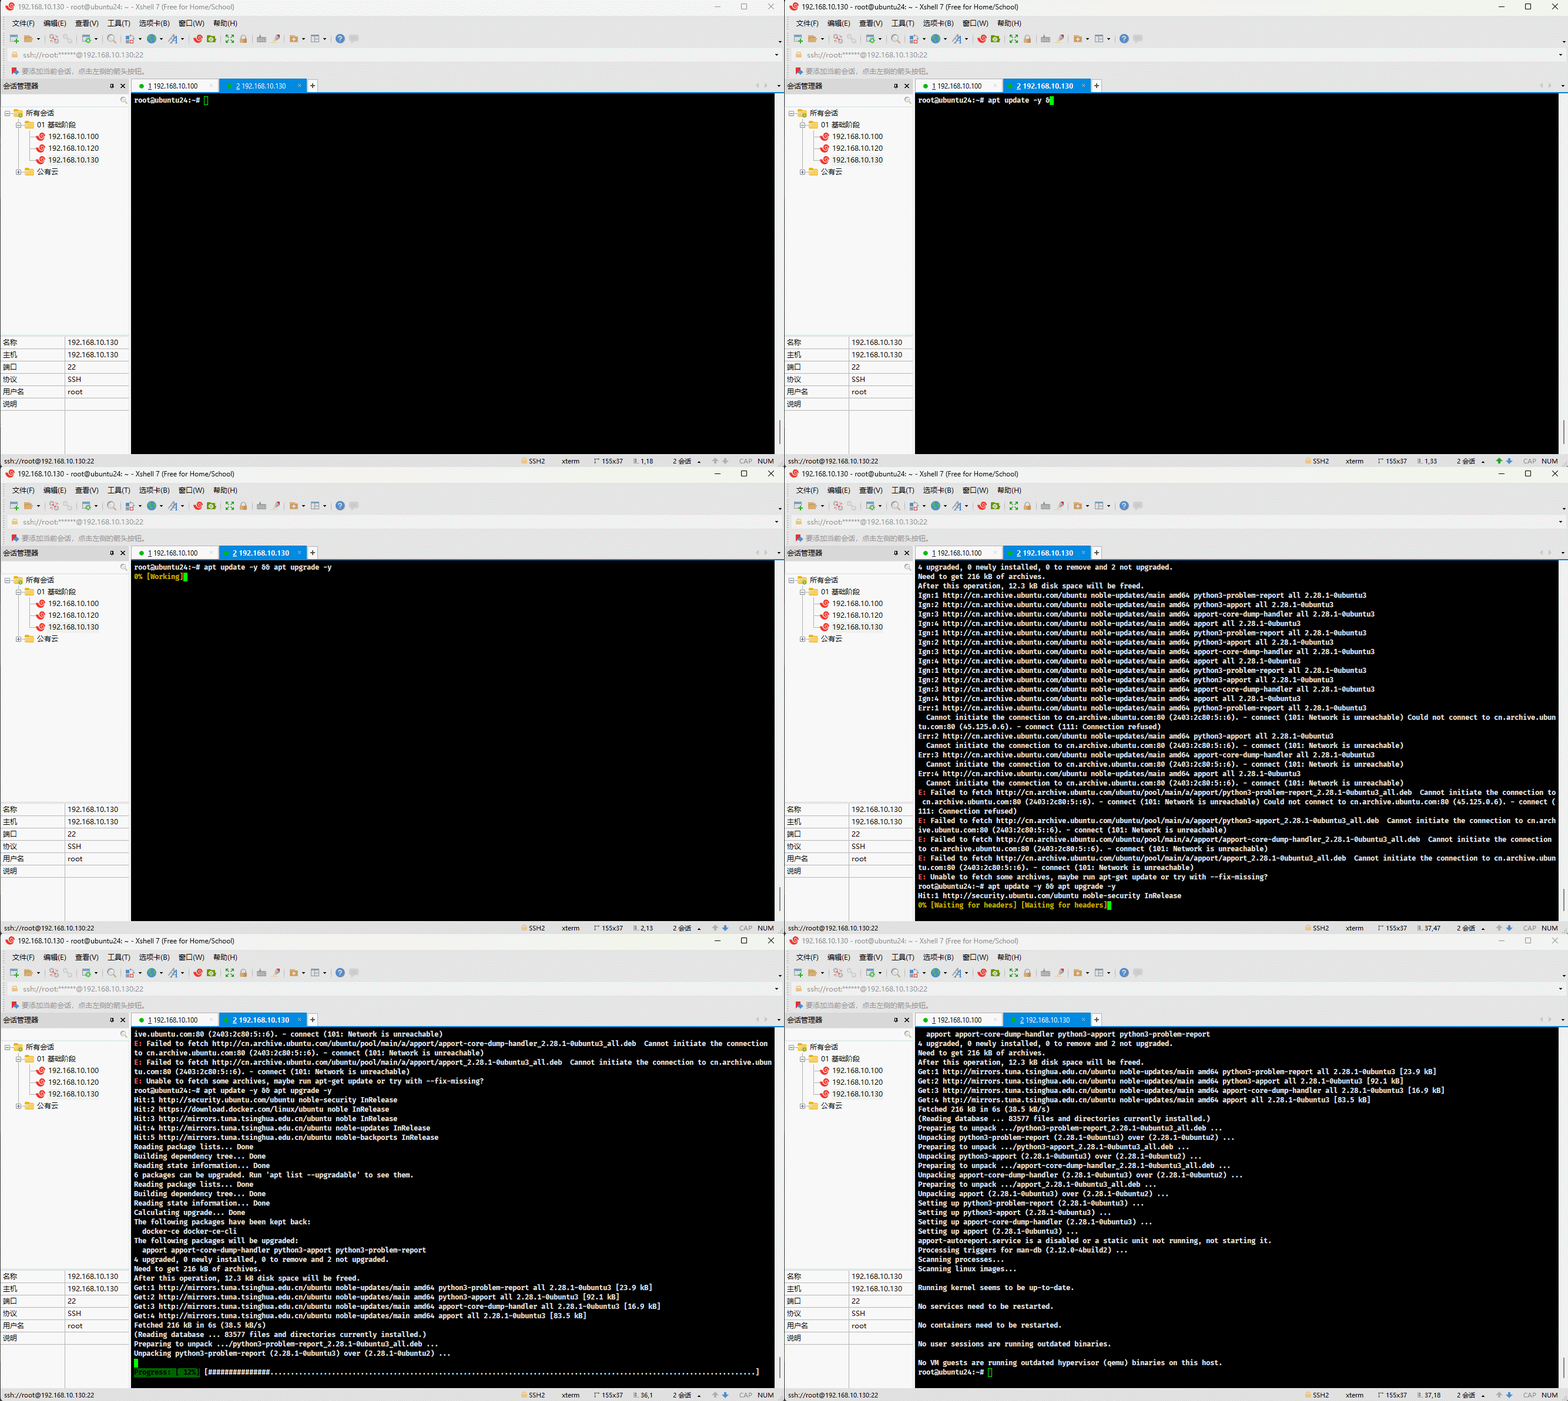
- 查看安装的 Docker 版本:
shell
apt list --installed | grep docker-ceshell
dpkg --list | grep docker-ce